软件商城哪个好seo具体是什么
本文是关于基于YOLOv4开发构建目标检测模型的超详细实战教程,超详细实战教程相关的博文在前文有相应的系列,感兴趣的话可以自行移步阅读即可:
《基于yolov7开发实践实例分割模型超详细教程》
《YOLOv7基于自己的数据集从零构建模型完整训练、推理计算超详细教程》
《DETR (DEtection TRansformer)基于自建数据集开发构建目标检测模型超详细教程》
《基于yolov5-v7.0开发实践实例分割模型超详细教程》
《轻量级模型YOLOv5-Lite基于自己的数据集【焊接质量检测】从零构建模型超详细教程》
《轻量级模型NanoDet基于自己的数据集【接打电话检测】从零构建模型超详细教程》
《基于YOLOv5-v6.2全新版本模型构建自己的图像识别模型超详细教程》
《基于自建数据集【海底生物检测】使用YOLOv5-v6.1/2版本构建目标检测模型超详细教程》
《超轻量级目标检测模型Yolo-FastestV2基于自建数据集【手写汉字检测】构建模型训练、推理完整流程超详细教程》
《基于YOLOv8开发构建目标检测模型超详细教程【以焊缝质量检测数据场景为例】》
最早期接触v3和v4的时候印象中模型的训练方式都是基于Darknet框架开发构建的,模型都是通过cfg文件进行配置的,从v5开始才全面转向了PyTorch形式的项目,延续到了现在。
yolov4.cfg如下:
[net]
batch=64
subdivisions=8
# Training
#width=512
#height=512
width=608
height=608
channels=3
momentum=0.949
decay=0.0005
angle=0
saturation = 1.5
exposure = 1.5
hue=.1learning_rate=0.0013
burn_in=1000
max_batches = 500500
policy=steps
steps=400000,450000
scales=.1,.1#cutmix=1
mosaic=1#:104x104 54:52x52 85:26x26 104:13x13 for 416[convolutional]
batch_normalize=1
filters=32
size=3
stride=1
pad=1
activation=mish# Downsample[convolutional]
batch_normalize=1
filters=64
size=3
stride=2
pad=1
activation=mish[convolutional]
batch_normalize=1
filters=64
size=1
stride=1
pad=1
activation=mish[route]
layers = -2[convolutional]
batch_normalize=1
filters=64
size=1
stride=1
pad=1
activation=mish[convolutional]
batch_normalize=1
filters=32
size=1
stride=1
pad=1
activation=mish[convolutional]
batch_normalize=1
filters=64
size=3
stride=1
pad=1
activation=mish[shortcut]
from=-3
activation=linear[convolutional]
batch_normalize=1
filters=64
size=1
stride=1
pad=1
activation=mish[route]
layers = -1,-7[convolutional]
batch_normalize=1
filters=64
size=1
stride=1
pad=1
activation=mish# Downsample[convolutional]
batch_normalize=1
filters=128
size=3
stride=2
pad=1
activation=mish[convolutional]
batch_normalize=1
filters=64
size=1
stride=1
pad=1
activation=mish[route]
layers = -2[convolutional]
batch_normalize=1
filters=64
size=1
stride=1
pad=1
activation=mish[convolutional]
batch_normalize=1
filters=64
size=1
stride=1
pad=1
activation=mish[convolutional]
batch_normalize=1
filters=64
size=3
stride=1
pad=1
activation=mish[shortcut]
from=-3
activation=linear[convolutional]
batch_normalize=1
filters=64
size=1
stride=1
pad=1
activation=mish[convolutional]
batch_normalize=1
filters=64
size=3
stride=1
pad=1
activation=mish[shortcut]
from=-3
activation=linear[convolutional]
batch_normalize=1
filters=64
size=1
stride=1
pad=1
activation=mish[route]
layers = -1,-10[convolutional]
batch_normalize=1
filters=128
size=1
stride=1
pad=1
activation=mish# Downsample[convolutional]
batch_normalize=1
filters=256
size=3
stride=2
pad=1
activation=mish[convolutional]
batch_normalize=1
filters=128
size=1
stride=1
pad=1
activation=mish[route]
layers = -2[convolutional]
batch_normalize=1
filters=128
size=1
stride=1
pad=1
activation=mish[convolutional]
batch_normalize=1
filters=128
size=1
stride=1
pad=1
activation=mish[convolutional]
batch_normalize=1
filters=128
size=3
stride=1
pad=1
activation=mish[shortcut]
from=-3
activation=linear[convolutional]
batch_normalize=1
filters=128
size=1
stride=1
pad=1
activation=mish[convolutional]
batch_normalize=1
filters=128
size=3
stride=1
pad=1
activation=mish[shortcut]
from=-3
activation=linear[convolutional]
batch_normalize=1
filters=128
size=1
stride=1
pad=1
activation=mish[convolutional]
batch_normalize=1
filters=128
size=3
stride=1
pad=1
activation=mish[shortcut]
from=-3
activation=linear[convolutional]
batch_normalize=1
filters=128
size=1
stride=1
pad=1
activation=mish[convolutional]
batch_normalize=1
filters=128
size=3
stride=1
pad=1
activation=mish[shortcut]
from=-3
activation=linear[convolutional]
batch_normalize=1
filters=128
size=1
stride=1
pad=1
activation=mish[convolutional]
batch_normalize=1
filters=128
size=3
stride=1
pad=1
activation=mish[shortcut]
from=-3
activation=linear[convolutional]
batch_normalize=1
filters=128
size=1
stride=1
pad=1
activation=mish[convolutional]
batch_normalize=1
filters=128
size=3
stride=1
pad=1
activation=mish[shortcut]
from=-3
activation=linear[convolutional]
batch_normalize=1
filters=128
size=1
stride=1
pad=1
activation=mish[convolutional]
batch_normalize=1
filters=128
size=3
stride=1
pad=1
activation=mish[shortcut]
from=-3
activation=linear[convolutional]
batch_normalize=1
filters=128
size=1
stride=1
pad=1
activation=mish[convolutional]
batch_normalize=1
filters=128
size=3
stride=1
pad=1
activation=mish[shortcut]
from=-3
activation=linear[convolutional]
batch_normalize=1
filters=128
size=1
stride=1
pad=1
activation=mish[route]
layers = -1,-28[convolutional]
batch_normalize=1
filters=256
size=1
stride=1
pad=1
activation=mish# Downsample[convolutional]
batch_normalize=1
filters=512
size=3
stride=2
pad=1
activation=mish[convolutional]
batch_normalize=1
filters=256
size=1
stride=1
pad=1
activation=mish[route]
layers = -2[convolutional]
batch_normalize=1
filters=256
size=1
stride=1
pad=1
activation=mish[convolutional]
batch_normalize=1
filters=256
size=1
stride=1
pad=1
activation=mish[convolutional]
batch_normalize=1
filters=256
size=3
stride=1
pad=1
activation=mish[shortcut]
from=-3
activation=linear[convolutional]
batch_normalize=1
filters=256
size=1
stride=1
pad=1
activation=mish[convolutional]
batch_normalize=1
filters=256
size=3
stride=1
pad=1
activation=mish[shortcut]
from=-3
activation=linear[convolutional]
batch_normalize=1
filters=256
size=1
stride=1
pad=1
activation=mish[convolutional]
batch_normalize=1
filters=256
size=3
stride=1
pad=1
activation=mish[shortcut]
from=-3
activation=linear[convolutional]
batch_normalize=1
filters=256
size=1
stride=1
pad=1
activation=mish[convolutional]
batch_normalize=1
filters=256
size=3
stride=1
pad=1
activation=mish[shortcut]
from=-3
activation=linear[convolutional]
batch_normalize=1
filters=256
size=1
stride=1
pad=1
activation=mish[convolutional]
batch_normalize=1
filters=256
size=3
stride=1
pad=1
activation=mish[shortcut]
from=-3
activation=linear[convolutional]
batch_normalize=1
filters=256
size=1
stride=1
pad=1
activation=mish[convolutional]
batch_normalize=1
filters=256
size=3
stride=1
pad=1
activation=mish[shortcut]
from=-3
activation=linear[convolutional]
batch_normalize=1
filters=256
size=1
stride=1
pad=1
activation=mish[convolutional]
batch_normalize=1
filters=256
size=3
stride=1
pad=1
activation=mish[shortcut]
from=-3
activation=linear[convolutional]
batch_normalize=1
filters=256
size=1
stride=1
pad=1
activation=mish[convolutional]
batch_normalize=1
filters=256
size=3
stride=1
pad=1
activation=mish[shortcut]
from=-3
activation=linear[convolutional]
batch_normalize=1
filters=256
size=1
stride=1
pad=1
activation=mish[route]
layers = -1,-28[convolutional]
batch_normalize=1
filters=512
size=1
stride=1
pad=1
activation=mish# Downsample[convolutional]
batch_normalize=1
filters=1024
size=3
stride=2
pad=1
activation=mish[convolutional]
batch_normalize=1
filters=512
size=1
stride=1
pad=1
activation=mish[route]
layers = -2[convolutional]
batch_normalize=1
filters=512
size=1
stride=1
pad=1
activation=mish[convolutional]
batch_normalize=1
filters=512
size=1
stride=1
pad=1
activation=mish[convolutional]
batch_normalize=1
filters=512
size=3
stride=1
pad=1
activation=mish[shortcut]
from=-3
activation=linear[convolutional]
batch_normalize=1
filters=512
size=1
stride=1
pad=1
activation=mish[convolutional]
batch_normalize=1
filters=512
size=3
stride=1
pad=1
activation=mish[shortcut]
from=-3
activation=linear[convolutional]
batch_normalize=1
filters=512
size=1
stride=1
pad=1
activation=mish[convolutional]
batch_normalize=1
filters=512
size=3
stride=1
pad=1
activation=mish[shortcut]
from=-3
activation=linear[convolutional]
batch_normalize=1
filters=512
size=1
stride=1
pad=1
activation=mish[convolutional]
batch_normalize=1
filters=512
size=3
stride=1
pad=1
activation=mish[shortcut]
from=-3
activation=linear[convolutional]
batch_normalize=1
filters=512
size=1
stride=1
pad=1
activation=mish[route]
layers = -1,-16[convolutional]
batch_normalize=1
filters=1024
size=1
stride=1
pad=1
activation=mish##########################[convolutional]
batch_normalize=1
filters=512
size=1
stride=1
pad=1
activation=leaky[convolutional]
batch_normalize=1
size=3
stride=1
pad=1
filters=1024
activation=leaky[convolutional]
batch_normalize=1
filters=512
size=1
stride=1
pad=1
activation=leaky### SPP ###
[maxpool]
stride=1
size=5[route]
layers=-2[maxpool]
stride=1
size=9[route]
layers=-4[maxpool]
stride=1
size=13[route]
layers=-1,-3,-5,-6
### End SPP ###[convolutional]
batch_normalize=1
filters=512
size=1
stride=1
pad=1
activation=leaky[convolutional]
batch_normalize=1
size=3
stride=1
pad=1
filters=1024
activation=leaky[convolutional]
batch_normalize=1
filters=512
size=1
stride=1
pad=1
activation=leaky[convolutional]
batch_normalize=1
filters=256
size=1
stride=1
pad=1
activation=leaky[upsample]
stride=2[route]
layers = 85[convolutional]
batch_normalize=1
filters=256
size=1
stride=1
pad=1
activation=leaky[route]
layers = -1, -3[convolutional]
batch_normalize=1
filters=256
size=1
stride=1
pad=1
activation=leaky[convolutional]
batch_normalize=1
size=3
stride=1
pad=1
filters=512
activation=leaky[convolutional]
batch_normalize=1
filters=256
size=1
stride=1
pad=1
activation=leaky[convolutional]
batch_normalize=1
size=3
stride=1
pad=1
filters=512
activation=leaky[convolutional]
batch_normalize=1
filters=256
size=1
stride=1
pad=1
activation=leaky[convolutional]
batch_normalize=1
filters=128
size=1
stride=1
pad=1
activation=leaky[upsample]
stride=2[route]
layers = 54[convolutional]
batch_normalize=1
filters=128
size=1
stride=1
pad=1
activation=leaky[route]
layers = -1, -3[convolutional]
batch_normalize=1
filters=128
size=1
stride=1
pad=1
activation=leaky[convolutional]
batch_normalize=1
size=3
stride=1
pad=1
filters=256
activation=leaky[convolutional]
batch_normalize=1
filters=128
size=1
stride=1
pad=1
activation=leaky[convolutional]
batch_normalize=1
size=3
stride=1
pad=1
filters=256
activation=leaky[convolutional]
batch_normalize=1
filters=128
size=1
stride=1
pad=1
activation=leaky##########################[convolutional]
batch_normalize=1
size=3
stride=1
pad=1
filters=256
activation=leaky[convolutional]
size=1
stride=1
pad=1
filters=255
activation=linear[yolo]
mask = 0,1,2
anchors = 12, 16, 19, 36, 40, 28, 36, 75, 76, 55, 72, 146, 142, 110, 192, 243, 459, 401
classes=80
num=9
jitter=.3
ignore_thresh = .7
truth_thresh = 1
scale_x_y = 1.2
iou_thresh=0.213
cls_normalizer=1.0
iou_normalizer=0.07
iou_loss=ciou
nms_kind=greedynms
beta_nms=0.6
max_delta=5[route]
layers = -4[convolutional]
batch_normalize=1
size=3
stride=2
pad=1
filters=256
activation=leaky[route]
layers = -1, -16[convolutional]
batch_normalize=1
filters=256
size=1
stride=1
pad=1
activation=leaky[convolutional]
batch_normalize=1
size=3
stride=1
pad=1
filters=512
activation=leaky[convolutional]
batch_normalize=1
filters=256
size=1
stride=1
pad=1
activation=leaky[convolutional]
batch_normalize=1
size=3
stride=1
pad=1
filters=512
activation=leaky[convolutional]
batch_normalize=1
filters=256
size=1
stride=1
pad=1
activation=leaky[convolutional]
batch_normalize=1
size=3
stride=1
pad=1
filters=512
activation=leaky[convolutional]
size=1
stride=1
pad=1
filters=255
activation=linear[yolo]
mask = 3,4,5
anchors = 12, 16, 19, 36, 40, 28, 36, 75, 76, 55, 72, 146, 142, 110, 192, 243, 459, 401
classes=80
num=9
jitter=.3
ignore_thresh = .7
truth_thresh = 1
scale_x_y = 1.1
iou_thresh=0.213
cls_normalizer=1.0
iou_normalizer=0.07
iou_loss=ciou
nms_kind=greedynms
beta_nms=0.6
max_delta=5[route]
layers = -4[convolutional]
batch_normalize=1
size=3
stride=2
pad=1
filters=512
activation=leaky[route]
layers = -1, -37[convolutional]
batch_normalize=1
filters=512
size=1
stride=1
pad=1
activation=leaky[convolutional]
batch_normalize=1
size=3
stride=1
pad=1
filters=1024
activation=leaky[convolutional]
batch_normalize=1
filters=512
size=1
stride=1
pad=1
activation=leaky[convolutional]
batch_normalize=1
size=3
stride=1
pad=1
filters=1024
activation=leaky[convolutional]
batch_normalize=1
filters=512
size=1
stride=1
pad=1
activation=leaky[convolutional]
batch_normalize=1
size=3
stride=1
pad=1
filters=1024
activation=leaky[convolutional]
size=1
stride=1
pad=1
filters=255
activation=linear[yolo]
mask = 6,7,8
anchors = 12, 16, 19, 36, 40, 28, 36, 75, 76, 55, 72, 146, 142, 110, 192, 243, 459, 401
classes=80
num=9
jitter=.3
ignore_thresh = .7
truth_thresh = 1
random=1
scale_x_y = 1.05
iou_thresh=0.213
cls_normalizer=1.0
iou_normalizer=0.07
iou_loss=ciou
nms_kind=greedynms
beta_nms=0.6
max_delta=5
yolov4-tiny.cfg如下:
[net]
# Testing
#batch=1
#subdivisions=1
# Training
batch=64
subdivisions=1
width=416
height=416
channels=3
momentum=0.9
decay=0.0005
angle=0
saturation = 1.5
exposure = 1.5
hue=.1learning_rate=0.00261
burn_in=1000
max_batches = 500200
policy=steps
steps=400000,450000
scales=.1,.1[convolutional]
batch_normalize=1
filters=32
size=3
stride=2
pad=1
activation=leaky[convolutional]
batch_normalize=1
filters=64
size=3
stride=2
pad=1
activation=leaky[convolutional]
batch_normalize=1
filters=64
size=3
stride=1
pad=1
activation=leaky[route]
layers=-1
groups=2
group_id=1[convolutional]
batch_normalize=1
filters=32
size=3
stride=1
pad=1
activation=leaky[convolutional]
batch_normalize=1
filters=32
size=3
stride=1
pad=1
activation=leaky[route]
layers = -1,-2[convolutional]
batch_normalize=1
filters=64
size=1
stride=1
pad=1
activation=leaky[route]
layers = -6,-1[maxpool]
size=2
stride=2[convolutional]
batch_normalize=1
filters=128
size=3
stride=1
pad=1
activation=leaky[route]
layers=-1
groups=2
group_id=1[convolutional]
batch_normalize=1
filters=64
size=3
stride=1
pad=1
activation=leaky[convolutional]
batch_normalize=1
filters=64
size=3
stride=1
pad=1
activation=leaky[route]
layers = -1,-2[convolutional]
batch_normalize=1
filters=128
size=1
stride=1
pad=1
activation=leaky[route]
layers = -6,-1[maxpool]
size=2
stride=2[convolutional]
batch_normalize=1
filters=256
size=3
stride=1
pad=1
activation=leaky[route]
layers=-1
groups=2
group_id=1[convolutional]
batch_normalize=1
filters=128
size=3
stride=1
pad=1
activation=leaky[convolutional]
batch_normalize=1
filters=128
size=3
stride=1
pad=1
activation=leaky[route]
layers = -1,-2[convolutional]
batch_normalize=1
filters=256
size=1
stride=1
pad=1
activation=leaky[route]
layers = -6,-1[maxpool]
size=2
stride=2[convolutional]
batch_normalize=1
filters=512
size=3
stride=1
pad=1
activation=leaky##################################[convolutional]
batch_normalize=1
filters=256
size=1
stride=1
pad=1
activation=leaky[convolutional]
batch_normalize=1
filters=512
size=3
stride=1
pad=1
activation=leaky[convolutional]
size=1
stride=1
pad=1
filters=255
activation=linear[yolo]
mask = 3,4,5
anchors = 10,14,  23,27,  37,58,  81,82,  135,169,  344,319
classes=80
num=6
jitter=.3
scale_x_y = 1.05
cls_normalizer=1.0
iou_normalizer=0.07
iou_loss=ciou
ignore_thresh = .7
truth_thresh = 1
random=0
resize=1.5
nms_kind=greedynms
beta_nms=0.6[route]
layers = -4[convolutional]
batch_normalize=1
filters=128
size=1
stride=1
pad=1
activation=leaky[upsample]
stride=2[route]
layers = -1, 23[convolutional]
batch_normalize=1
filters=256
size=3
stride=1
pad=1
activation=leaky[convolutional]
size=1
stride=1
pad=1
filters=255
activation=linear[yolo]
mask = 1,2,3
anchors = 10,14,  23,27,  37,58,  81,82,  135,169,  344,319
classes=80
num=6
jitter=.3
scale_x_y = 1.05
cls_normalizer=1.0
iou_normalizer=0.07
iou_loss=ciou
ignore_thresh = .7
truth_thresh = 1
random=0
resize=1.5
nms_kind=greedynms
beta_nms=0.6
最开始的时候还是蛮喜欢这种形式的,非常的简洁,直接使用Darknet框架训练也很方便,到后面随着模型改进各种组件的替换,Darknet变得越发不适用了。YOLOv4的话感觉定位相比于v3和v5来说比较尴尬一些,git里面搜索yolov4,结果如下所示:

排名第一的项目是pytorch-YOLOv4,地址在这里,如下所示:
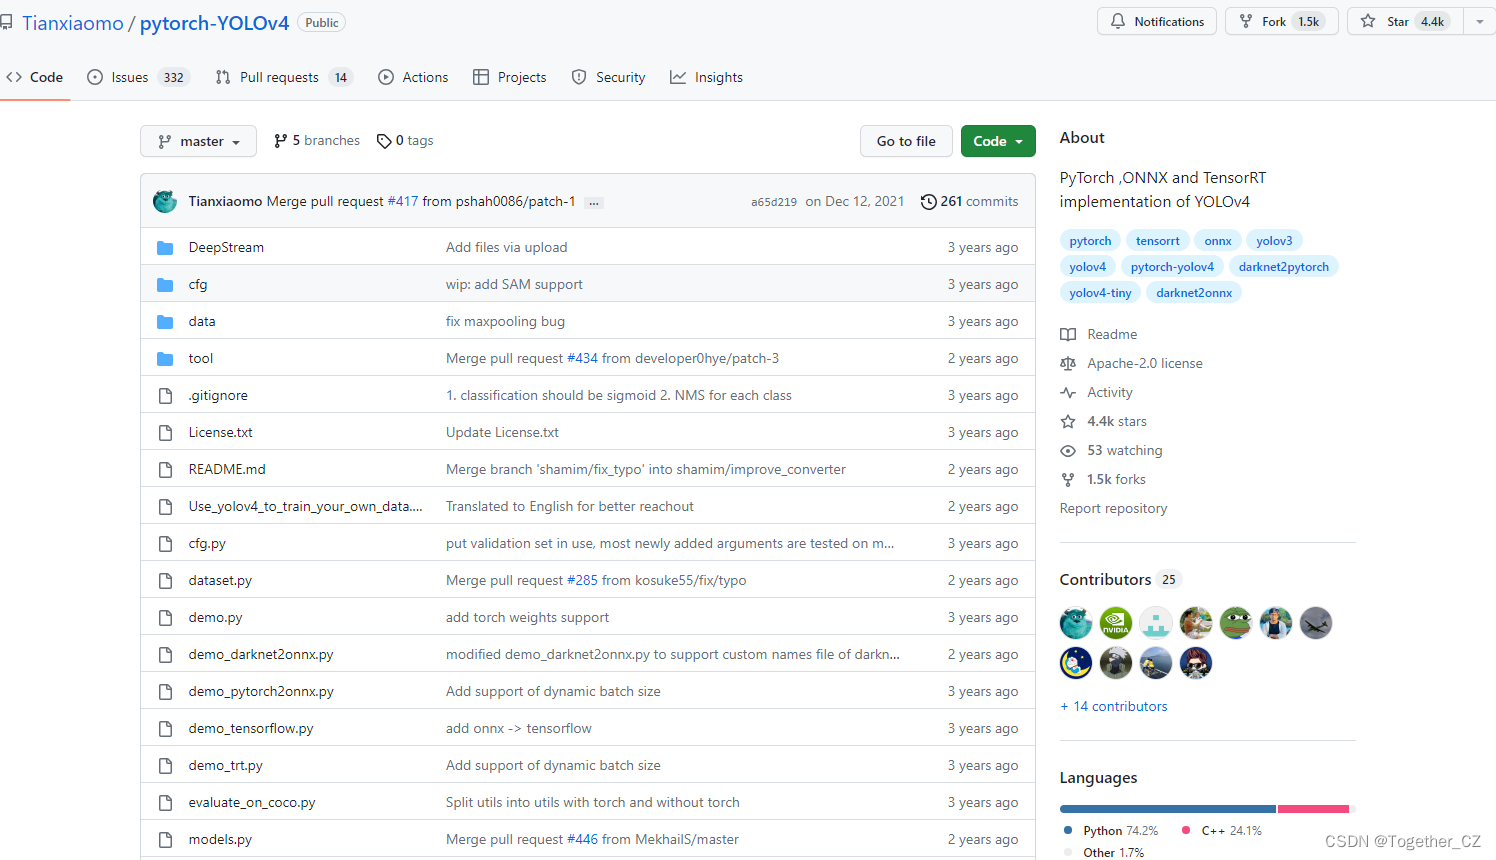
从说明里面来看,这个只是一个minimal的实现:
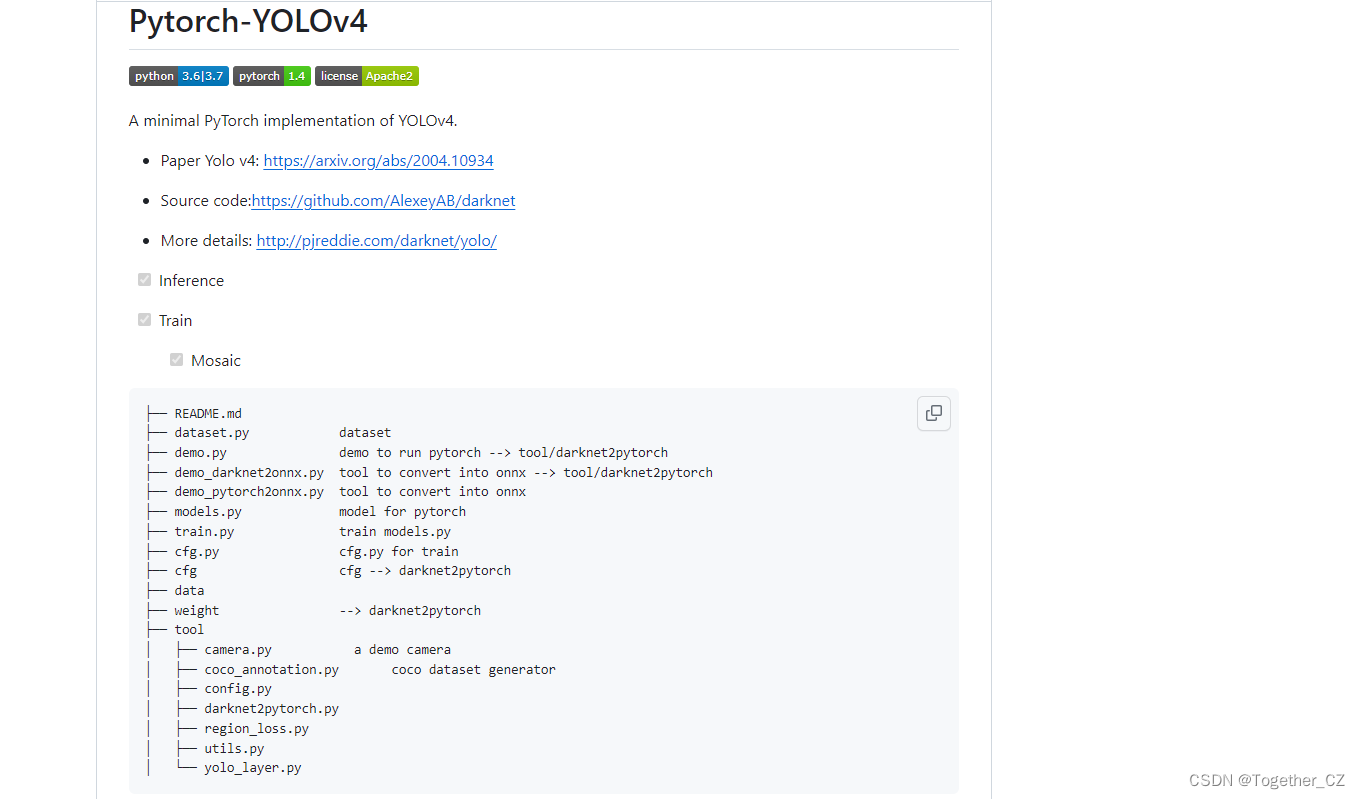
官方的实现应该是:
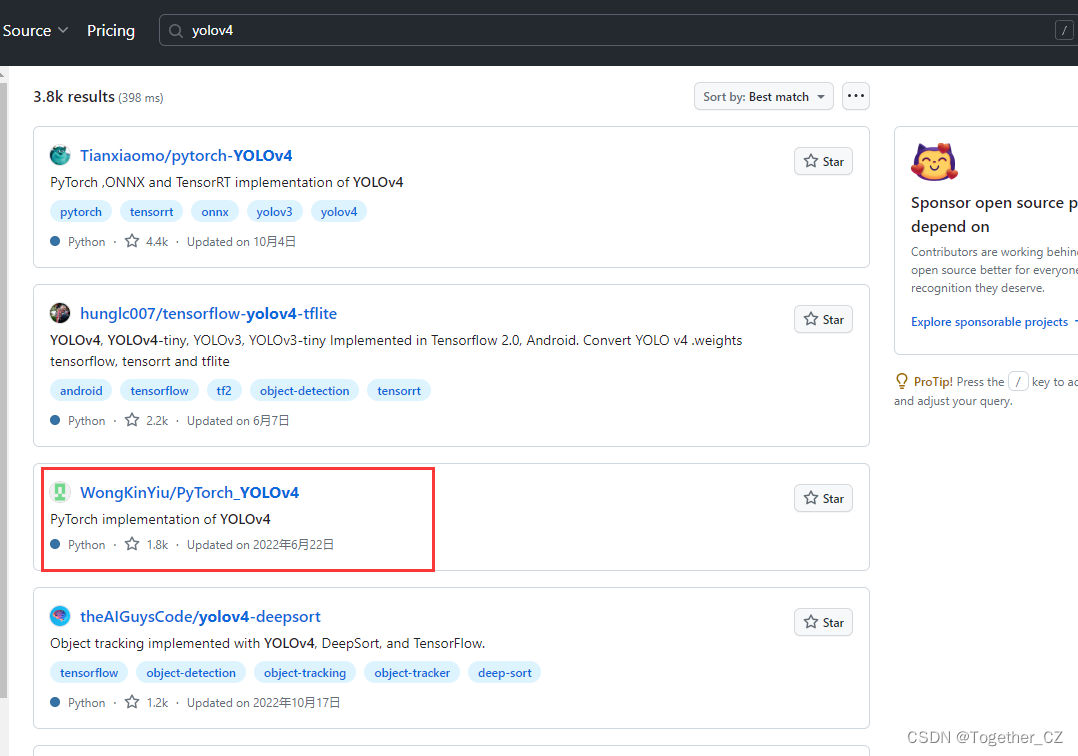
仔细看的话会发现,官方这里提供了YOLOv3风格的实现项目以及YOLOv5风格的实现项目,本文主要是以YOLOv3风格的YOLOv4项目为基准来讲解完整的实践流程,项目地址在这里,如下所示:

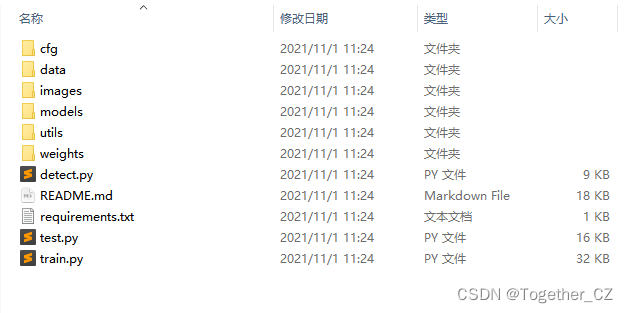
首先下载所需要的项目,如下:
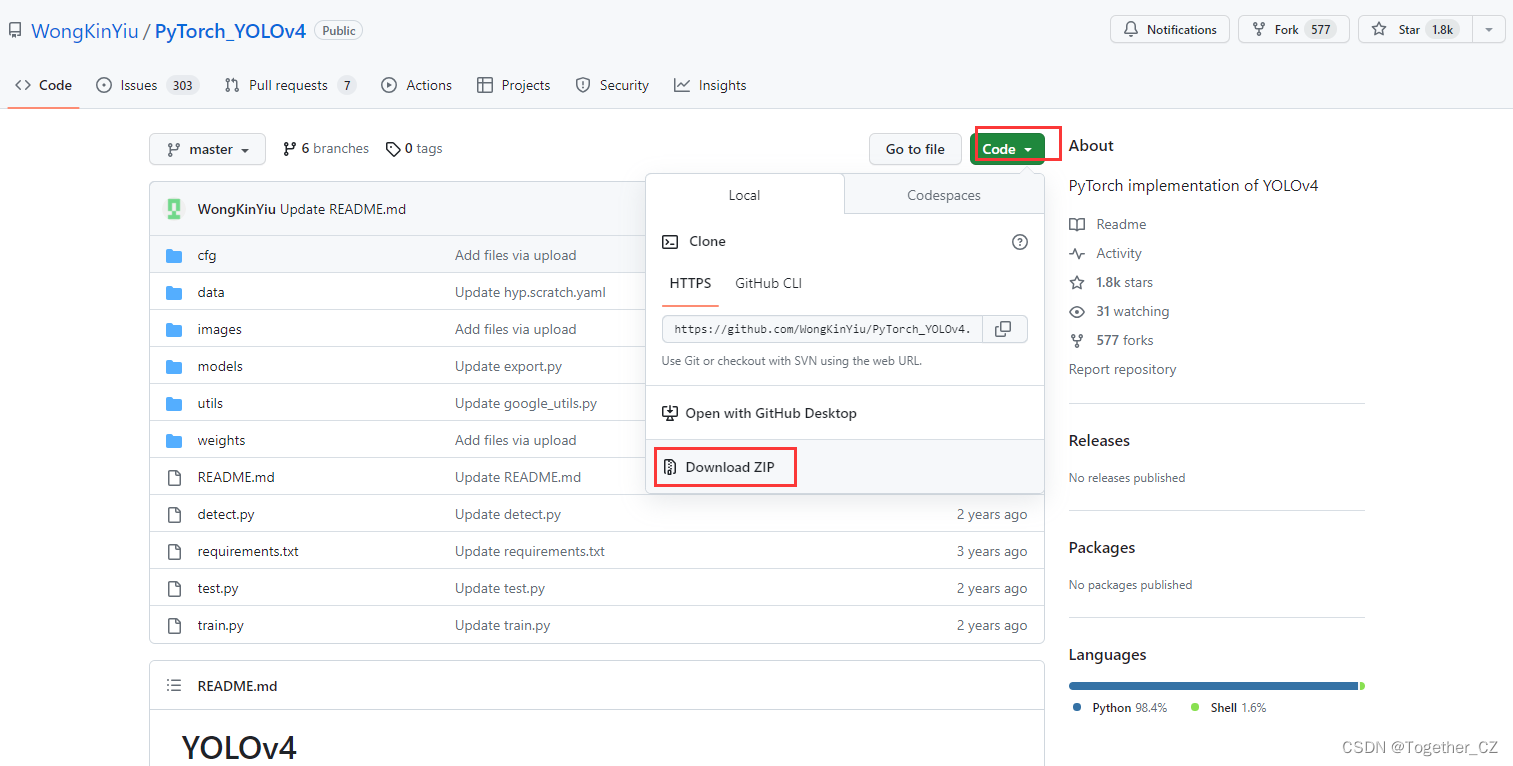
下载到本地解压缩后,如下所示:
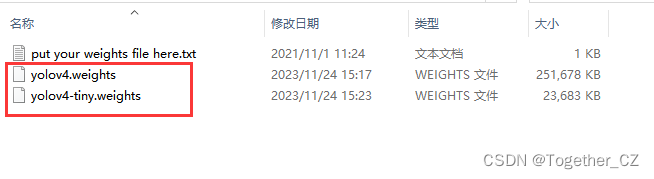
网上直接百度下载这两个weights文件放在weights目录下,如下所示:
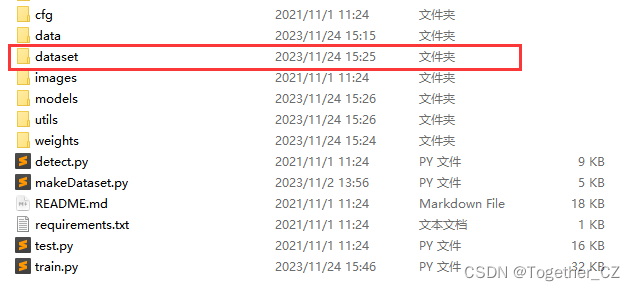
然后随便复制过来一个自己之前yolov5项目的数据集放在当前项目目录下,我是前面刚好基于yolov5做了钢铁缺陷检测项目,数据集可以直接拿来用,如果没有现成的数据集的话可以看我签名yolov5的超详细教程里面可以按照步骤自己创建数据集即可。如下所示:
这里我选择的是基于yolov4-tiny版本的模型来进行开发训练,为的就是计算速度能够更快一些。
修改train.py里面的内容,如下所示:
parser = argparse.ArgumentParser()
parser.add_argument('--weights', type=str, default='weights/yolov4-tiny.weights', help='initial weights path')
parser.add_argument('--cfg', type=str, default='cfg/yolov4-tiny.cfg', help='model.yaml path')
parser.add_argument('--data', type=str, default='data/self.yaml', help='data.yaml path')
parser.add_argument('--hyp', type=str, default='data/hyp.scratch.yaml', help='hyperparameters path')
parser.add_argument('--epochs', type=int, default=100)
parser.add_argument('--batch-size', type=int, default=8, help='total batch size for all GPUs')
parser.add_argument('--img-size', nargs='+', type=int, default=[640, 640], help='[train, test] image sizes')
parser.add_argument('--rect', action='store_true', help='rectangular training')
parser.add_argument('--resume', nargs='?', const=True, default=False, help='resume most recent training')
parser.add_argument('--nosave', action='store_true', help='only save final checkpoint')
parser.add_argument('--notest', action='store_true', help='only test final epoch')
parser.add_argument('--noautoanchor', action='store_true', help='disable autoanchor check')
parser.add_argument('--evolve', action='store_true', help='evolve hyperparameters')
parser.add_argument('--bucket', type=str, default='', help='gsutil bucket')
parser.add_argument('--cache-images', action='store_true', help='cache images for faster training')
parser.add_argument('--image-weights', action='store_true', help='use weighted image selection for training')
parser.add_argument('--device', default='0', help='cuda device, i.e. 0 or 0,1,2,3 or cpu')
parser.add_argument('--multi-scale', action='store_true', help='vary img-size +/- 50%%')
parser.add_argument('--single-cls', action='store_true', help='train as single-class dataset')
parser.add_argument('--adam', action='store_true', help='use torch.optim.Adam() optimizer')
parser.add_argument('--sync-bn', action='store_true', help='use SyncBatchNorm, only available in DDP mode')
parser.add_argument('--local_rank', type=int, default=-1, help='DDP parameter, do not modify')
parser.add_argument('--log-imgs', type=int, default=16, help='number of images for W&B logging, max 100')
parser.add_argument('--workers', type=int, default=8, help='maximum number of dataloader workers')
parser.add_argument('--project', default='runs/train', help='save to project/name')
parser.add_argument('--name', default='exp', help='save to project/name')
parser.add_argument('--exist-ok', action='store_true', help='existing project/name ok, do not increment')
opt = parser.parse_args()
终端直接执行:
python train.py即可。
当然也可以选择基于参数指定的形式启动,如下:
python train.py --device 0 --batch-size 16 --img 640 640 --data self.yaml --cfg cfg/yolov4-tiny.cfg --weights 'weights/yolov4-tiny.weights' --name yolov4-tiny根据个人喜好来选择即可。
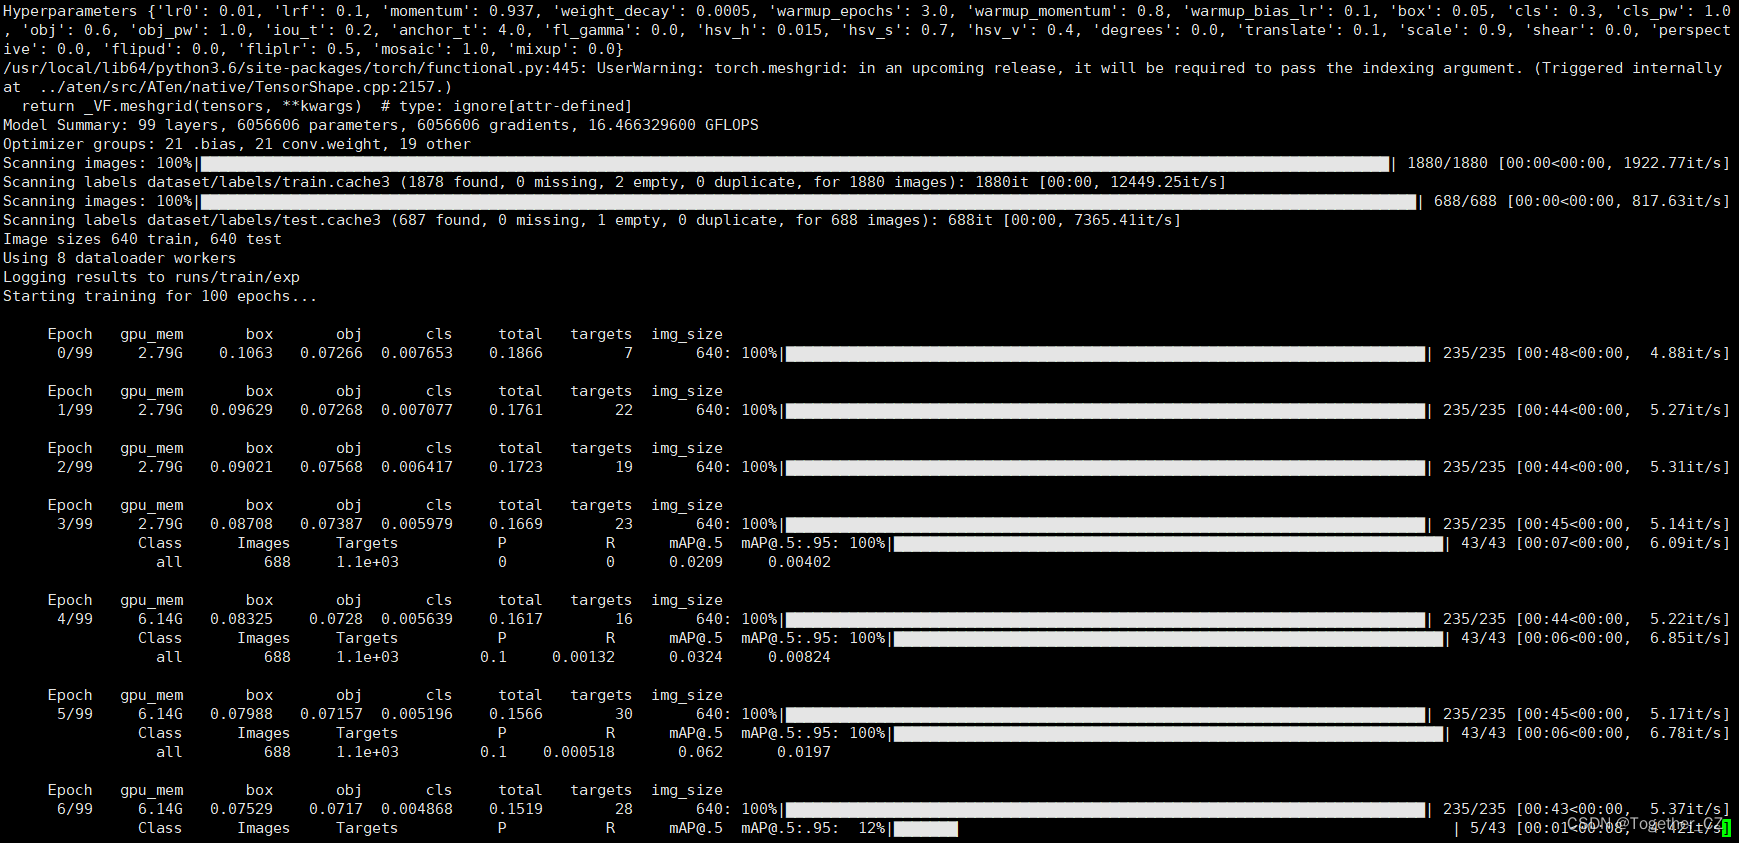
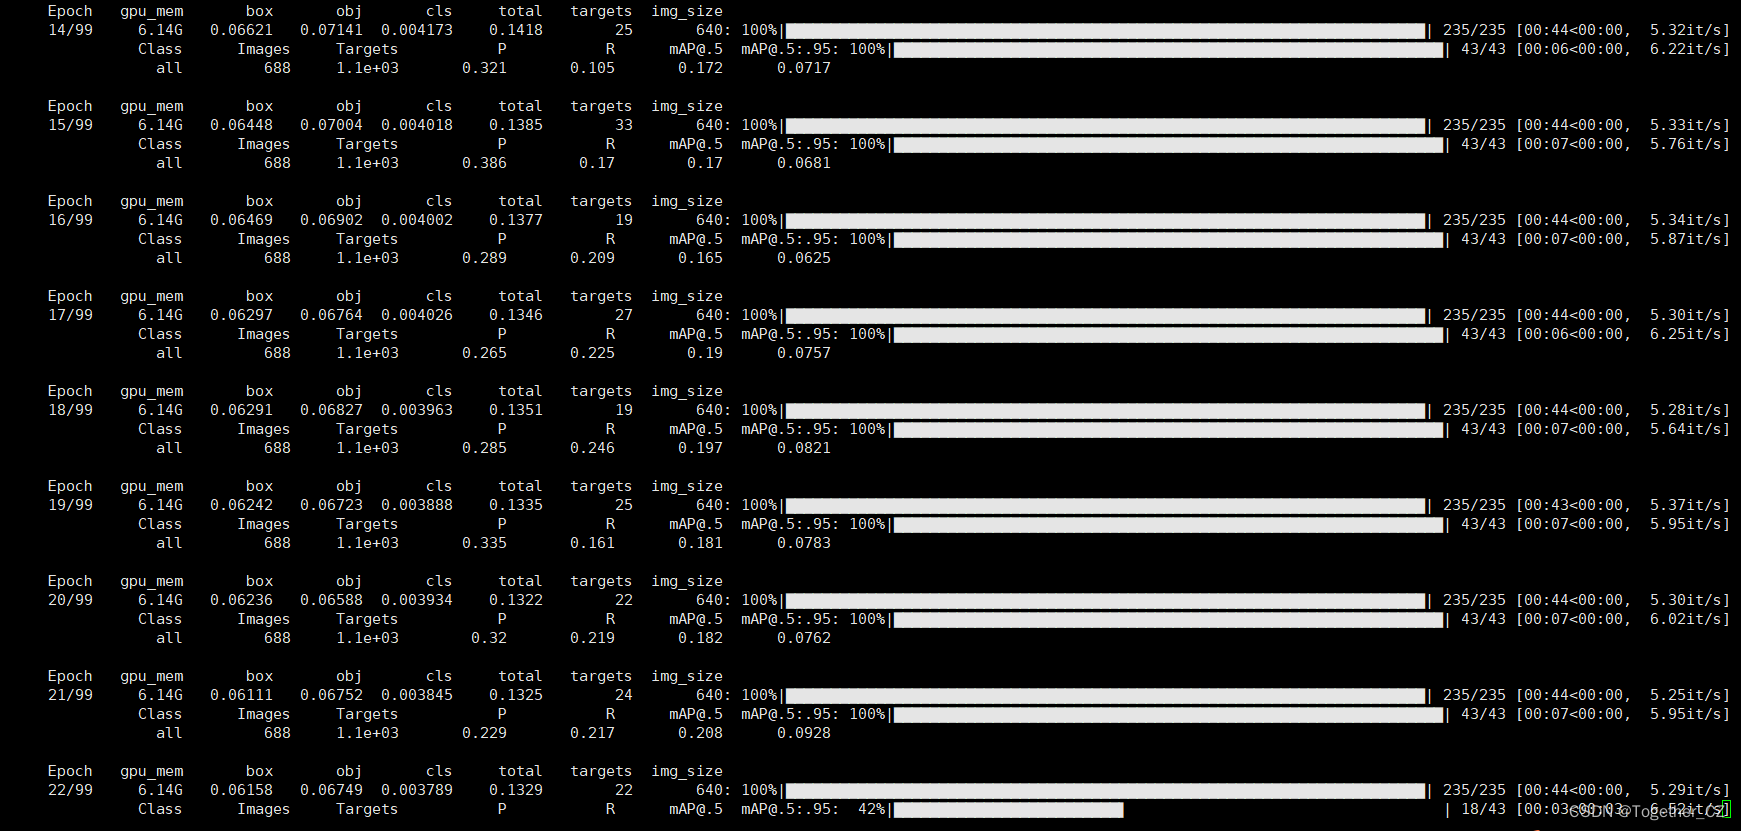
启动训练终端输出如下所示:

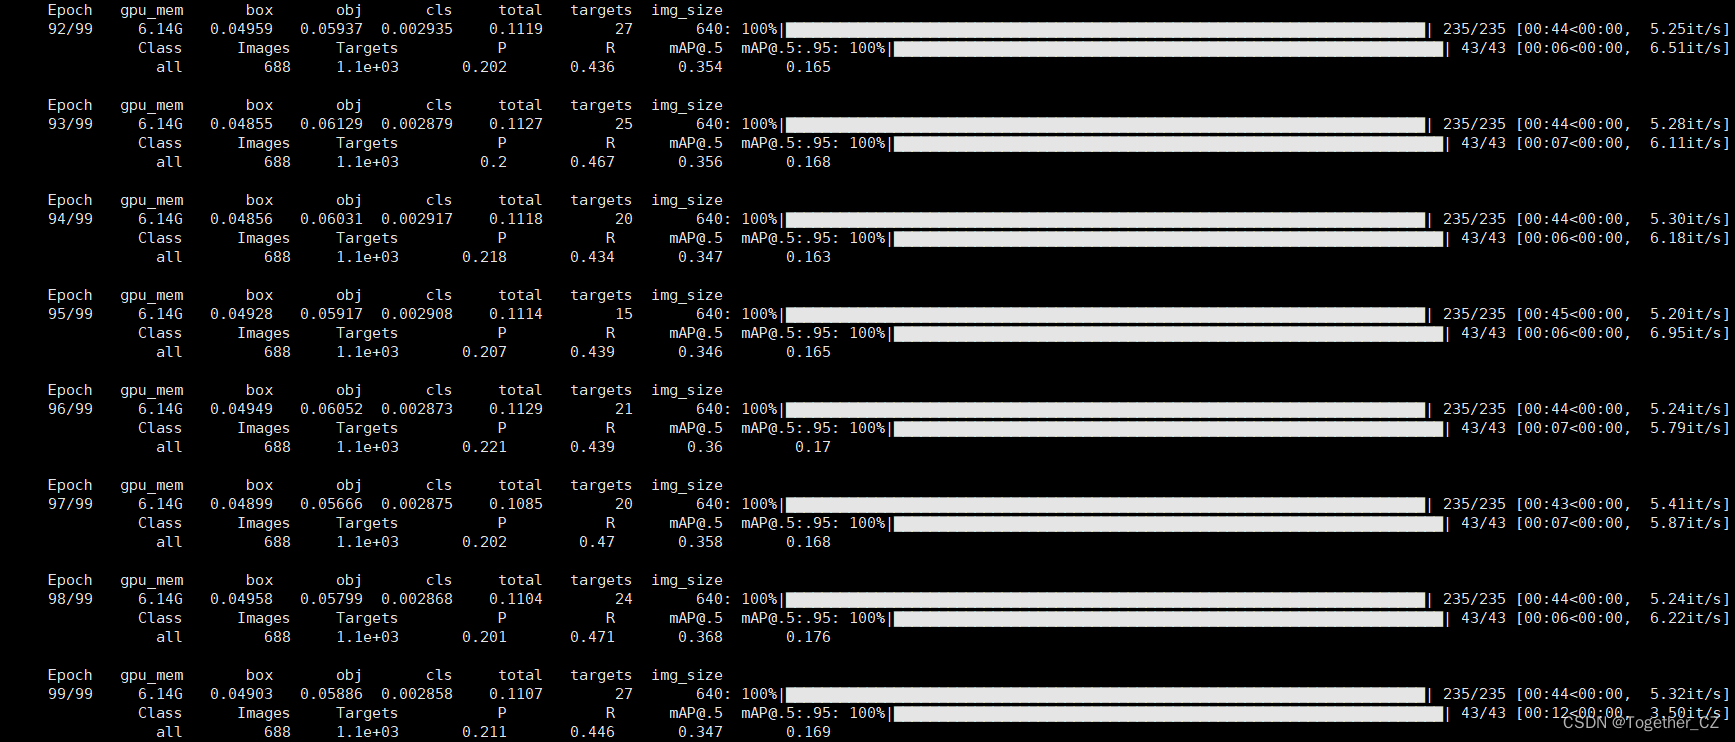
训练完成截图如下所示:
训练完成我们来看下结果文件,如下所示:
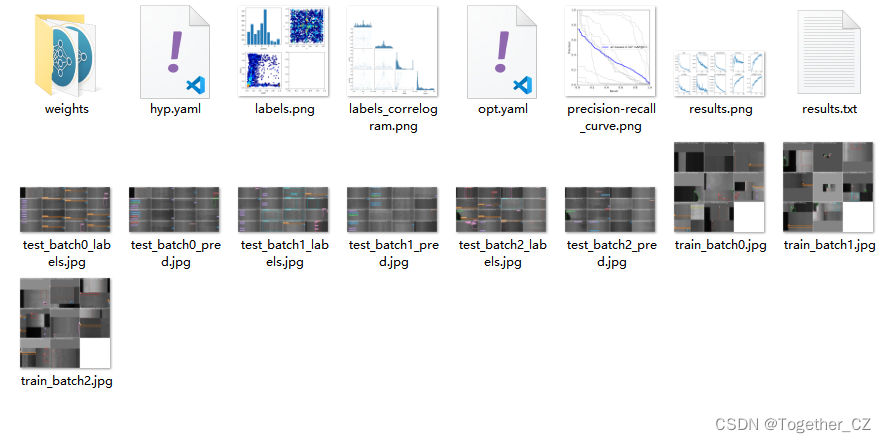
可以看到:结果文件直观来看跟yolov5项目差距还是很大的,评估指标只有一个PR图,所以如果是做论文的话最好还是使用yolov5来做会好点。
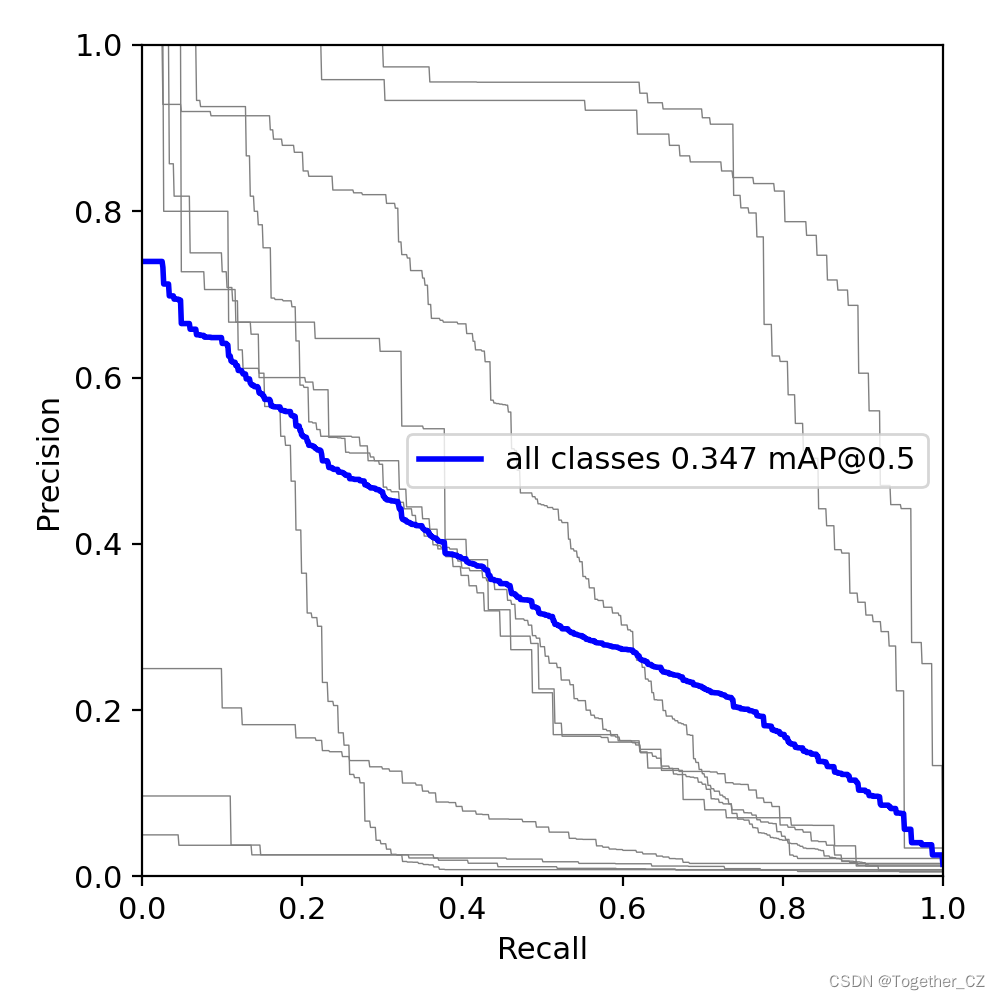
PR曲线如下所示:
训练可视化如下所示:

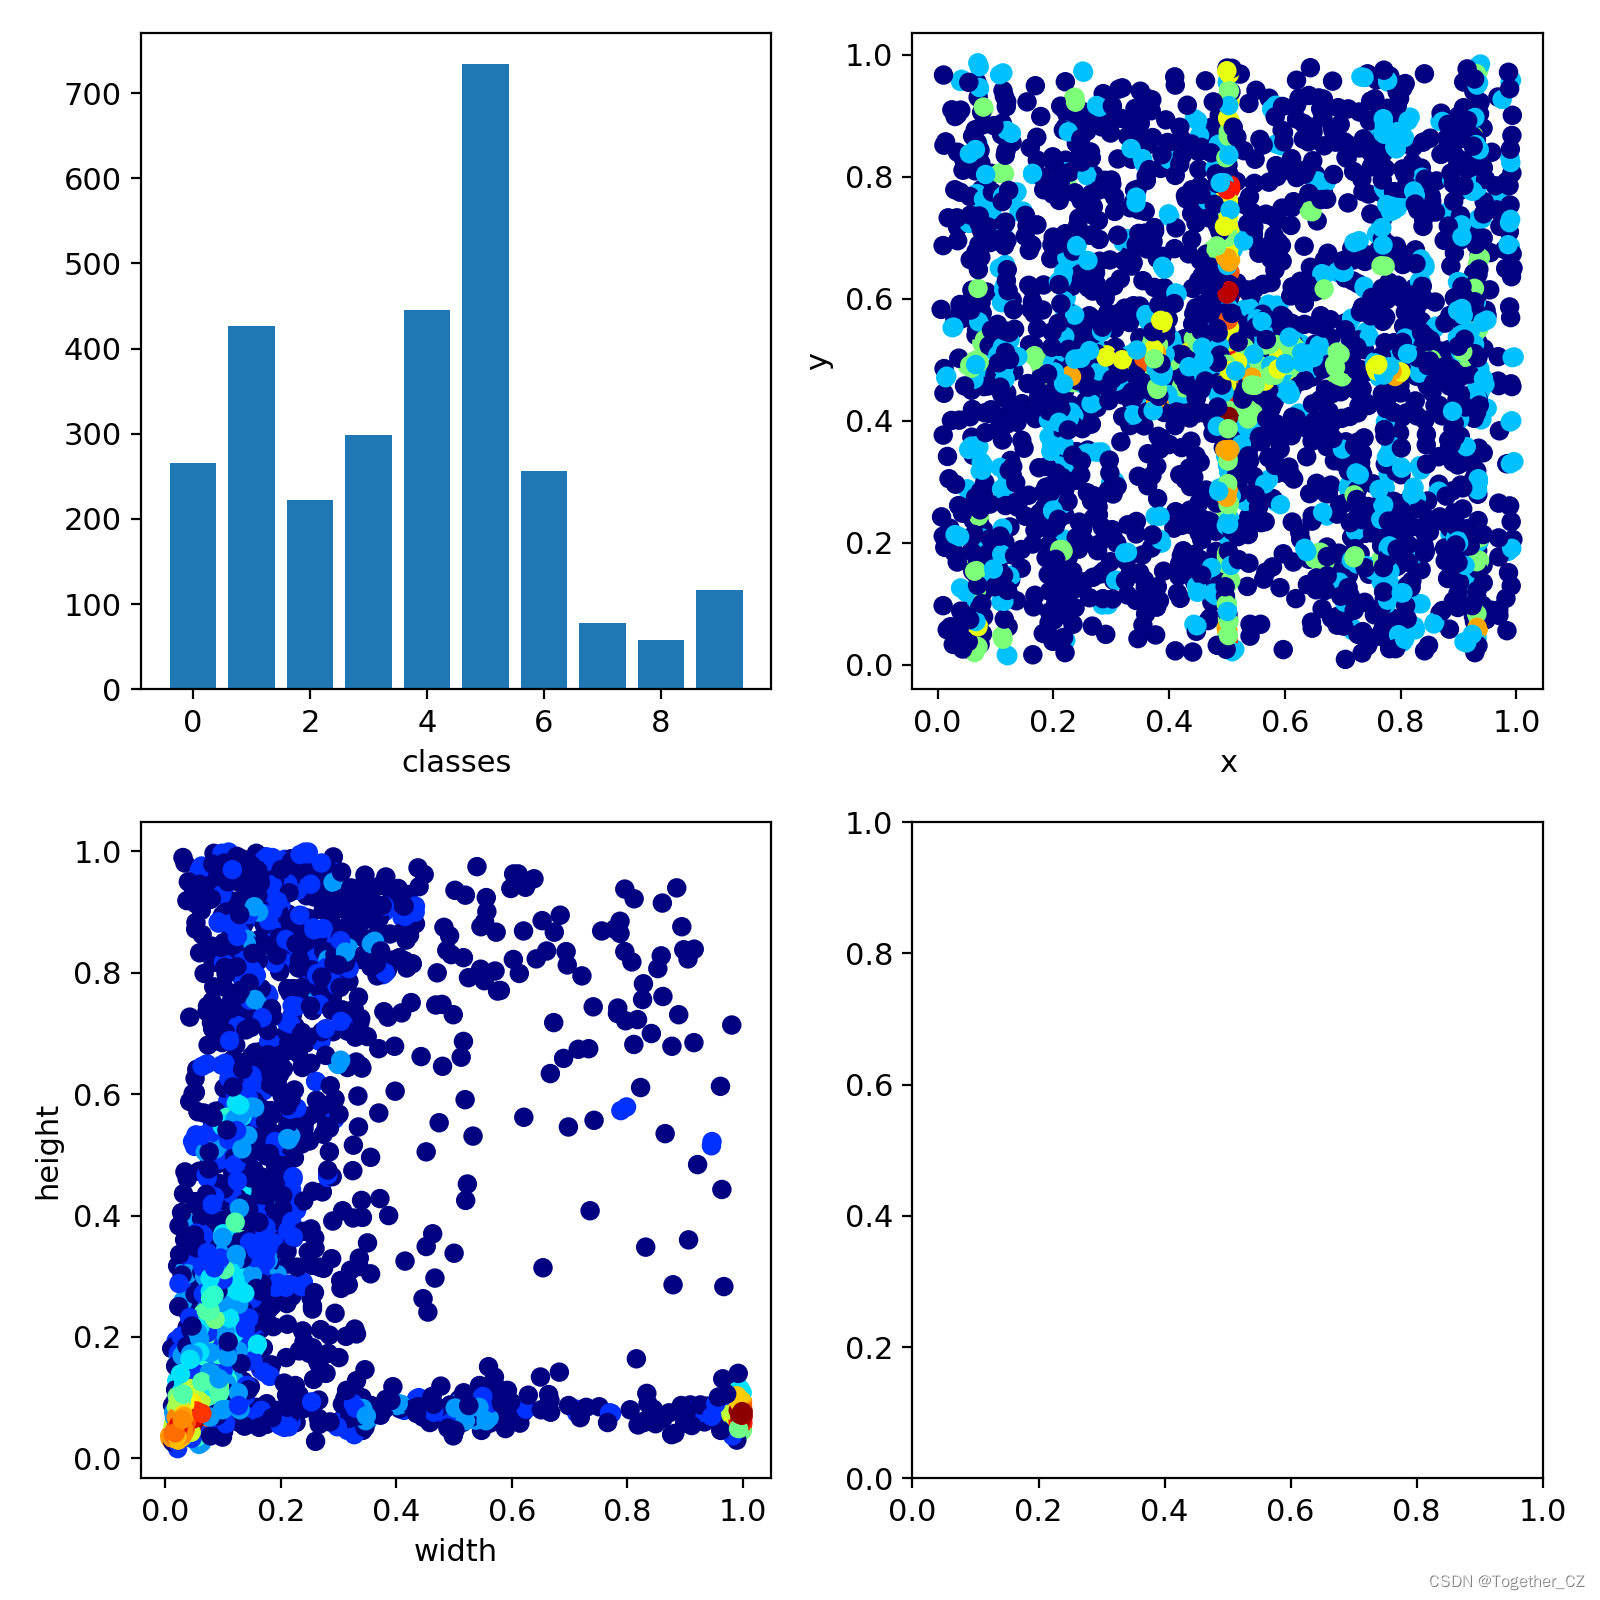
LABEL数据可视化如下所示:
weights目录如下所示:
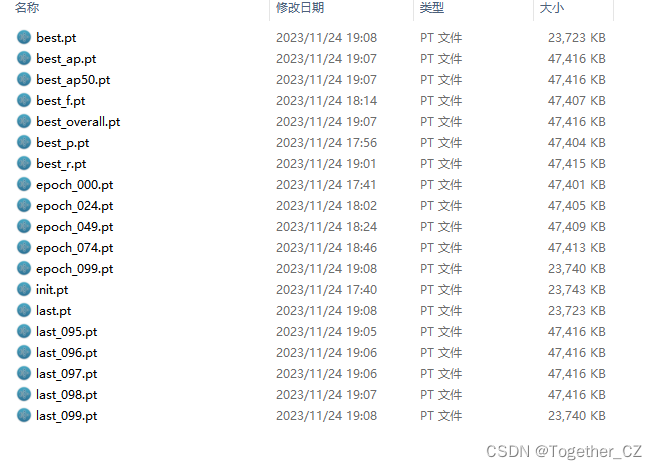
这个跟yolov5项目差异也是很大的,yolov5项目只有两个pt文件,一个是最优的一个是最新的,但是yolov4项目居然产生了19个文件,保存的可以说是非常详细了有点像yolov7,但是比v7维度更多一些。
感兴趣的话都可以按照我上面的教程步骤开发构建自己的目标检测模型。