如何做门户网站百度网络营销中心app
Excel,我的野心
当我输入3,2
就表示在第3行第2列。的单元格输入数据input输入表头
(input内除了/,空格 回车 标点符号等
全部作为单元格分隔符)由我设置input输入的是行or列
给选项
1. 行
2. 列默认回车或没输入值是列由我设置起始位置行列
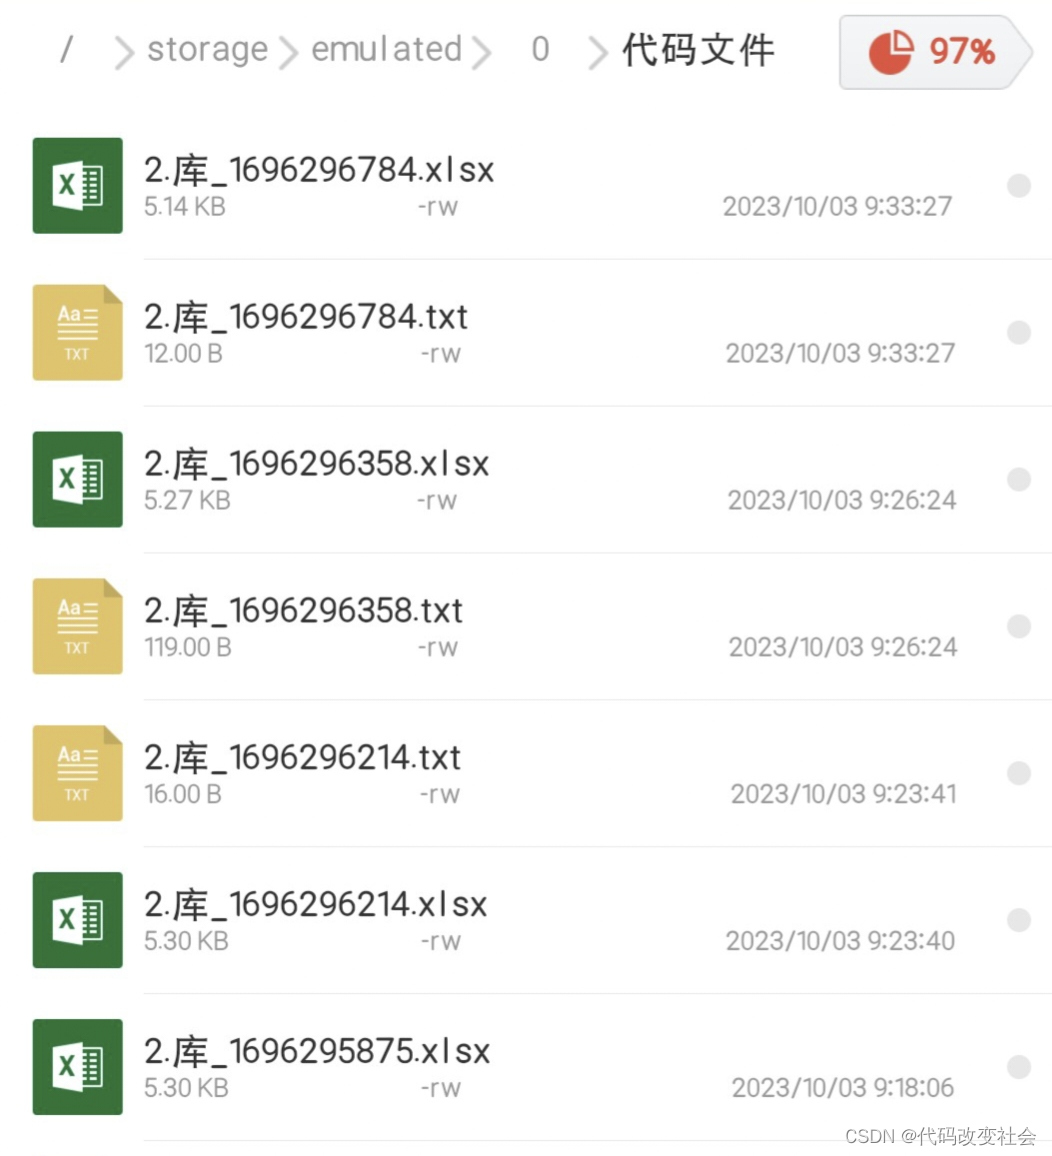
例如 1,3 表示1行3列保存/storage/emulated/0/代码文件/
没有就创建文件名命名方法:编号. 库 时间戳

代码
明白了,根据您的要求,以下是处理输入和保存文件的流程:
- 使用
input函数输入表头数据,并将除了斜杠之外的标点符号作为单元格分隔符。
import reheader = input("请输入表头数据:")
delimiter = re.sub(r"[^\w\s/]", "", header)
- 使用
input函数选择输入方式(行或列),默认为列。
input_mode = input("请选择输入方式(1 - 行,2 - 列,默认为列):") or "2"
- 使用
input函数输入起始位置的行和列号,默认为1行1列。
start_position = input("请输入起始位置的行和列(例如:1,1,默认为1行1列):") or "1,1"
- 使用当前时间戳生成文件名,并在指定路径下创建存储文件的文件夹。
import os
import timefolder_path = "/storage/emulated/0/代码文件/"
file_name = f"{len(os.listdir(folder_path)) + 1}.库{int(time.time())}"
os.makedirs(folder_path, exist_ok=True)
- 将输入的数据按照选择的输入方式和起始位置写入到Excel表格和文本文件中。
import pandas as pdif input_mode == "1":# 行输入方式rows = []row = input("请输入行数据(输入空行结束):")while row:rows.append(row.split(delimiter))row = input()df = pd.DataFrame(rows, columns=header.split(delimiter))
else:# 列输入方式cols = {}col_idx = int(start_position.split(",")[1]) - 1col = input("请输入列数据(输入空行结束):")while col:cols[col_idx] = col.split(delimiter)col_idx += 1col = input()df = pd.DataFrame(cols)df.to_excel(f"{folder_path}{file_name}.xlsx", index=False, header=False)
df.to_csv(f"{folder_path}{file_name}.txt", index=False, header=False)
为了完成我伟大的梦想,我已经搞废19张表格了!