高端网站建设域名注册按效果付费的网络推广方式
0x00 背景
最近windows电脑休息,用mac办公比较多,手机用时间长了,不太灵光,准备修理一番。于是要用mac调试下android手机。配置略显麻烦,网上的步骤多参差不齐。估计是入门步骤,大佬们也懒得写的太细。于是这里记录下。
0x01 准备环境
- mac一台;
- mac上安装好
Android Studio和手机对应的sdk;
0x02 步骤
1. 设置adb环境变量
这里因为Android Studio自带adb,所以安装步骤省略,这里只需要设置adb路径到默认环境,让shell能找到adb。
LZ用的oh-my-zsh,打开对应的配置文件~/.zshrc,在该文件中可以添加与Android开发相关的环境变量配置,具体配置如下:
export ANDROID_HOME=/Users/【用户名】/Library/Android/sdk
export PATH=${PATH}:${ANDROID_HOME}/emulator
export PATH=${PATH}:${ANDROID_HOME}/tools
export PATH=${PATH}:${ANDROID_HOME}/platform-tools
export PATH=${PATH}:${ANDROID_HOME}/build-tools
如下图:

执行命令source ~/.zshrc,是zshrc生效。
2. 设置手机VID
这一步骤是让adb在检查devices时,能顺利找到手机设备。
- 将android手机通过USB数据线连接Mac,打开终端输入:
system_profiler SPUSBDataType; - 找到对应设备的
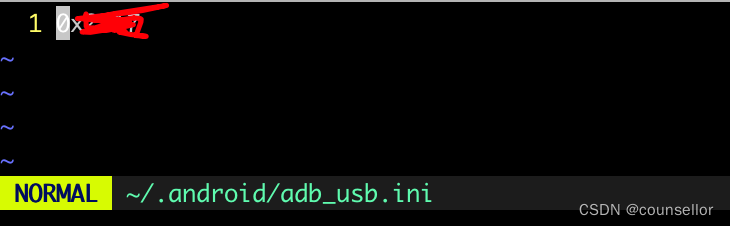
Vendor ID; - 将
Vendor ID的值写入~/.android/adb_usb.ini文件中,该文件可能需要新建。
这里借用一下其他师傅的图。

修改~/.android/adb_usb.ini
3. 重启adb服务
只需要执行以下两个命令即可:
adb kill-server
adb start-server
4. 查看手机连接状态
adb devices
需要说明的是LZ连了多台设备,要指定进入某台设备后台可以通过adb -s cmd向设备发送adb命令。
比如:运行命令shell。
adb -s SH0A6PL00243 shell
#
比如down一个应用的数据库到本地/tmp目录下面。
adb -s SH0A6PL00243 pull data/data/com.android.tencent/databases/AgendaDetails.db /tmp
555 KB/s (5120 bytes in 0.009s)C:\Users\Administrator>
0x03 adb常用命令
查看ADB版本:adb version
查看手机设备:adb devices
查看设备型号:adb shell getprop ro.product.model
查看电池信息:adb shell dumpsys battery
查看设备ID:adb shell settings get secure android_id
查看设备IMEI:adb shell dumpsys iphonesubinfo
查看Android版本:adb shell getprop ro.build.version.release
查看手机网络信息:adb shell ifconfig
查看设备日志:adb logcat
重启手机设备:adb reboot
安装一个apk:adb install /path/demo.apk
卸载一个apk:adb uninstall <package>
查看系统运行进程:adb shell ps
查看系统磁盘情况:adb shell ls /path/
手机设备截屏:adb shell screencap -p /sdcard/aa.png
手机文件下载到电脑:adb pull /sdcard/aa.png ./
电脑文件上传到手机:adb push aa.png /data/local/
手机设备录像:adb shell screenrecord /sdcard/ab.mp4
手机屏幕分辨率:adb shell wm size
手机屏幕密度:adb shell wm density
手机屏幕点击:adb shell input tap xvalue yvalue
手机屏幕滑动:adb shell input swipe 1000 1500 200 200
手机屏幕带时间滑动:adb shell input swipe 1000 1500 0 0 1000
手机文本输入:adb shell input text xxxxx
手机键盘事件:adb shell input keyevent xx
连接多个手机设备时,指定手机设备:adb -s serialNumber <command>
0x04 参考文献
https://juejin.cn/post/7245169313241415736
https://www.cnblogs.com/developer-qin/p/14734752.html