排名好的锦州网站建设舆情通
设计模式:
架构师会使用到设计模式,开发框架,就需要掌握很多设计模式。
在Java基础阶段学习设计模式,将来面试笔试的时候,笔试题目会经常靠到设计模式。
将来会用到设计模式。框架代码中会用到设计模式。
什么是设计模式?(design pattern)
一个问题经常会有n种解法,其中肯定有一种解法是最优的,这种优的解法被人总结出来了,称之为设计模式。
设计模式就是具体问题的最优解决方法。
设计模式有20多种,对应20多种软件开发中会遇到的问题。
关于设计模式的学习,主要学什么?
解决什么问题?
怎么写?
主要学这两点就行了。
单例设计模式:
确保一个类只有一个对象。
写法:
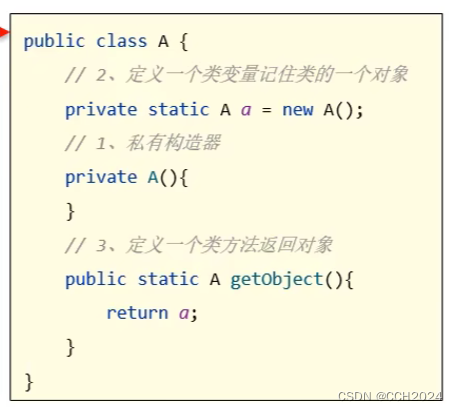
1)把类的构造器私有;
2)定义一个类变量记住类的一个对象;
3)定义一个类方法,返回对象。
package cn.ensource.d6_singleinstance;public class A {// 定义一个类变量记住类的一个对象private static A a = new A();// 私有构造器private A() {}// 定义一个类方法返回类对象public static A getInstance() {return a;}
}
测试类:
package cn.ensource.d6_singleinstance;public class Test1 {public static void main(String[] args) {// 目标:掌握单例设计模式的方法A a1 = A.getInstance();A a2 = A.getInstance();System.out.println(a1);System.out.println(a2);}
}
运行结果:

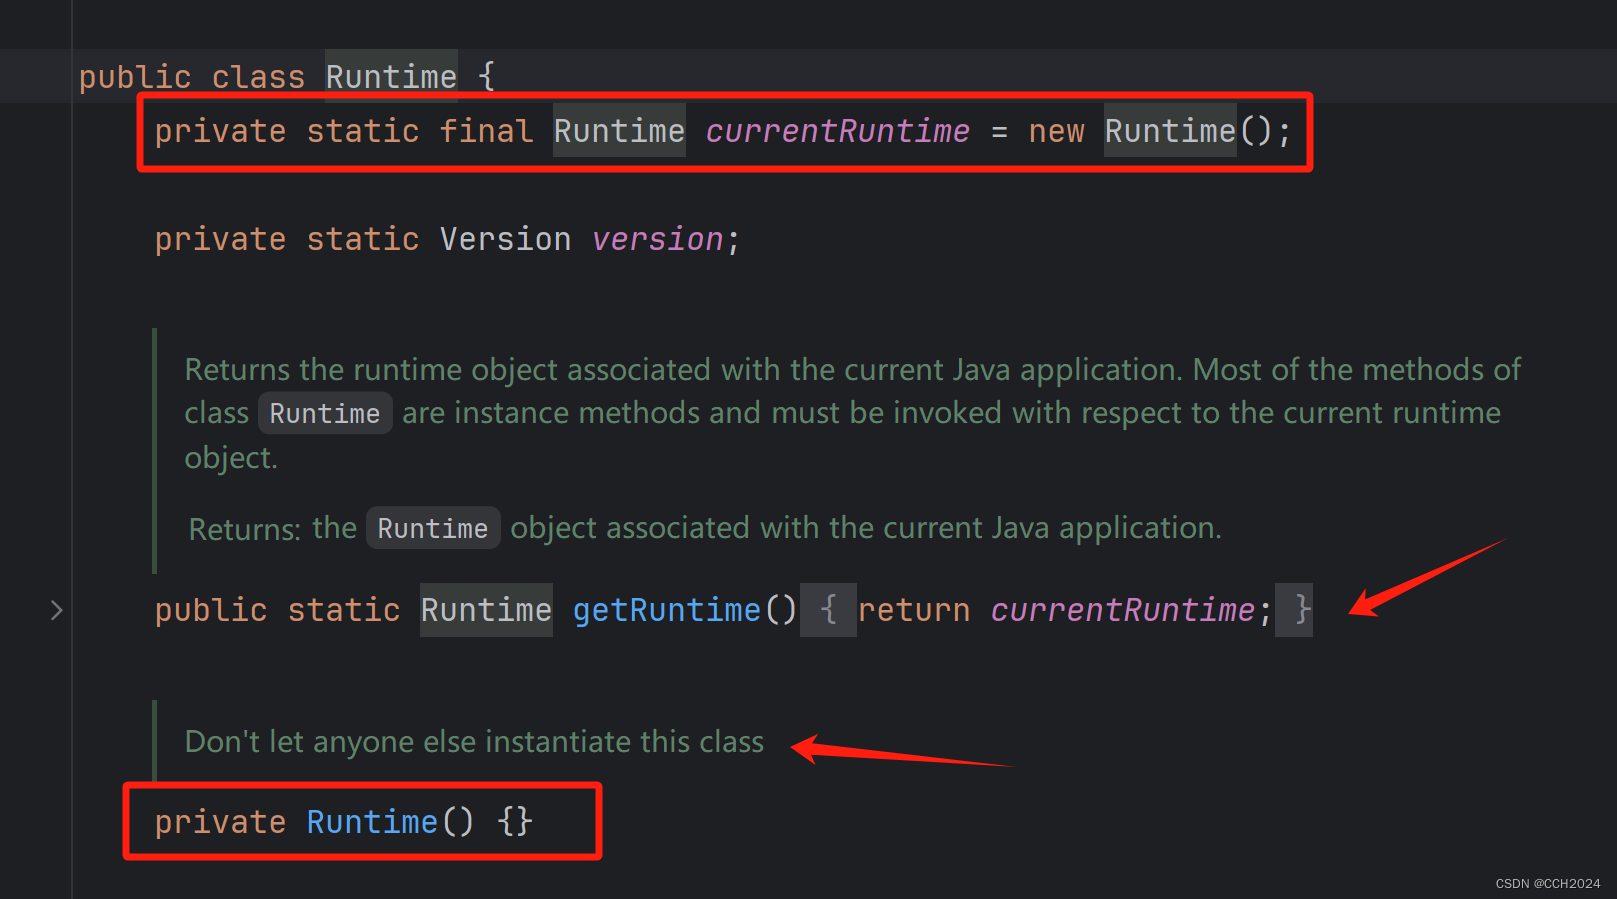
单例设计模式有什么应用场景和好处?
Runtime类就是典型的单例类,Runtime就是程序的运行环境,Java程序运行的时候只有一个运行环境,因此Runtime只需要一个对象,所以就做成了单例类。
任务管理器也是一个单例模式的例子:

无论我启动多少次任务管理器,任务管理器只有一个。一台电脑只需要一个任务管理器,启动多个任务管理器,界面都是一样,只需要一个即可。所以就设计成单例模式。
在这些业务场景下,使用单例模式,避免浪费内存。
单例设计模式的实现方式很多:
饿汉式单例:拿对象时,对象已经创建好了。
懒汉式单例模式:
拿对象的时候,才开始创建对象(延时加载对象)。
写法:
1)把类的构造器私有。
2)定义一个类变量用于存储对象;
3)提供一个类方法,保证返回的是同一个类对象。
package cn.ensource.d6_singleinstance;public class B {// 2. 定义一个类变量,用于存储这个类的一个对象,这个时候没有创建对象private static B b;// 1. 私有构造器,对外就不能创建对象了private B() {}// 3. 定义一个类方法,这个方法要保证第一次调用才创建一个对象,后面调用时都会用同一个对象返回public static B getInstance() {// 第一次,就是b对象还没创建为空nullif (b == null) {b = new B();}return b;}
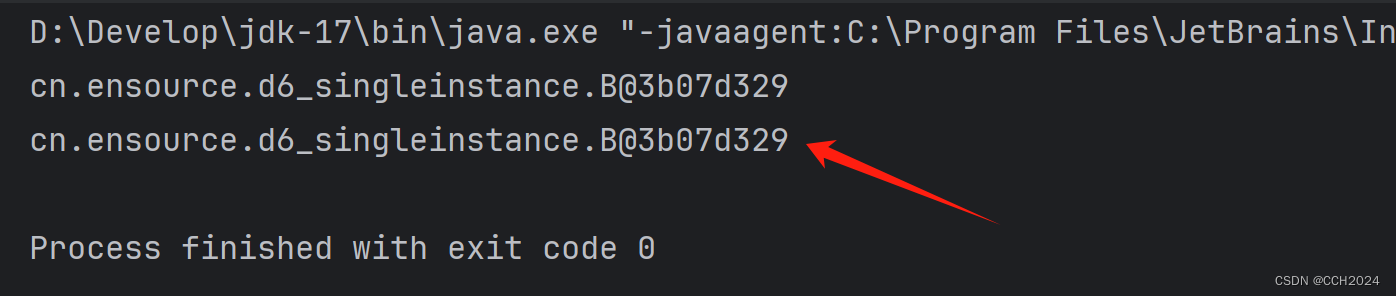
}package cn.ensource.d6_singleinstance;public class Test2 {public static void main(String[] args) {// 目标:掌握懒汉式单例模式B b1 = B.getInstance();System.out.println(b1);B b2 = B.getInstance();System.out.println(b2);}
}运行结果:
如果单例对象使用的不是很频繁,就使用懒汉式单例模式。
如果使用的很频繁,就是饿汉式单例模式。