做seo还要需要做网站吗东莞有哪些做推广的网站
文章目录
- 1.设计来源
- 1.1 主界面
- 1.2 我的产品界面
- 1.3 关于我们界面
- 1.4 照片墙界面
- 1.5 发展历程界面
- 1.6 优秀人才界面
- 1.7 热门产品界面
- 1.8 联系我们界面
- 2.灵活调整模块
- 3.效果和源码
- 3.1 动态效果
- 3.2 源代码
- 源码下载
作者:xcLeigh
文章地址:https://blog.csdn.net/weixin_43151418/article/details/138462610
HTML5实现酷炫个人产品推广、工具推广、信息推广、个人主页、个人介绍、酷炫官网、门户网站模板源码,酷炫的界面,自适应的处理方式,可以用作自己的官网、自己的产品相关推广,自己的个人主页,个人介绍,也可用作工具演示灵活运用。对图片,视频,文字的各种处理风格,让界面更加美观实用。各种风格都有,代码上手简单,代码独立,可以直接使用。也可直接预览效果。
1.设计来源
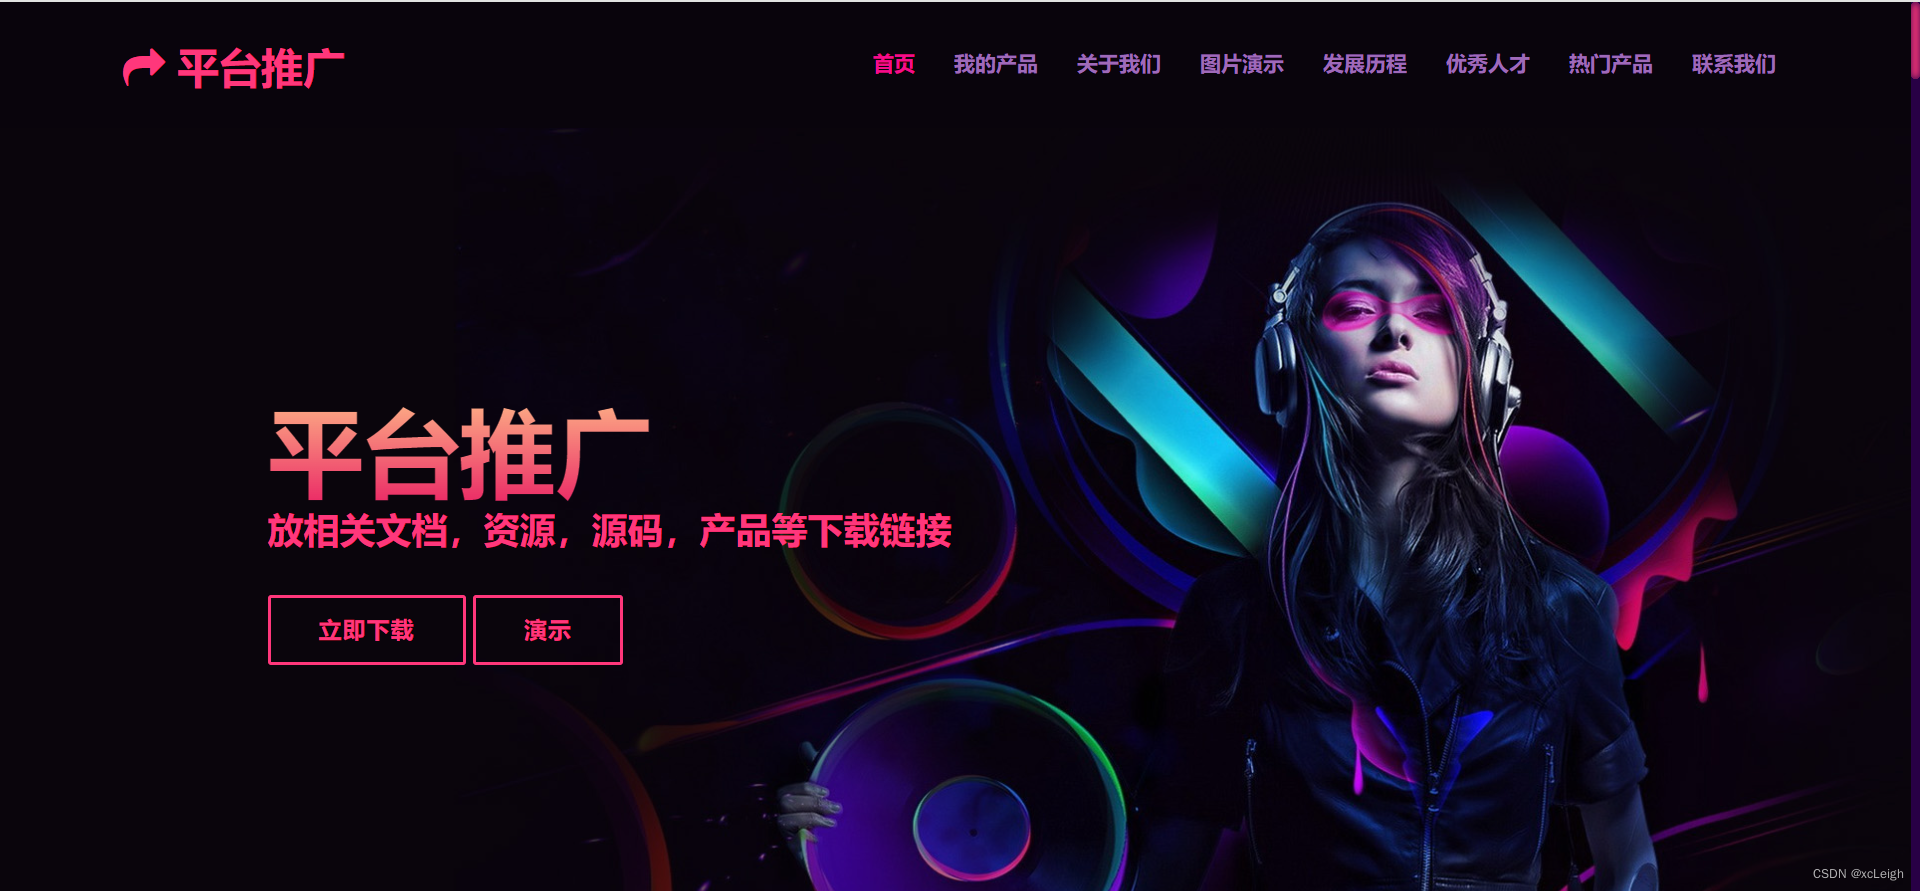
1.1 主界面
- 左上角文字+图标,可以自定义,写自己的网站系统名称;
- 右上角的菜单导航,可以灵活定义,根据自己的需求增减菜单,修改菜单名称;
- 中间部分是背景图+自定义推广项目,视频在线演示;
1.2 我的产品界面
- 左上角文字+图标,可以自定义,写自己的网站系统名称;
- 右上角的菜单导航,可以灵活定义,根据自己的需求增减菜单,修改菜单名称;
- 中间部分是title文字+描述+产品介绍;

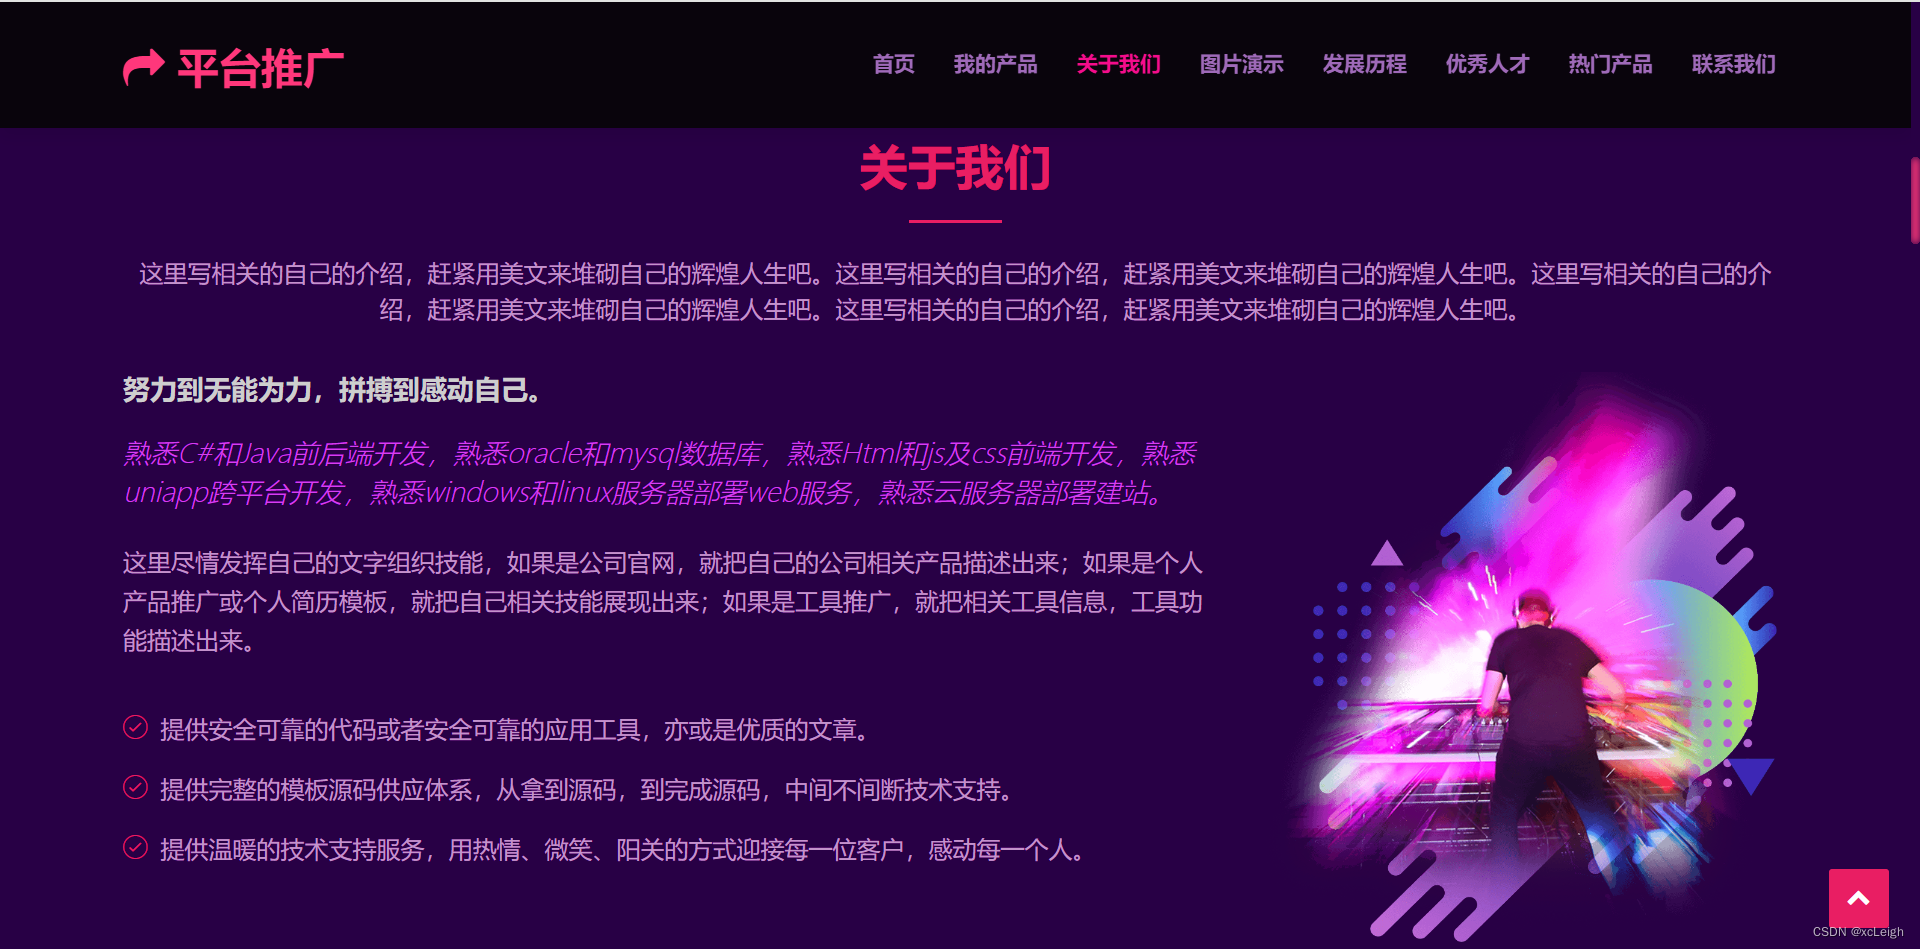
1.3 关于我们界面
- 左上角文字+图标,可以自定义,写自己的网站系统名称;
- 右上角的菜单导航,可以灵活定义,根据自己的需求增减菜单,修改菜单名称;
- 中间部分是title文字+描述+自我介绍;
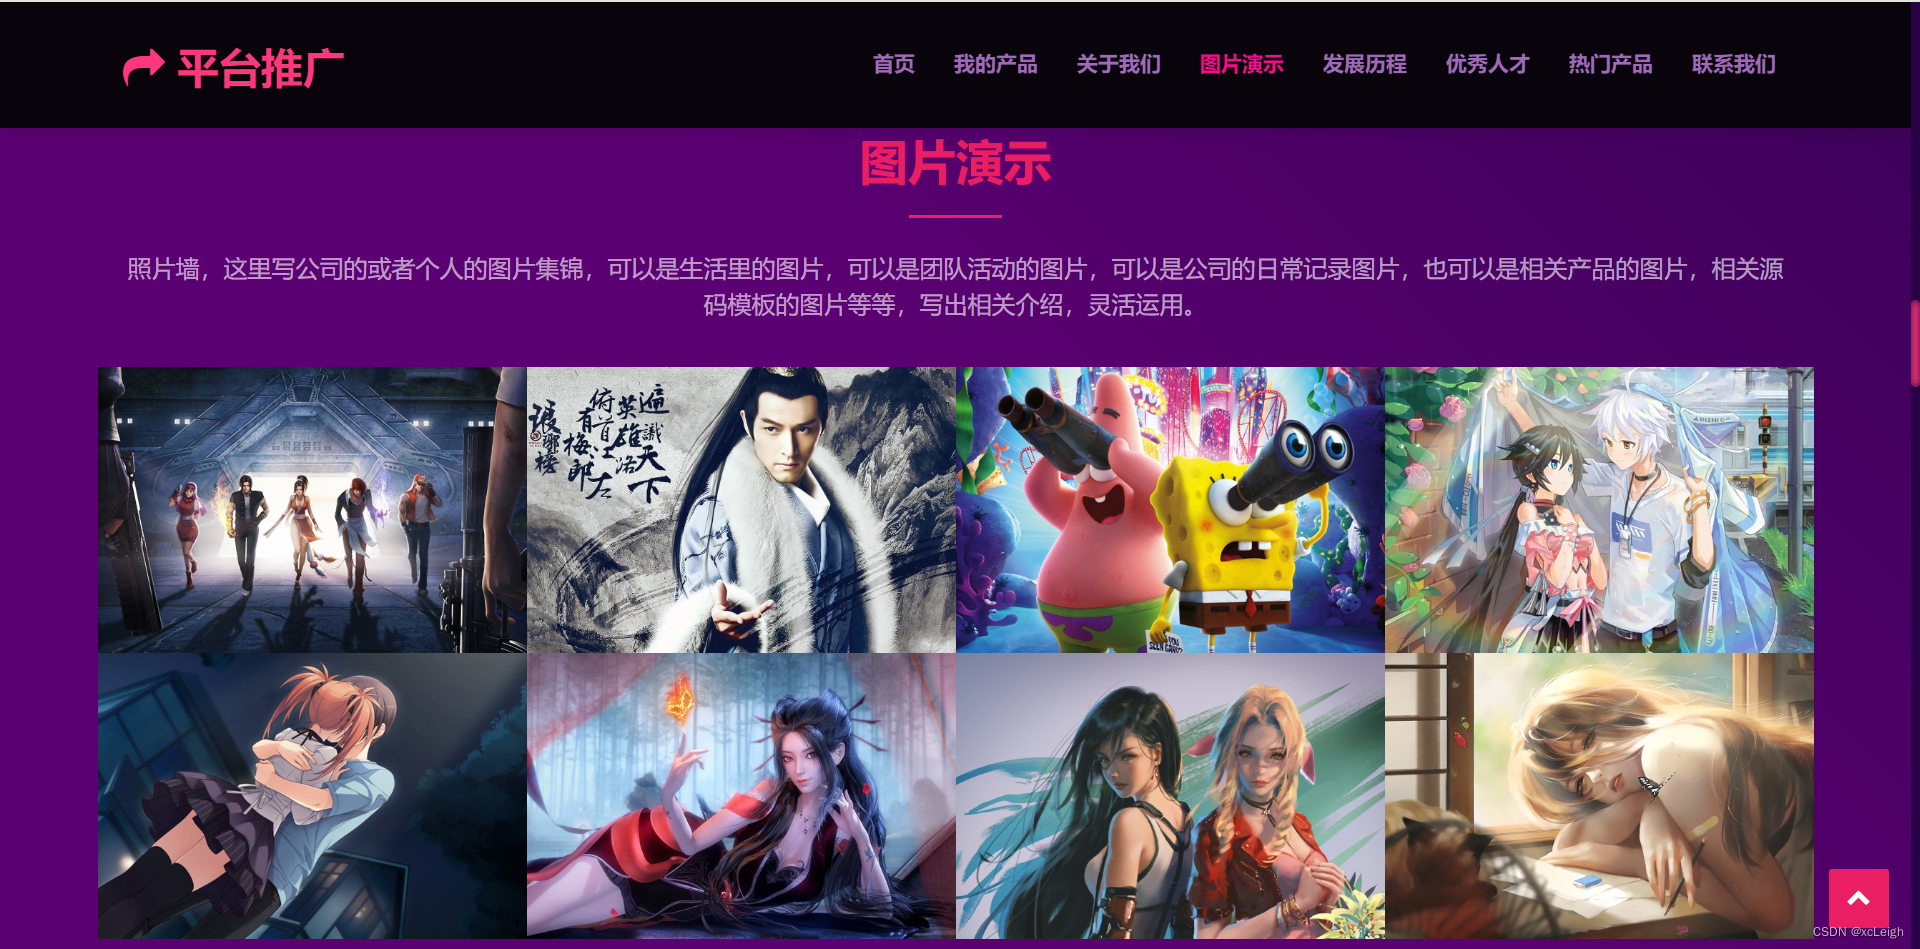
1.4 照片墙界面
- 左上角文字+图标,可以自定义,写自己的网站系统名称;
- 右上角的菜单导航,可以灵活定义,根据自己的需求增减菜单,修改菜单名称;
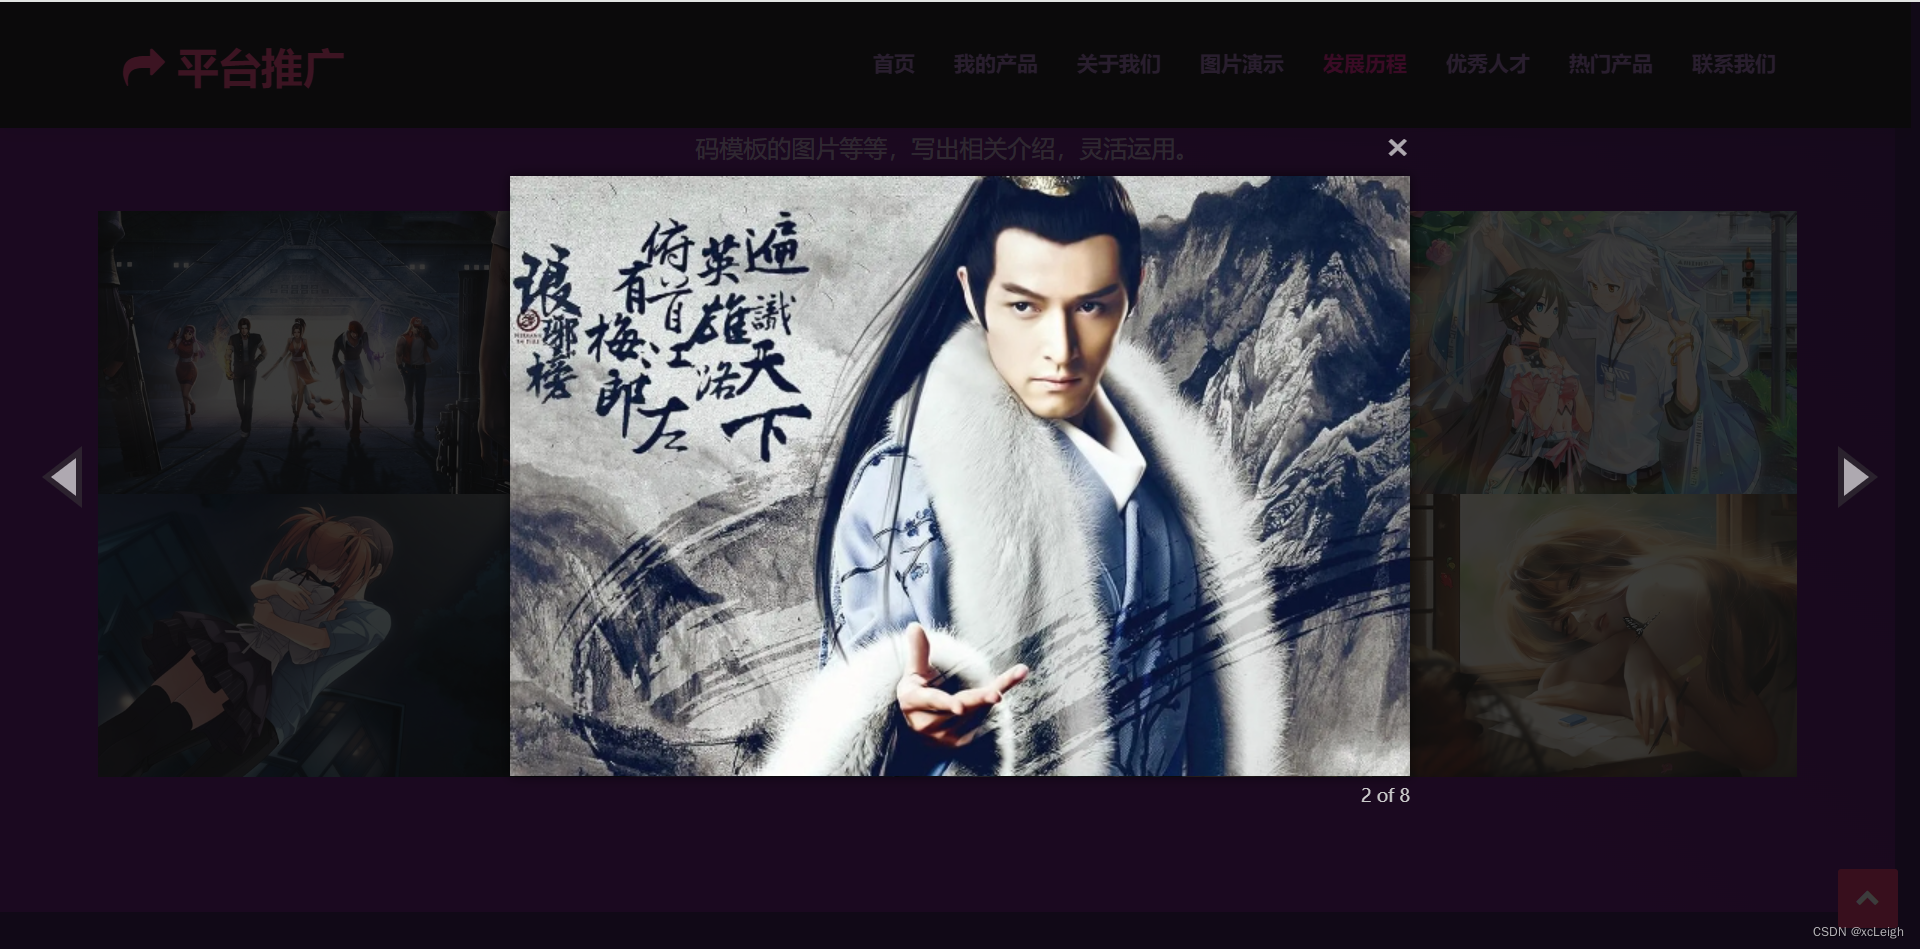
- 中间部分是title文字+描述+照片墙(点击图片放大查看);
1.5 发展历程界面
- 左上角文字+图标,可以自定义,写自己的网站系统名称;
- 右上角的菜单导航,可以灵活定义,根据自己的需求增减菜单,修改菜单名称;
- 中间部分是title文字+描述+发展历程(如果是个人,这里可以改成自己的成长历程);

1.6 优秀人才界面
- 左上角文字+图标,可以自定义,写自己的网站系统名称;
- 右上角的菜单导航,可以灵活定义,根据自己的需求增减菜单,修改菜单名称;
- 中间部分是title文字+描述+优秀人才(如果是个人,这里可以改成自己的好友或团队);

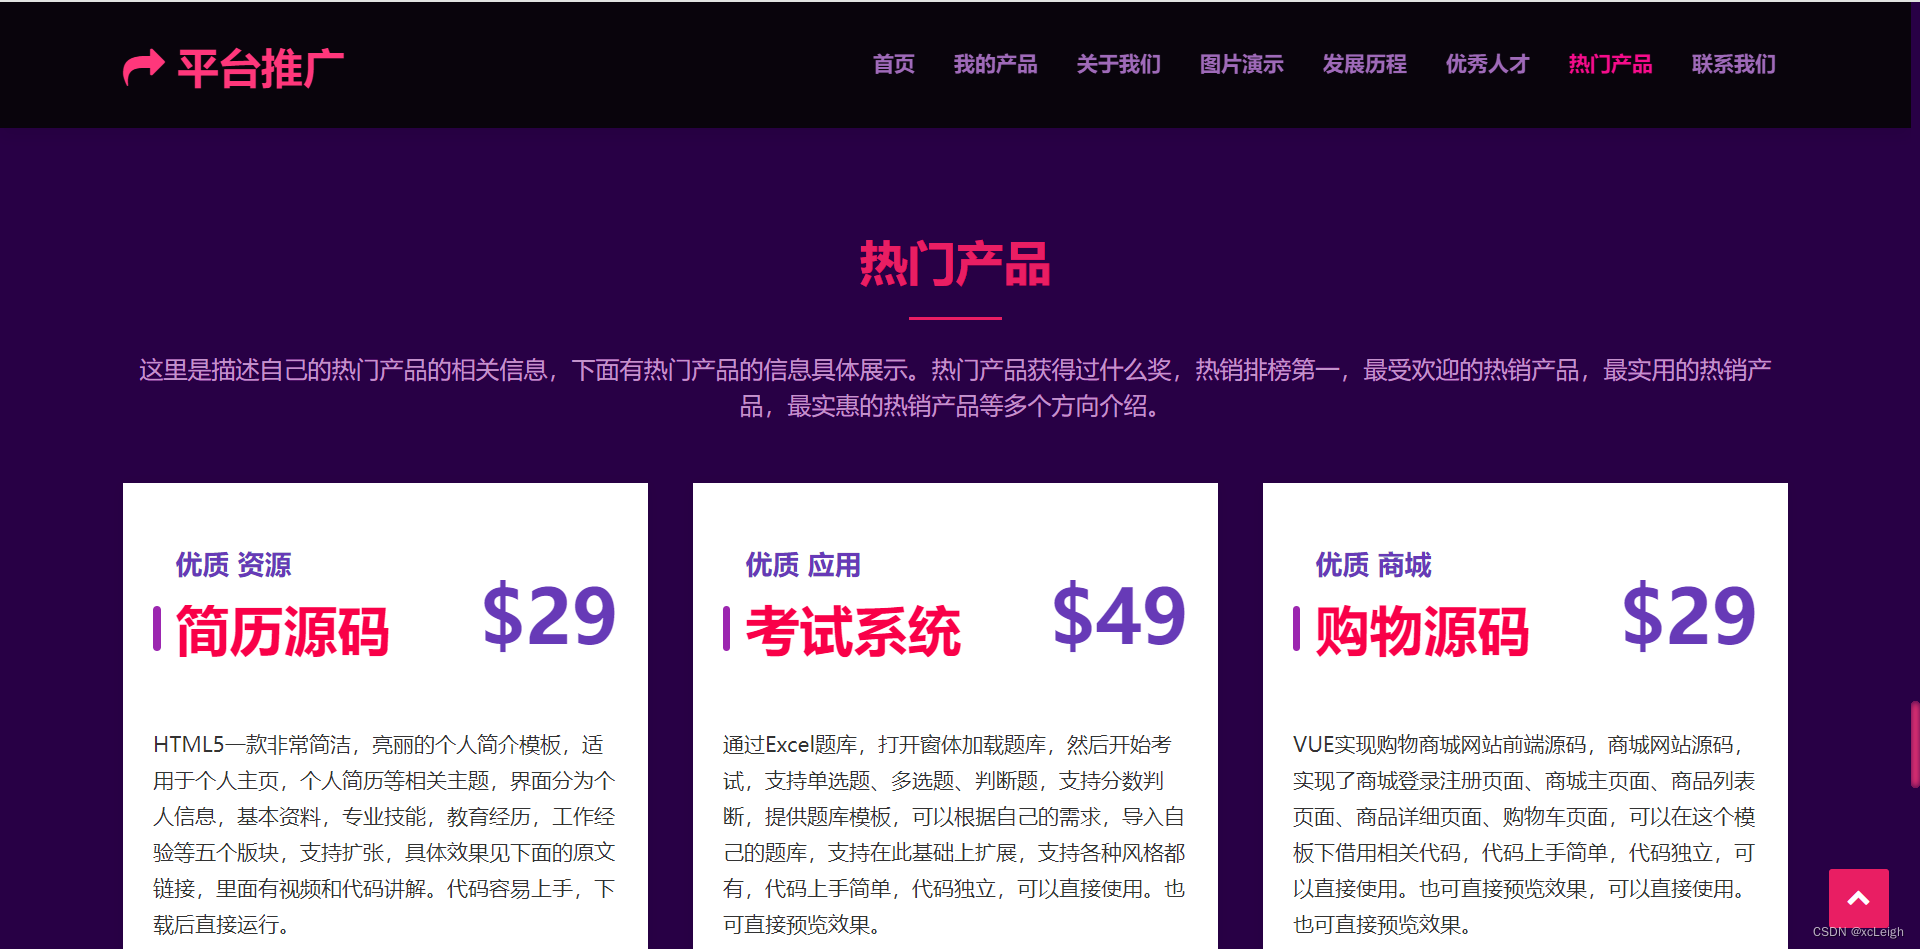
1.7 热门产品界面
- 左上角文字+图标,可以自定义,写自己的网站系统名称;
- 右上角的菜单导航,可以灵活定义,根据自己的需求增减菜单,修改菜单名称;
- 中间部分是title文字+描述+热门产品(如果是个人,这里可以改成自己的推广);
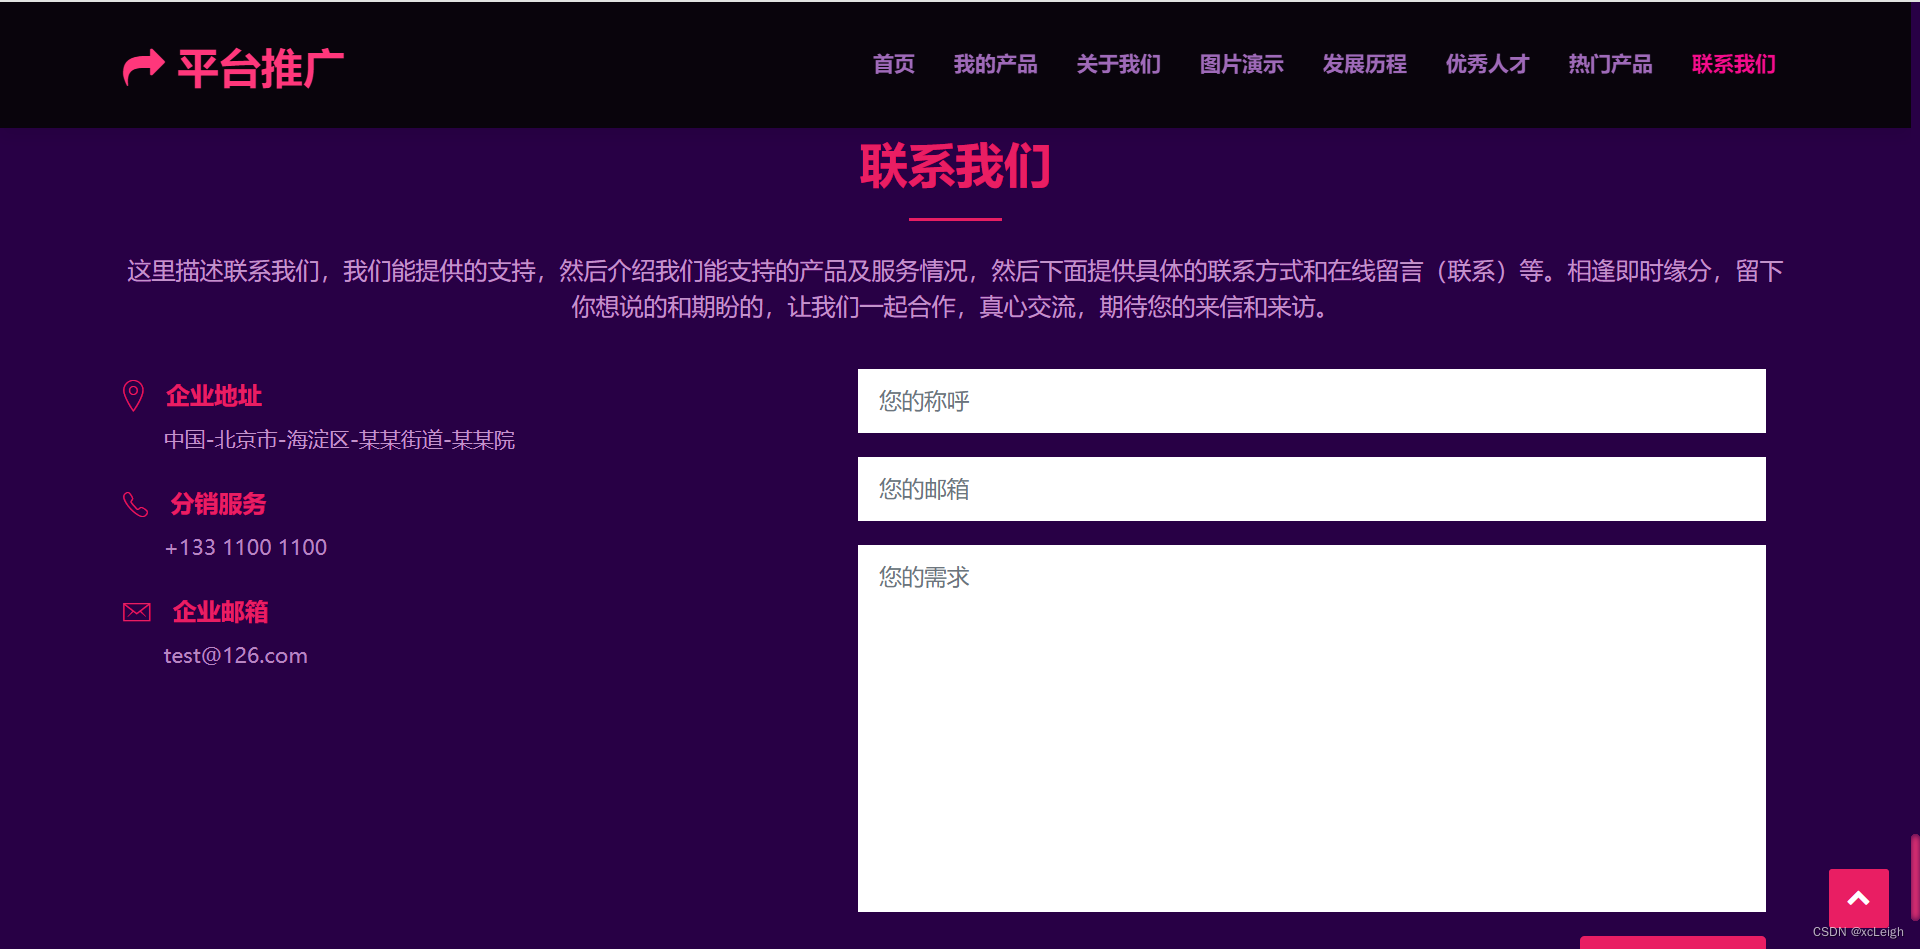
1.8 联系我们界面
- 左上角文字+图标,可以自定义,写自己的网站系统名称;
- 右上角的菜单导航,可以灵活定义,根据自己的需求增减菜单,修改菜单名称;
- 中间部分是title文字+描述+联系我们(如果是个人,这里可以改成自己的信息);
2.灵活调整模块
- 板块内容支持增加和删减,也可以修改板块名称,譬如首页针对的是产品下载和产品介绍演示,可以改成个人的信息描述,视频播放个人的信息介绍。
- 如下图扩展的友情链接,可以自己定义,鼠标悬浮高亮。
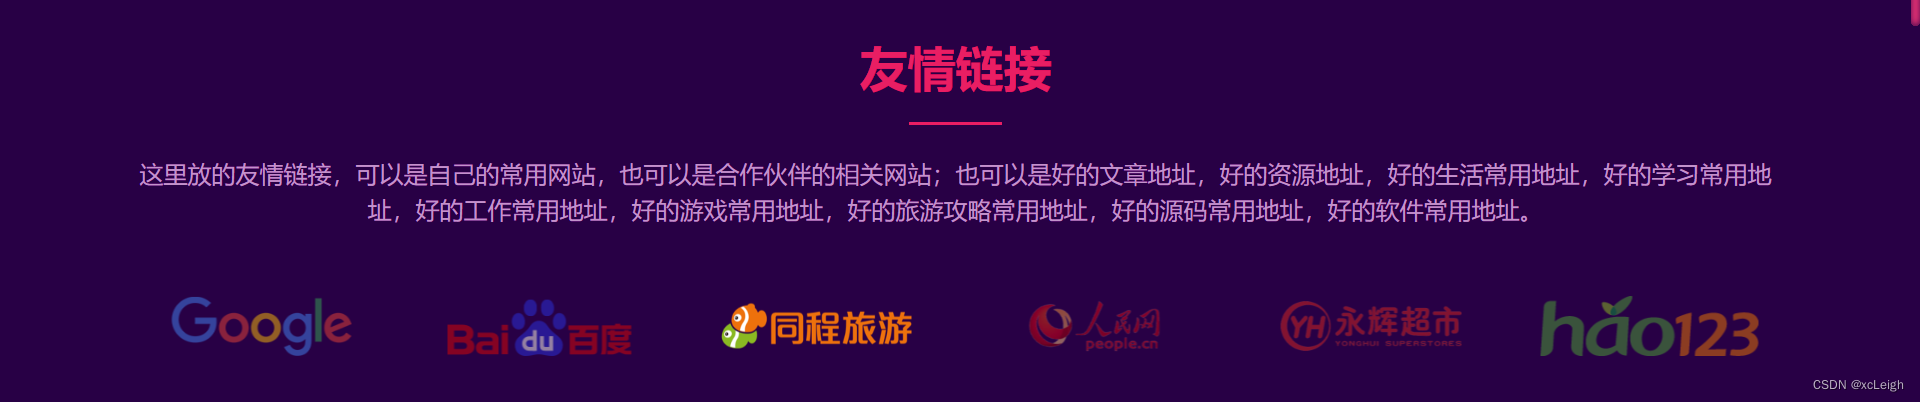
- 如果在扩展中或使用中遇到问题可联系博主,大家动动手点赞收藏支持一下。
3.效果和源码
3.1 动态效果
这里是完整的效果演示,可在此代码基础上更加完善功能,支持扩展自己的风格,可以删减内容,打造属于自己的个人产品推广、工具推广、信息推广、个人主页、个人介绍、酷炫官网、门户网站。
HTML5实现酷炫个人产品推广、工具推广、信息推广、个人主页
3.2 源代码
这里是主界面的html代码,其他图片、js、css等代码,见下面的 源码下载 ,里面有所有代码资源和相关说明。
<!DOCTYPE html>
<html lang="en">
<head><meta charset="utf-8"><title>万能产品推广模板</title><meta content="width=device-width, initial-scale=1.0" name="viewport"><meta content="SOE搜索优化填的描述" name="keywords"><meta content="SOE搜索优化填的描述" name="description"><meta content="xcLeigh" name="WebThemez"><!-- Favicons --><link href="img/favicon.png" rel="icon"><link href="img/apple-touch-icon.png" rel="apple-touch-icon"><!-- Bootstrap CSS File --><link href="lib/bootstrap/css/bootstrap.min.css" rel="stylesheet"><!-- Libraries CSS Files --><link href="lib/font-awesome/css/font-awesome.min.css" rel="stylesheet"><link href="lib/animate/animate.min.css" rel="stylesheet"><link href="lib/ionicons/css/ionicons.min.css" rel="stylesheet"><link href="lib/owlcarousel/assets/owl.carousel.min.css" rel="stylesheet"><link href="lib/magnific-popup/magnific-popup.css" rel="stylesheet"><link href="lib/ionicons/css/ionicons.min.css" rel="stylesheet"><!-- Main Stylesheet File --><link href="css/style.css" rel="stylesheet">
</head><body id="body" class="rc"><!--==========================Top Bar============================--><section id="topbar" class="d-none d-lg-block"><div class="container clearfix"><div class="contact-info float-left"><i class="fa fa-envelope-o"></i> <a href="mailto:test@126.com">test@126.com</a><i class="fa fa-phone"></i> +133 1100 1100</div><div class="social-links float-right"><a href="#" class="twitter"><i class="fa fa-weixin"></i></a><a href="#" class="facebook"><i class="fa fa-facebook"></i></a><a href="#" class="google-plus"><i class="fa fa-google-plus"></i></a><a href="#" class="linkedin"><i class="fa fa-linkedin"></i></a><a href="#" class="instagram"><i class="fa fa-instagram"></i></a></div></div></section><!--==========================Header============================--><header id="header"><div class="container"><div id="logo" class="pull-left"><h1><a href="#body" class="scrollto"><span><i class="fa fa-share" aria-hidden="true"></i></span>平台推广</a></h1> <!-- <a href="#body"><img src="img/logo.png" alt="" title="" /></a>--></div><nav id="nav-menu-container"><ul class="nav-menu"><li class="menu-active"><a href="#body">首页</a></li><li><a href="#services">我的产品</a></li><li><a href="#about">关于我们</a></li><li><a href="#portfolio">图片演示</a></li><li><a href="#event">发展历程</a></li><li><a href="#testimonials">优秀人才</a></li><li><a href="#price">热门产品</a></li><li><a href="#contact">联系我们</a></li></ul></nav><!-- #nav-menu-container --></div></header><!-- #header --><!--==========================Intro Section============================--><section id="intro"><div class="intro-content"><h2><span>平台推广</span><br>放相关文档,资源,源码,产品等下载链接</h2><div><a href="https://blog.csdn.net/weixin_43151418/article/details/134467729" target="_blank" class="btn-get-started scrollto">立即下载</a> <a href="javascript:void(0)" onclick="playVideo();" class="btn-get-started scrollto">演示</a> </div></div><div class="item" style="background-image: url('img/intro-carousel/1.jpg');"></div> </section><!-- #intro --><main id="main"><!--==========================Services Section============================--><section id="services"><div class="container"><div class="section-header"><h2>我的产品</h2><p>如果是产品系列,这里放相关文档,资源,源码,产品等下载链接;如果是个人简历模板这里放自己的个人信息;如果是公司官网模板,这里可以放公司产品,公司相关介绍;灵活运用。背景、文字、图片、样式都可以扩展修改。</p></div><div class="row"><div class="col-lg-4"><div class="box wow fadeInLeft"><div class="icon"><i class="fa fa-briefcase"></i></div><h4 class="title"><a href="https://blog.csdn.net/weixin_43151418?type=download" target="_blank">源码系列:源码模板</a></h4><p class="description">这里用文字描述相关介绍,让读者能通过文字知道源码的内容,源码的功能等相关信息,这里用了一个源码资源地址作为示例,可以根据自己的需求,做相关修改,调整。</p></div></div><div class="col-lg-4"><div class="box wow fadeInRight"><div class="icon"><i class="fa fa-address-card"></i></div><h4 class="title"><a href="https://blog.csdn.net/weixin_43151418/article/details/125350141" target="_blank">简历系列:简历模板</a></h4><p class="description">这里用文字描述相关介绍,让读者能通过文字知道源码的内容,源码的功能等相关信息,这里用了一个简历资源地址作为示例,可以根据自己的需求,做相关修改,调整。</p></div></div><div class="col-lg-4"><div class="box wow fadeInLeft" data-wow-delay="0.2s"><div class="icon"><i class="fa fa-android"></i></div><h4 class="title"><a href="https://download.csdn.net/download/weixin_43151418/89220332" target="_blank">产品系列:应用安装</a></h4><p class="description">这里用文字描述相关介绍,让读者能通过文字知道源码的内容,源码的功能等相关信息,这里用了一个产品资源地址作为示例,可以根据自己的需求,做相关修改,调整。</p></div></div></div></div></section></main><!--==========================Footer============================--><footer id="footer"><div class="container"><div class="copyright">Copyright © 2024.平台推广 All rights reserved.</div><div class="credits"></div></div></footer><!-- #footer --><a href="#" class="back-to-top"><i class="fa fa-chevron-up"></i></a><!-- JavaScript --><script src="lib/jquery/jquery.min.js"></script><script src="lib/jquery/jquery-migrate.min.js"></script><script src="lib/bootstrap/js/bootstrap.bundle.min.js"></script><script src="js/main.js"></script>
</body>
</html>源码下载
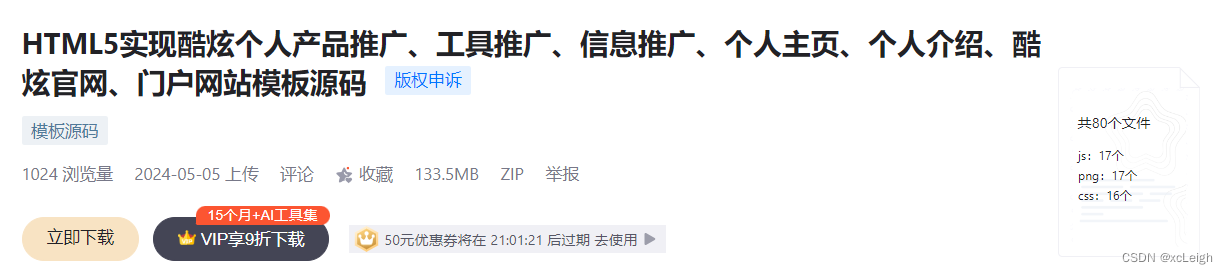
HTML5实现酷炫个人产品推广、工具推广、信息推广、个人主页、个人介绍、酷炫官网、门户网站模板源码(源码) 点击下载

💢 关注博主 带你实现畅游前后端
🏰 加入社区 带你体验马航不孤单
💯 神秘个人简介 带你体验不一样得介绍
💘 为爱表白 为你那个TA,体验别致的浪漫惊喜
🎀 酷炫邀请函 带你体验高大上得邀请
① 🉑提供云服务部署(有自己的阿里云);
② 🉑提供前端、后端、应用程序、H5、小程序、公众号等相关业务;
如🈶合作请联系我,期待您的联系。
注:本文撰写于CSDN平台,作者:xcLeigh(所有权归作者所有),https://blog.csdn.net/weixin_43151418,如果相关下载没有跳转,请查看这个地址,相关链接没有跳转,皆是抄袭本文,转载请备注本文原地址。
亲,码字不易,动动小手,欢迎 点赞 ➕ 收藏,如 🈶 问题请留言(评论),博主看见后一定及时给您答复,💌💌💌
原文地址:https://blog.csdn.net/weixin_43151418/article/details/138462610(防止抄袭,原文地址不可删除)