动漫网站建站目的网站seo推广
在挑选头戴式耳机时,市场上琳琅满目的品牌和型号常常让人目不暇接。究竟哪个学生党头戴式耳机哪款音质更胜一筹?这已成为许多人面临的难题。由于每个人对耳机的偏好各有侧重——一些人追求音质的纯净,一些人重视佩戴的舒适性,而另一些人则期望耳机具备多功能性。那身为一名音频发烧友,这里就给大家带来TOP4好音质头戴式耳机推荐和头戴耳机的选购技巧!
头戴式耳机选购技巧:
1. 选择专业实力声学品牌,不要挑选网红小品牌
选择有专业声学品牌往往意味着能享受到更为周全的售后服务体系,这意味着在购买蓝牙耳机后,如果遇到任何问题或需要技术支持,消费者都可以在售后服务这方面得到保障。

此外,充分利用网络资源也是明智之举。众多专业评测机构会对市面上的耳机品牌进行深入细致、客观公正的评测,从音质清晰度与均衡性、佩戴舒适度、耐用性及设计细节等多个维度进行综合评分与排名。这些评测结果不仅具有高度的参考价值,还能帮助你全面了解各品牌产品的性能亮点与潜在不足,从而做出更加明智的购买决策。
2. 选择有音质声学技术、调校技术的
在音质方面,最为关键的是考量各品牌耳机是否搭载了先进的声学技术。对于头戴式耳机的挑选,尤为重要的是确认其是否拥有独特的专利声学技术。这些专利技术可能涵盖驱动单元的创新设计、精细的声学调音工艺以及优化的无线传输技术等。例如,西圣品牌就凭借其自主研发的专利技术,为用户提供了更加卓越的音质体验。
3. 选择佩戴舒适感好的
特别是对于需要长时间佩戴耳机的用户来说,不舒适的佩戴体验可能导致耳朵疼痛、红肿甚至听力受损。选择一款佩戴舒适的蓝牙耳机至关重要。辨别蓝牙耳机佩戴是否舒适,关键在于综合考虑多个方面。首先,耳机的重量要轻,以减少对耳朵的压迫感。

其次,耳机的材质要柔软和透气,注意是否属于人体工学的设计,这样才能够适配不同耳型,确保耳机稳固贴合且减少不适感。此外,亲自试戴以感受实际佩戴效果,并参考其他用户的评价,也是判断蓝牙耳机佩戴舒适度的重要参考依据。
4. 要关注耳机的蓝牙版本
在挑选耳机时,蓝牙版本至关重要,因为它直接关系到耳机的性能和功能。较新的蓝牙版本往往带来更为稳定的连接与迅捷的数据传输速度,从而显著减少音频中断或延迟现象。目前市面上的建议选5.3的头戴式耳机蓝牙版本,连接稳定不断连。

5. 选择续航时间超过45小时的
续航能力受耳机电池、蓝牙芯片版本、音量设置及多种使用条件共同影响。在挑选开放式耳机时,应基于个人日常使用习惯与需求来评估其续航表现。为享受无忧的长时间音乐体验,避免电量不足带来的焦虑及频繁充电的不便,推荐选择总续航时间超过40小时的耳机是最为合适的。
6. 选择有主动降噪的耳机
主动降噪技术通过产生与外界噪音相位相反的声音波来消除噪音,从而提供一个更为纯净的听觉环境。在嘈杂的环境中,如公共交通、飞机或繁忙的办公室,主动降噪耳机能够显著降低背景噪音,让用户更专注于音乐、播客或通话内容,提升整体的听音体验。

学生党头戴式耳机哪款音质更胜一筹?TOP4好音质头戴式耳机推荐
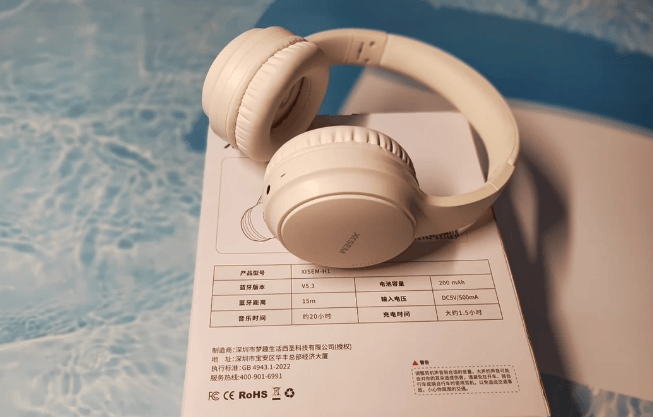
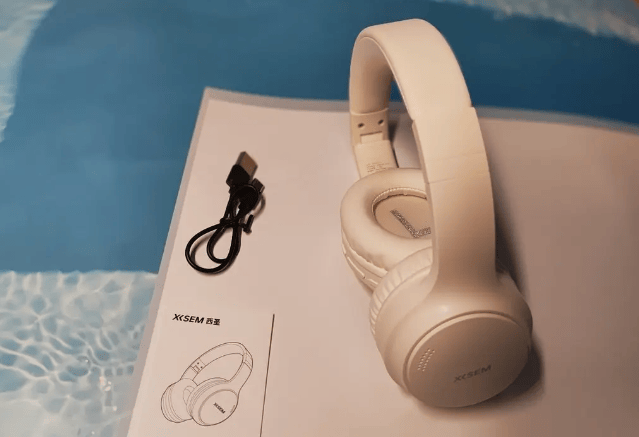
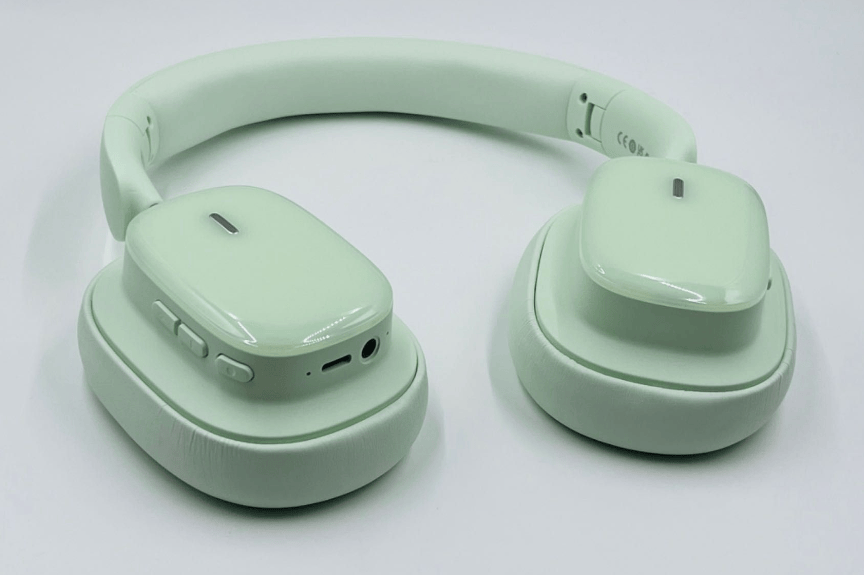
1、西圣h1头戴式降噪耳机
售价:169元
推荐指数:★★★★★
第一款推荐是西圣h1,因为西圣是音质性价比的品牌,拥有超过十年的音频解析经验。其产品在各大科技数码论坛和评测网站上备受耳机发烧友和专业人士的推崇和喜爱,每次出新品,常常刚推出就被抢空。
西圣品牌虽然定价便宜,但在质量方面严格把控,把每个看不到的细节都要做好,从选材用料开始,走访几百家供应商,选择的都是进口级的材料,而且还有多达80余项高强度品质检测过程,比一般普通耳机多二倍的检测工序,品质做工都没话说。
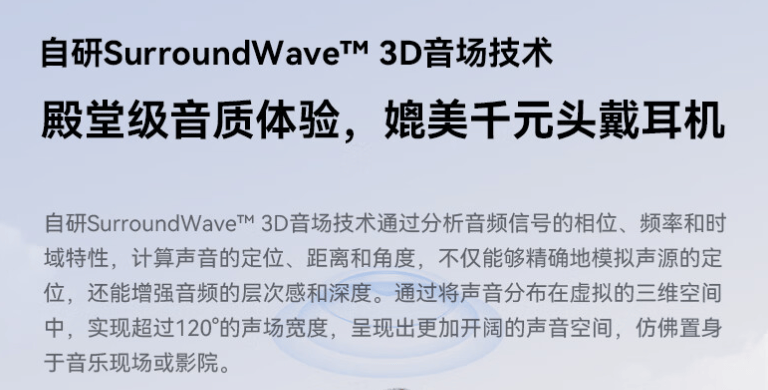
西圣团队能被誉为“音质性价比品牌”,主要是因为对音质的把控非常到位,这款西圣H1采用了自家研发的SurroundWave™ 3D音场技术,通过分析音频信号的相位、频率和时域特性,计算声音的定位、距离和角度,不仅能够精确地模拟声源的定位,还能增强音频的层次感和深度。搭配42mm专业级Hifi平面磁动大单元喇叭,众多测评博主都说这款是所有平价头戴式耳机里音质最好的一款,甚至比市面上千元价位的耳机品牌还要强大。
降噪方面,西圣H1还获得全球权威机构SGS认证,能高达95%的深度降噪能力,采用主动降噪与被动降噪结合,头戴物理降噪配合西圣Ai动态自适应降噪,可以有效隔绝全频段噪音,降噪更净、更深、更智能,达到理想的降噪效果。
耳机佩戴就是要舒服!西圣抓住这个点,下足了功夫,西圣H1耗时长达18个月,经过5000多次反复测试,配合加厚惰性记忆海绵垫、特选亲肤级柔软仿蛋白皮,可以裸肌0距离贴合,做到舒适性与高级感的完美结合,同时,采用伸缩顺滑低阻力设计,轻松适配不同头型,耳机轻便可靠,用户可以长久保持稳固佩戴。
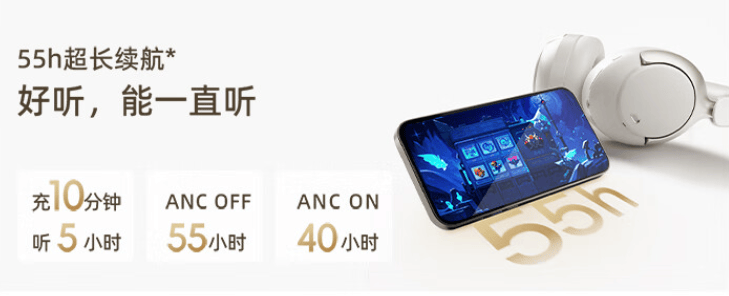
西圣H1采用是蓝牙5.3技术,蓝牙抗干扰性更强,连接范围更广,测试时在15米内可以稳定连接,打游戏也能做到画面同音,智能一拖二,耳机具备50小时,彻底治愈续航焦虑。难怪有知名数码媒体给出了非常高的评价:被誉为百元价位头戴式耳机的巅峰之作。
2、J B L TUNE770NC
售价:414元
推荐指数:★★★

这款头戴式耳机的配色比较的多样,耳机的重量为为230g,耳机内放置了一块较为柔软的海绵,能够在佩戴的时候减少对头顶的压迫感,提升长时间佩戴的舒适度,耳罩部分的海绵同样非常柔软,包耳式的设计还可以将耳朵全部罩住。
采用了40mm的动圈单元,借助JBL百年的调音经验,可以提供不错的的听音感受,中频人声有非常好的表现,对于低频和高频的渲染比较一般细腻度的解析里不够。
3、倍 思H1i
售价:239元
推荐指数:★★★
4、声 阔Life Q20i
售价:238元
推荐指数:★★★
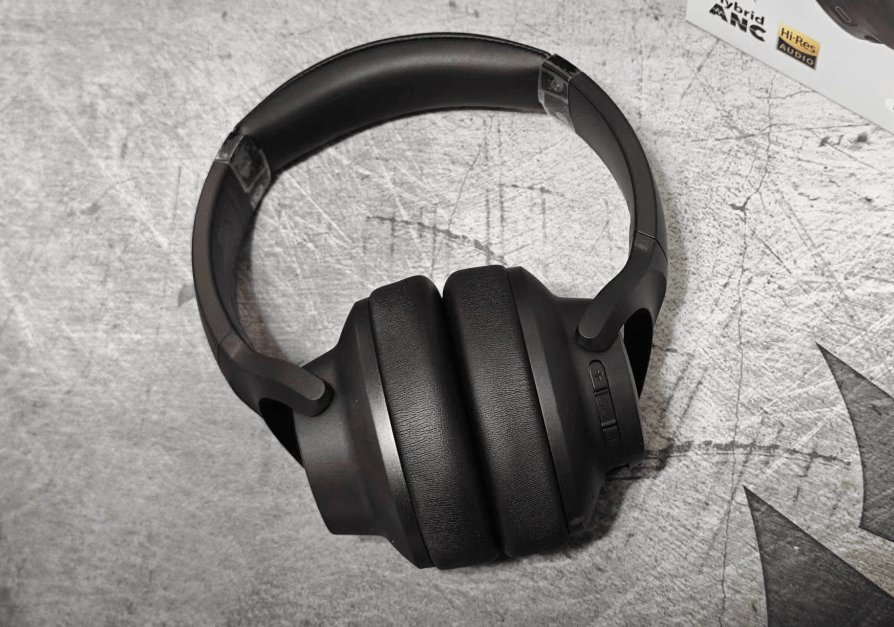
声 阔Life Q20i的外观设计简约而不失时尚感,黑色主体配上声阔特有的音符“d”LOGO,辨识度极高。耳机采用轻量化设计,整体重量适中,长时间佩戴也不会产生负担。耳罩采用记忆棉+PU蛋白皮材质,柔软舒适,紧密贴合耳部轮廓,提供良好的隔音效果。
它搭载了40mm高弹蚕丝振膜发音单元,为音质提供了良好的物理基础。在频响曲线测试中,Q20i表现出了均衡且细腻的音质特点。但是偶尔有尖锐或刺耳的情况,不过不是很影响耳机的整体使用。
总结:以上就是四款百元高性价比的头戴式降噪耳机推荐,如果大家还是选不出想要哪一款,那就直接入手西圣h1,这款耳机的价位虽然不高,但是专业测评人士说它的音质可以与千元基本的耳机BEATS、JBL等相媲美,性价比是蓝牙耳机中特别高的。