做网站那里做可靠百度指数在线查询小程序
文章目录
- 1、启动、关闭、挂起、恢复(电源)
- 2、更多虚拟机操作
- 2.1 电源设置
- 2.2 硬件参数设置
- 2.3 状态栏
- 2.4 全屏显示
- 3、快照与系统恢复
- 4、桌面环境
- 5、文件系统
- 6、用户目录
- 7、创建目录和文件
- 8、命令行:文件列表
- ls
- 9、命令行:切换目录
- 10、命令行:目录操作
- 11、命令行:归档压缩
- 12、命令行:软连接
- 6 用户管理
- 6.1 添加用户
- 6.1 超级用户
- 用户组(了解即可,用的不多)
- 6.4 以root登录桌面
- 7 文件权限
- 7.1 文件的权限
学习链接:
Ubuntu 21.04乌班图 Linux使用教程_60集Linux课程
所有资料在 http://afanihao.cn/java
我自己的ubuntu系统
账号:jiaoyidi
密码:qwer234
20.04表示是在2020年4月发布的版本
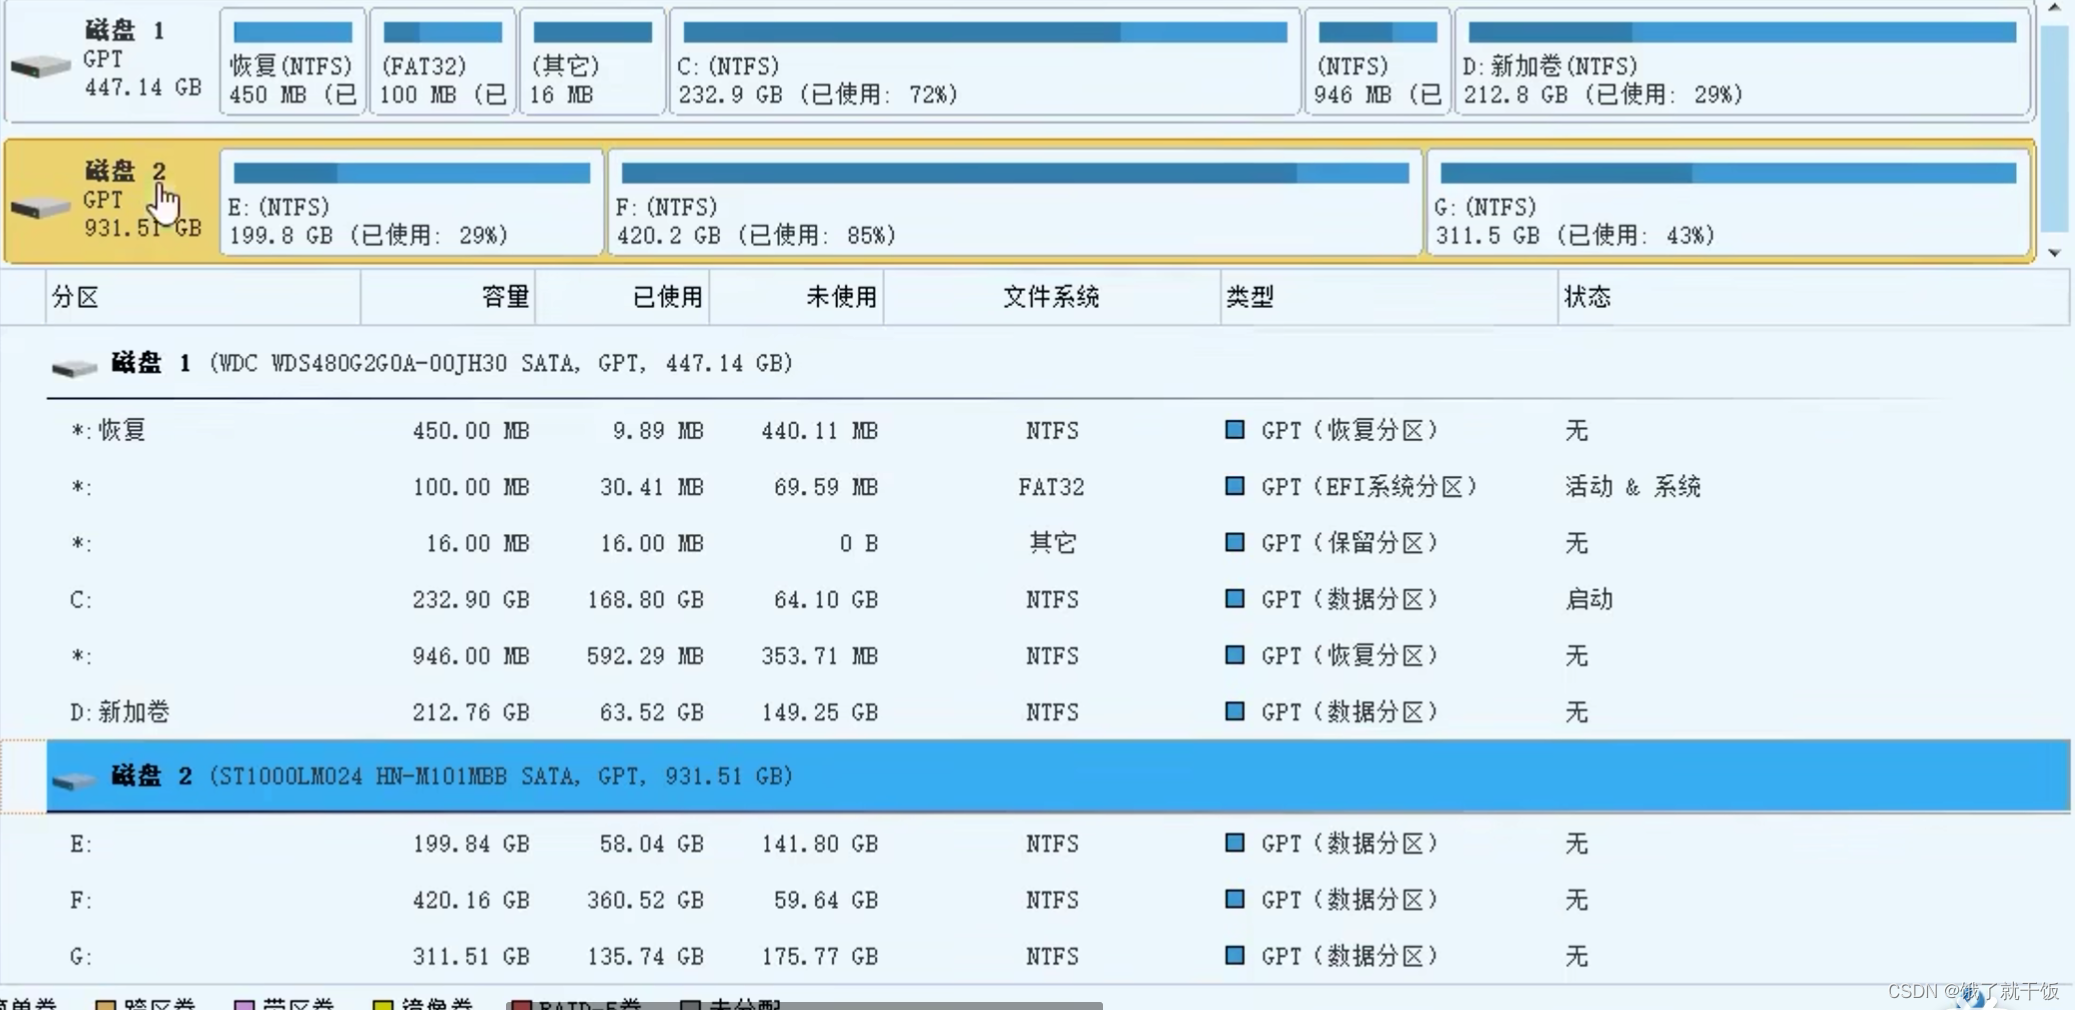
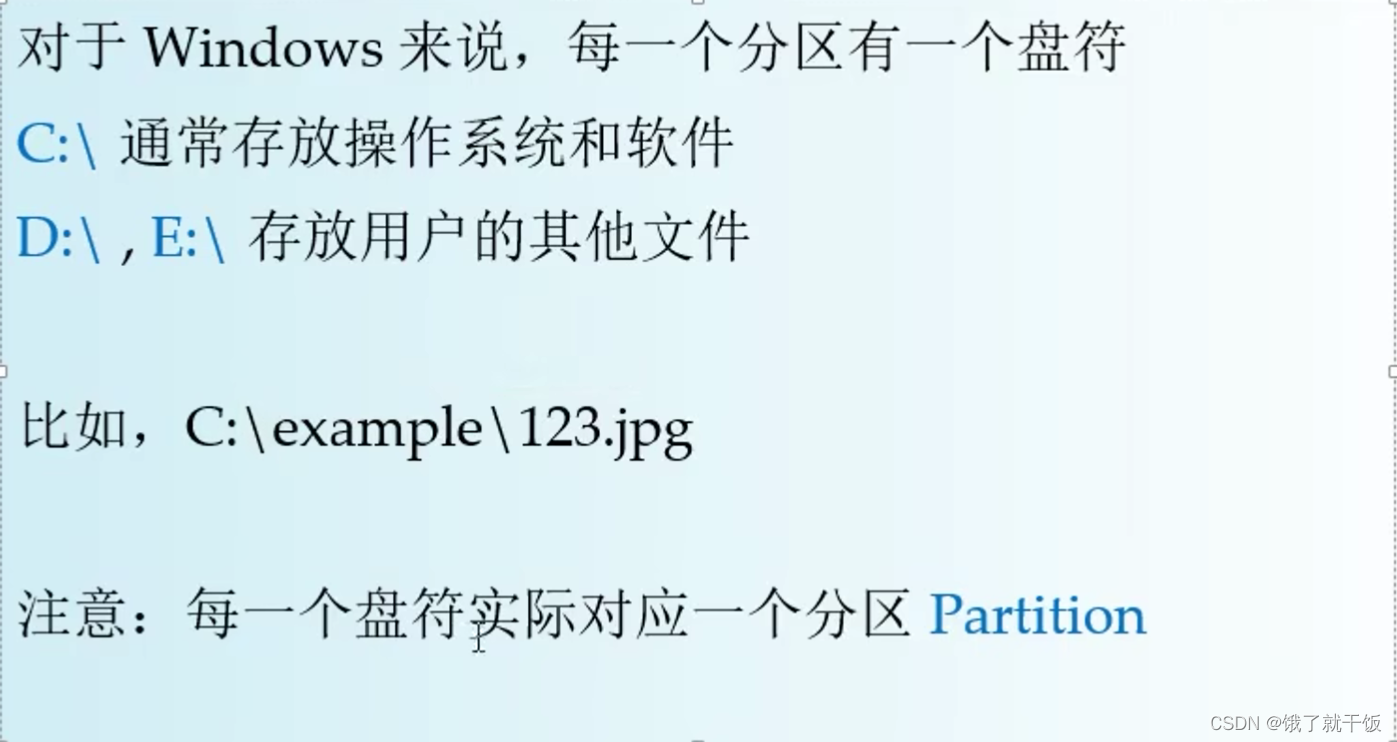
硬盘与分区的关系:平时说的C盘说的是硬盘的分区
1、启动、关闭、挂起、恢复(电源)

关机:选择右上角的power off就可以,
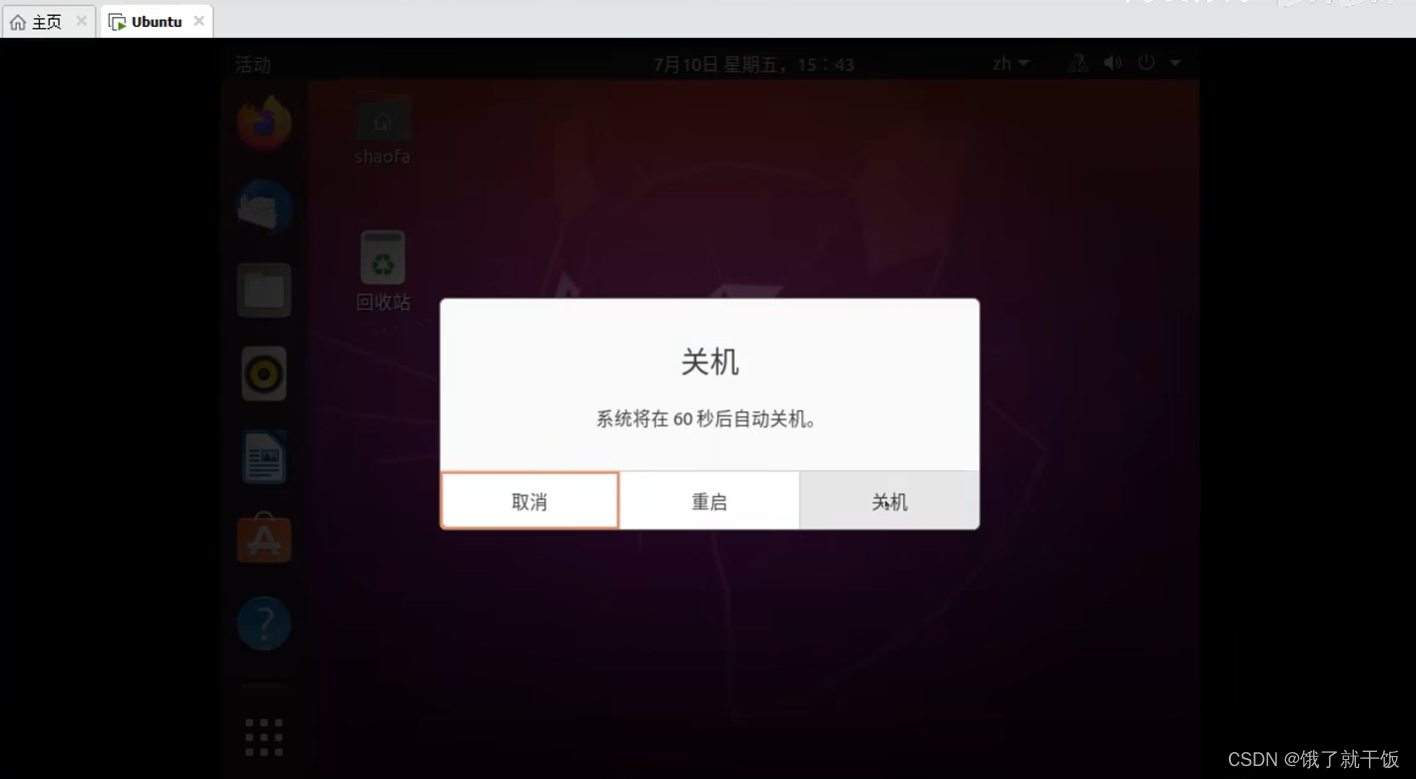
另一种是强行关机(直接关闭电源)(不推荐)
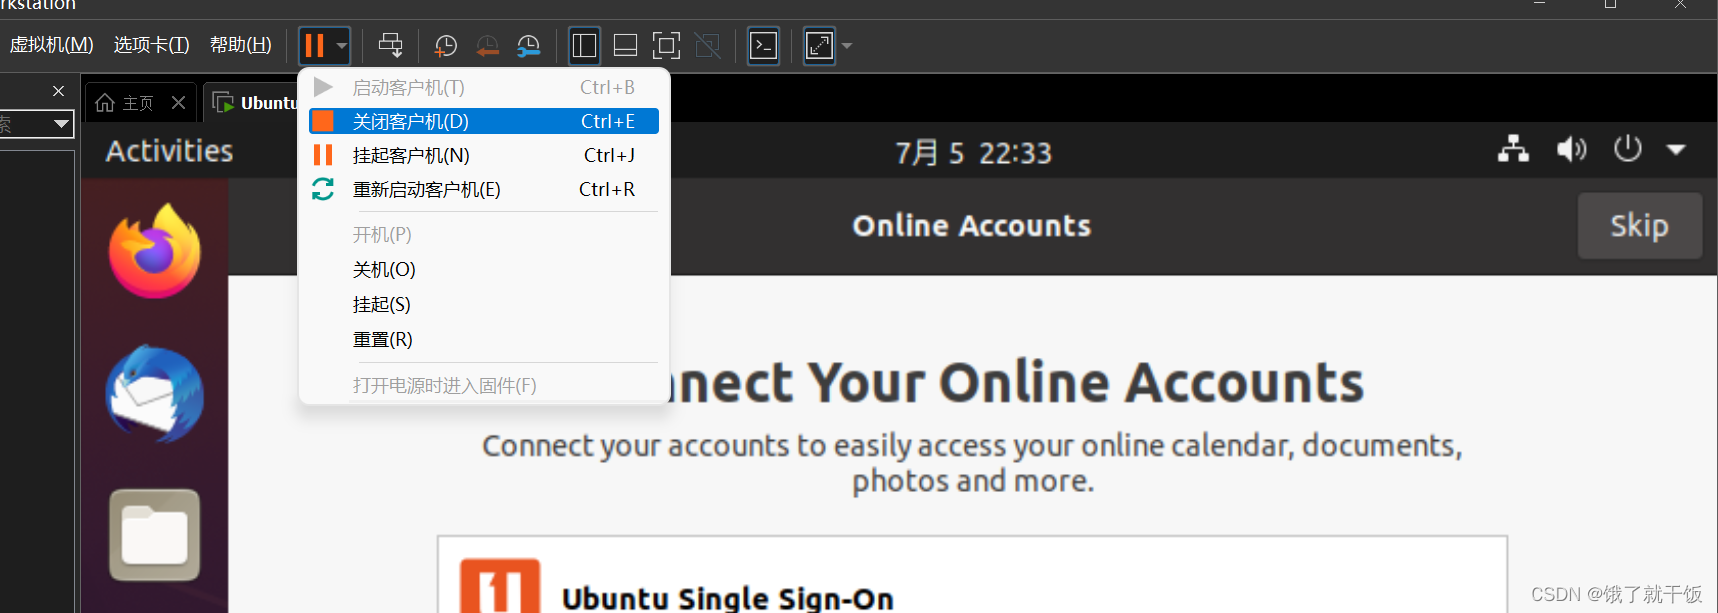
挂起/恢复:将当前状态进行冻结,以便快速恢复。因为开机关机都花费时间较长。
挂起操作:在虚拟机中选择挂起客户机
恢复操作:选择继续运行虚拟机
2、更多虚拟机操作
2.1 电源设置
上节讲过
2.2 硬件参数设置
注意:先关机,再修改设置

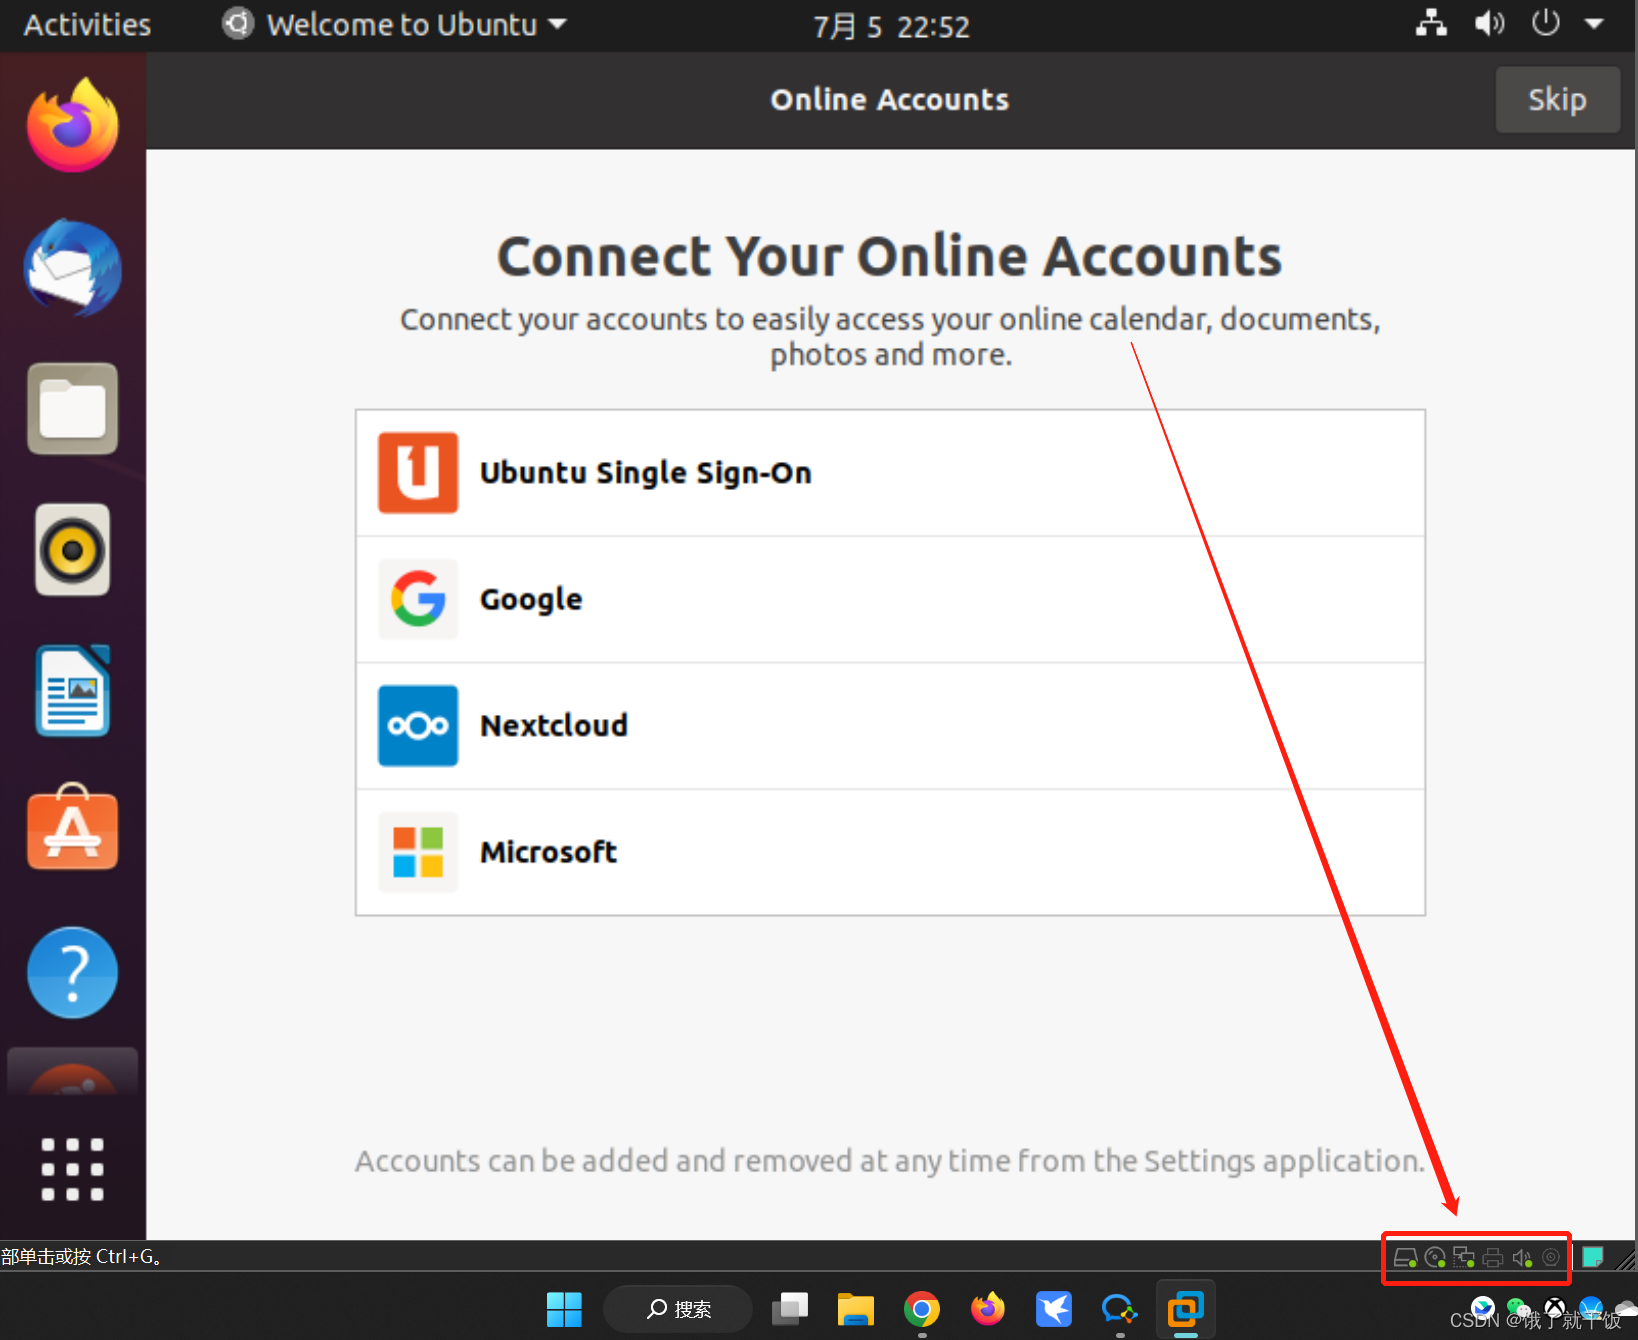
2.3 状态栏
右下角一排状态按钮,表示硬件状态(网络适配器、usb、声卡等状态)
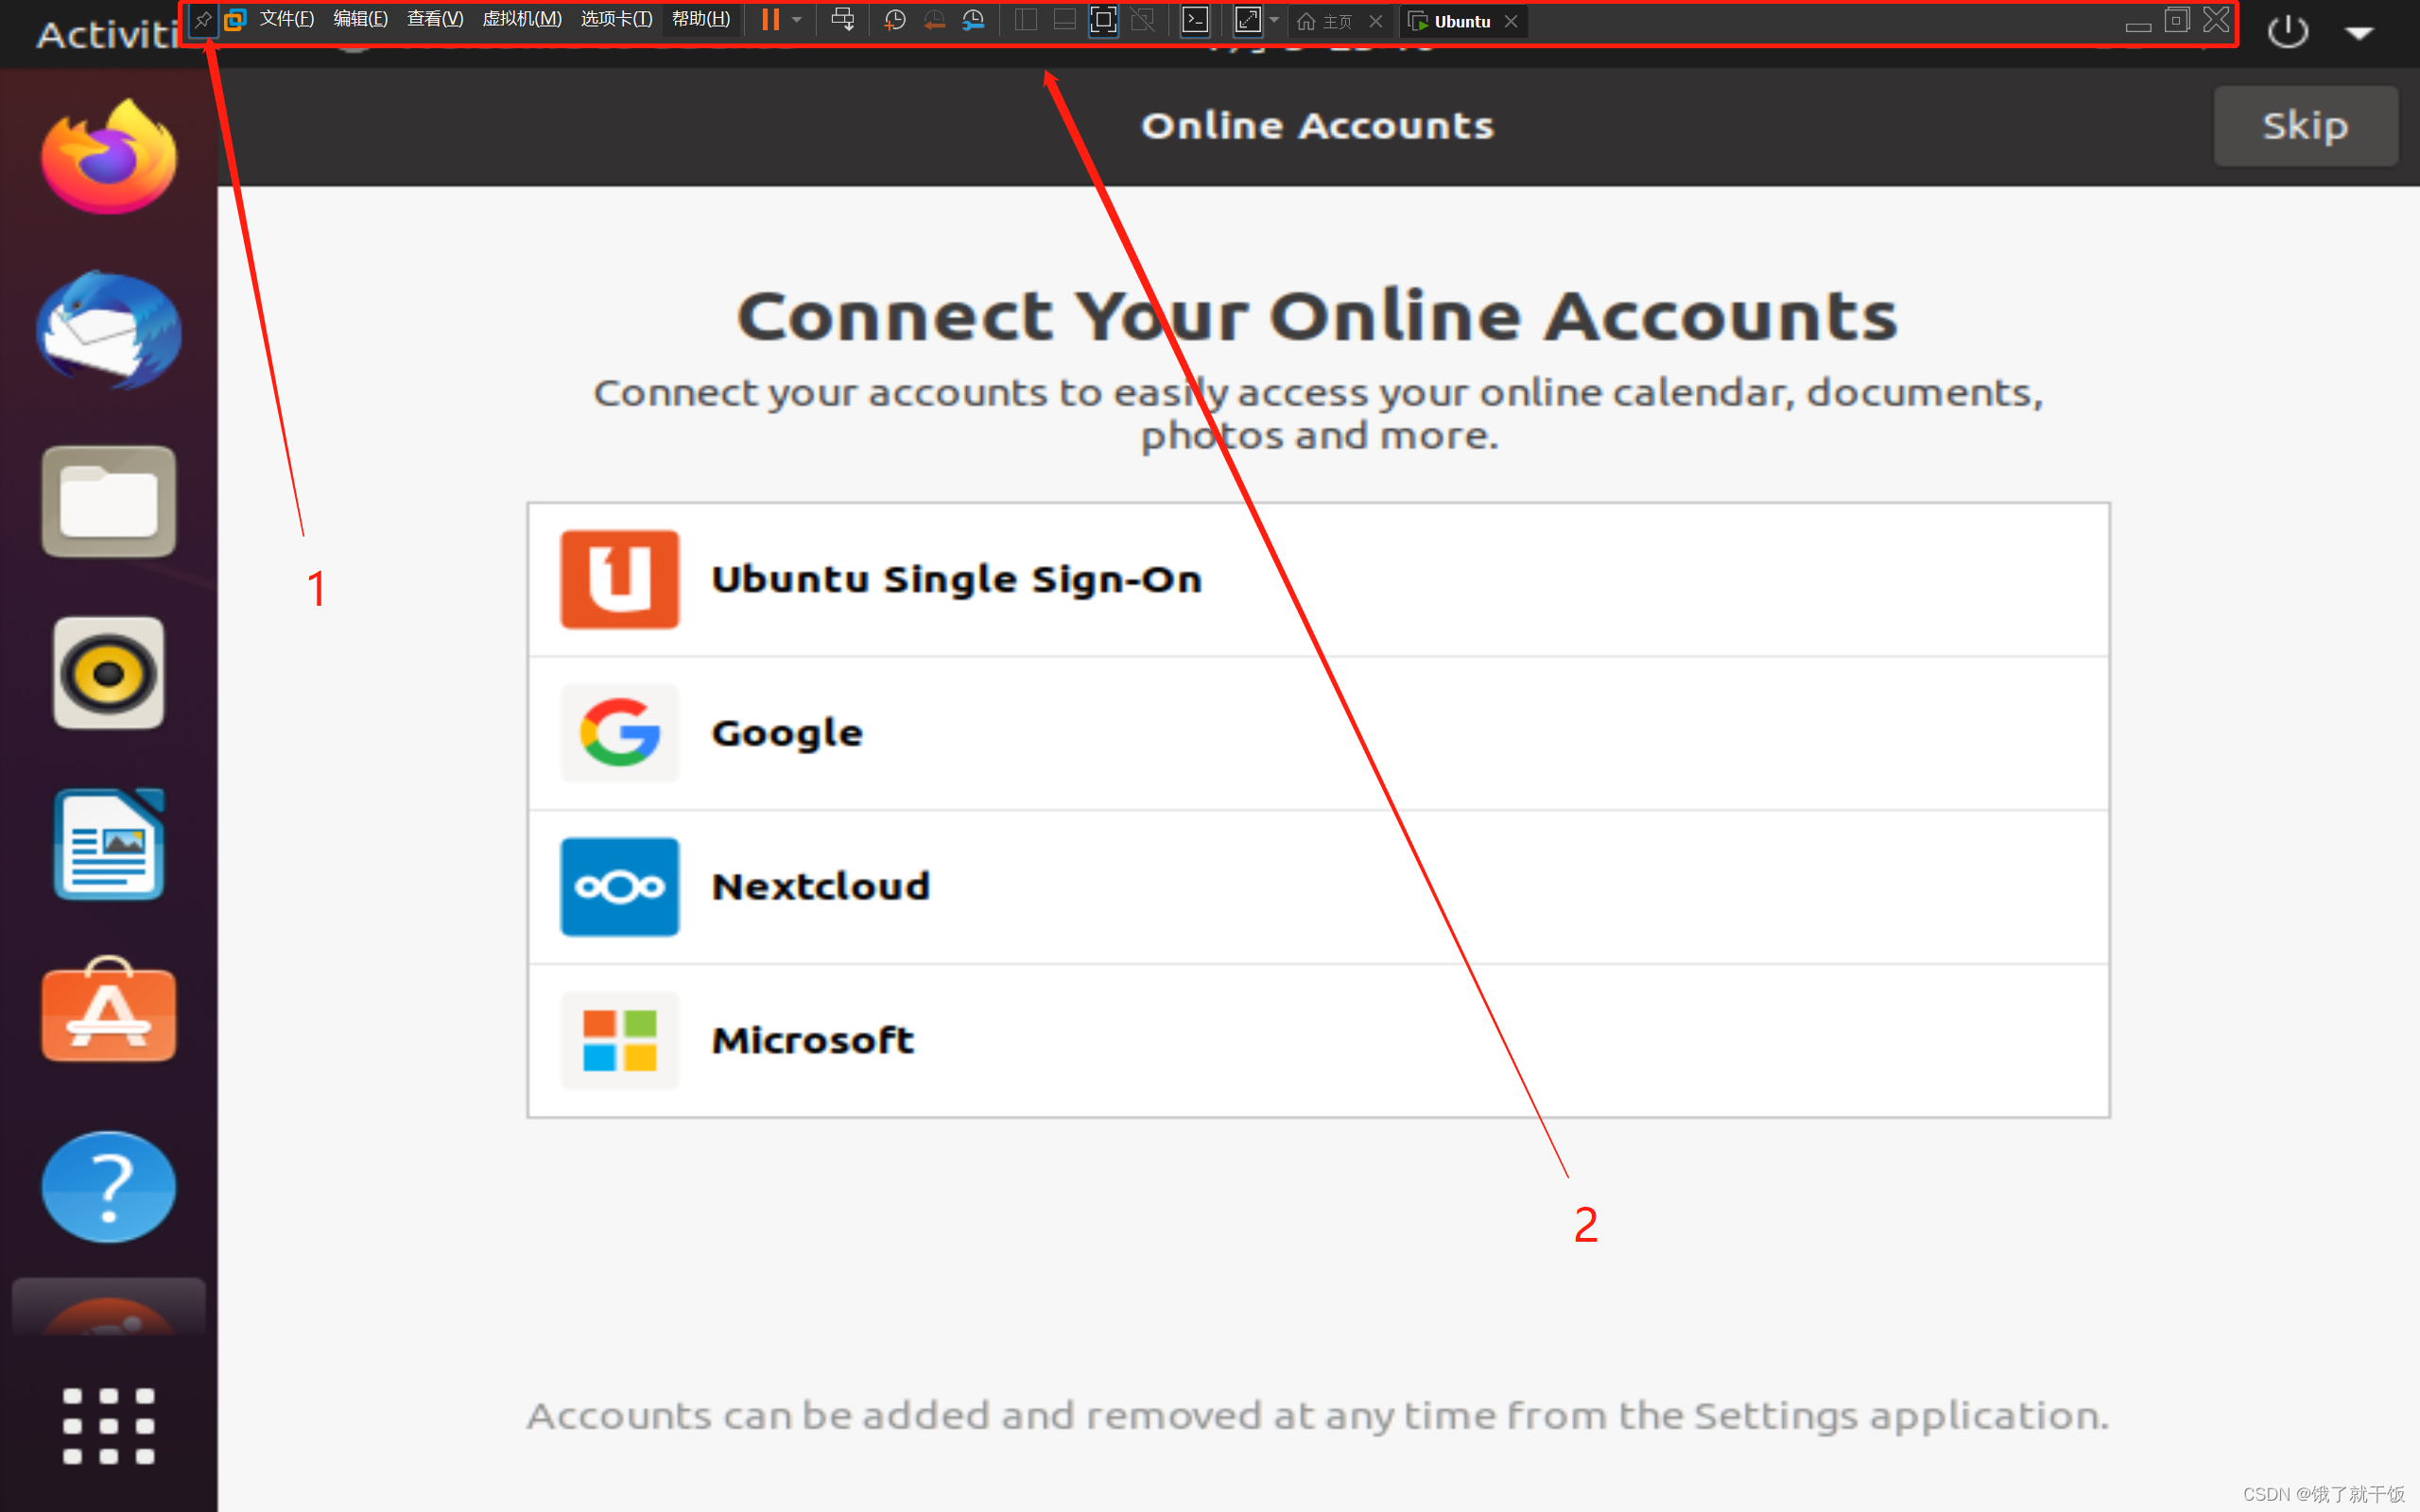
2.4 全屏显示
进入全屏,退出全屏,隐藏/显示命令栏
进入全屏,退出全屏也是下面的操作
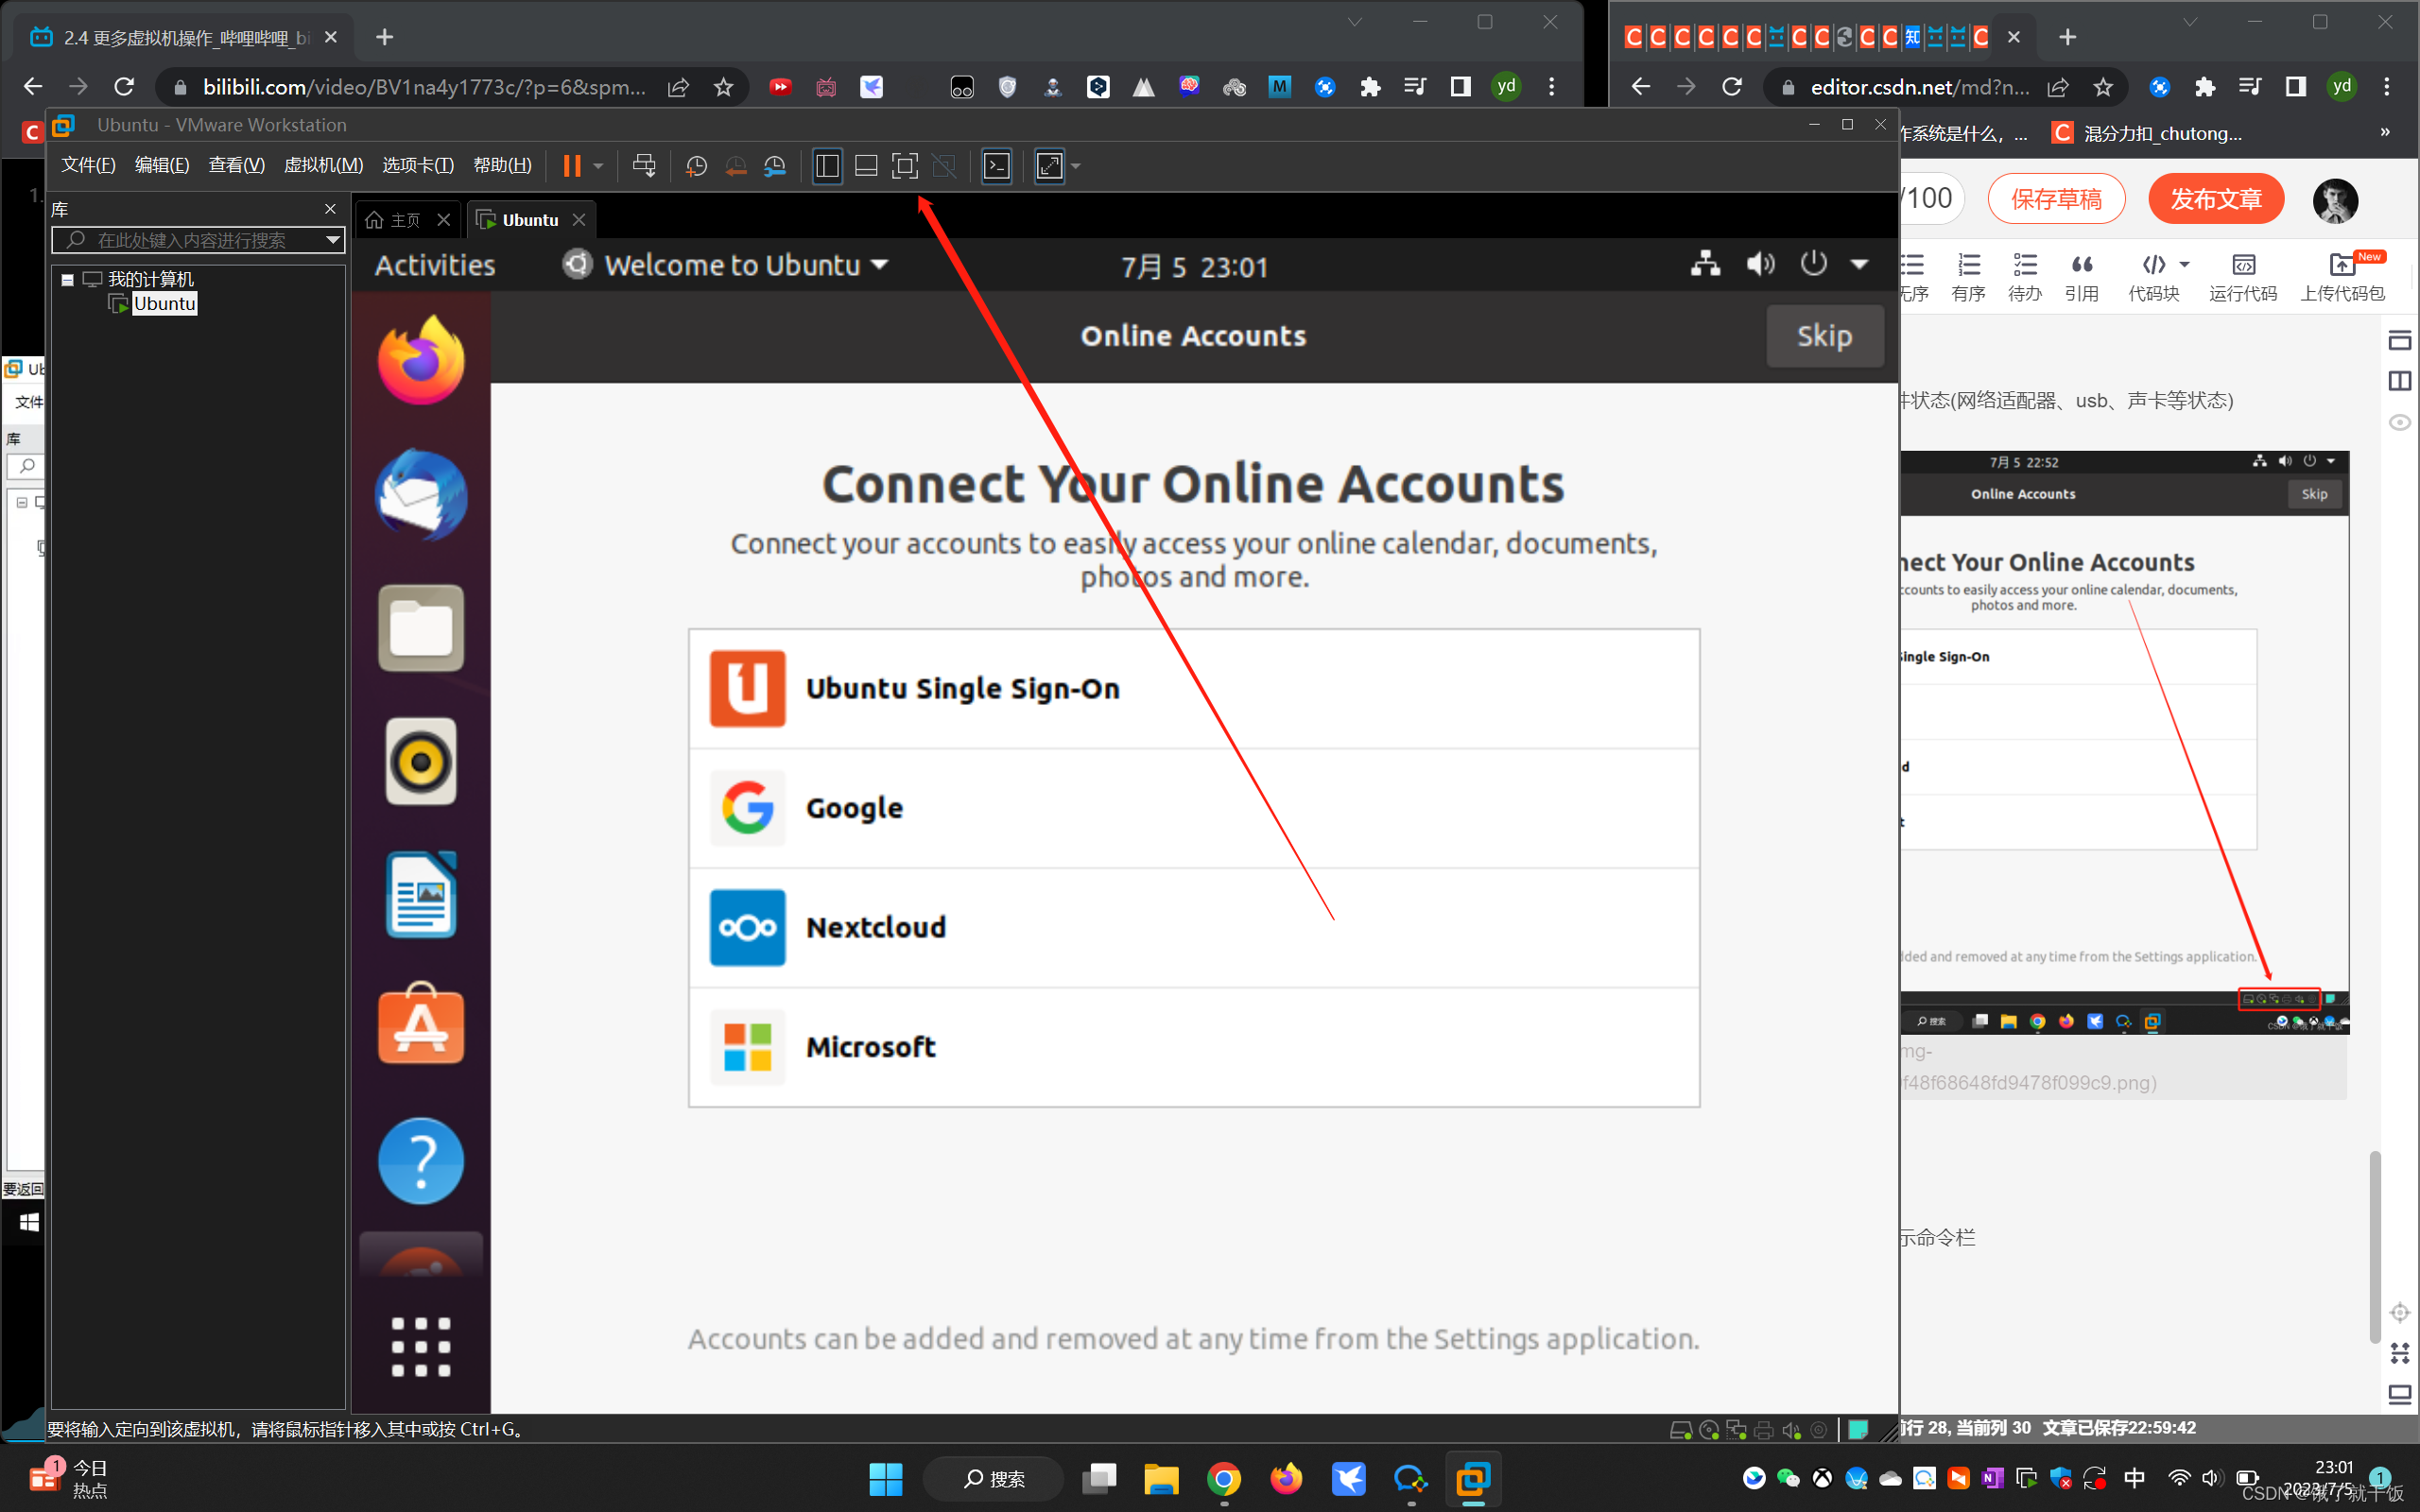
2是命令栏、1是固定命令栏的
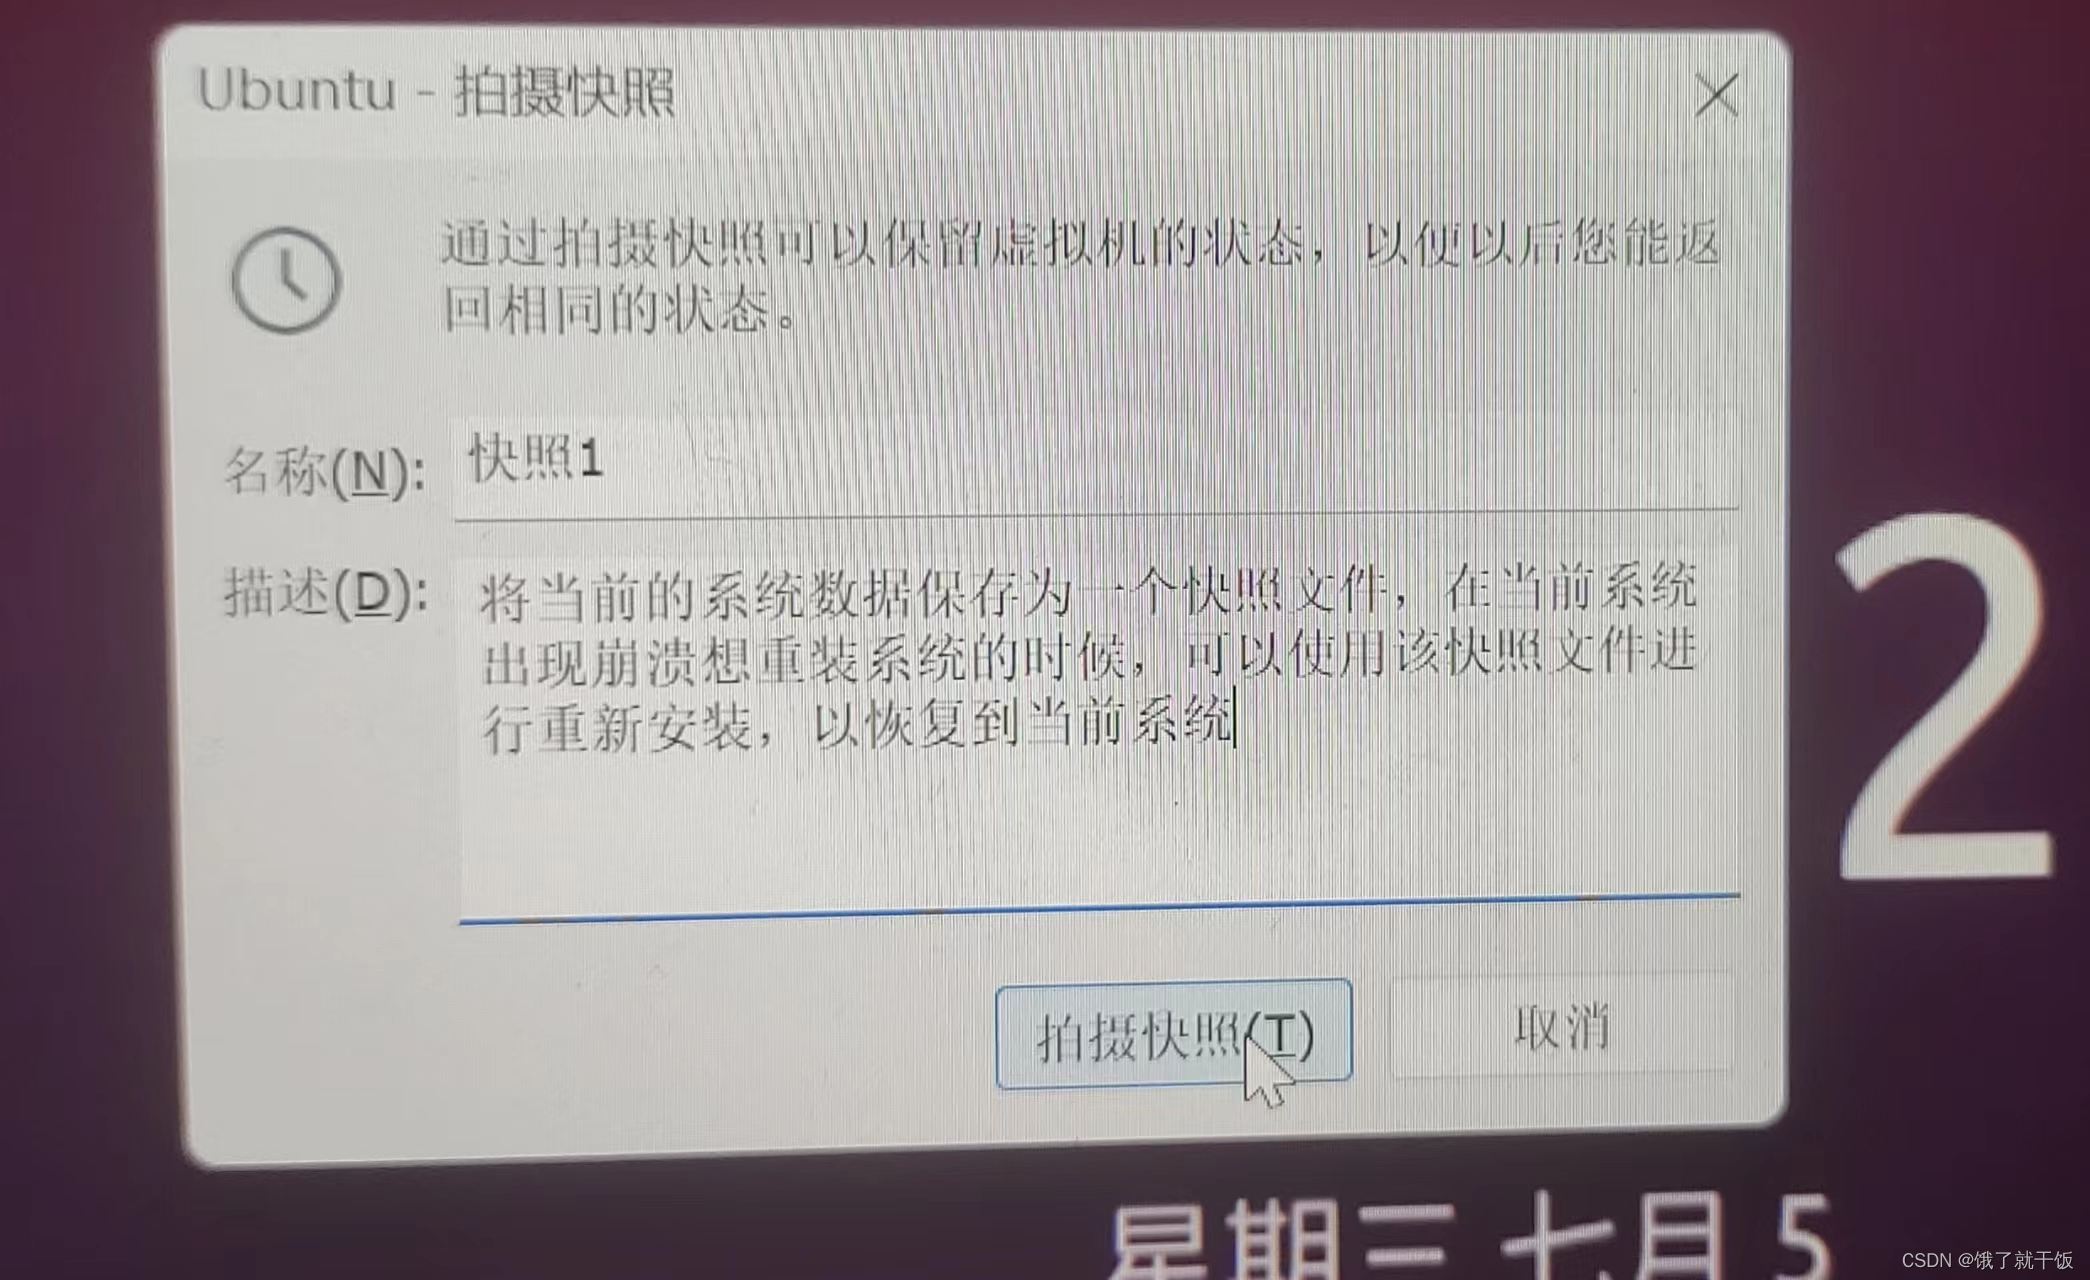
3、快照与系统恢复
系统玩坏了怎么办?
1、重装系统
2、使用系统快照(快照的作用看下面的第二张图中的描述)
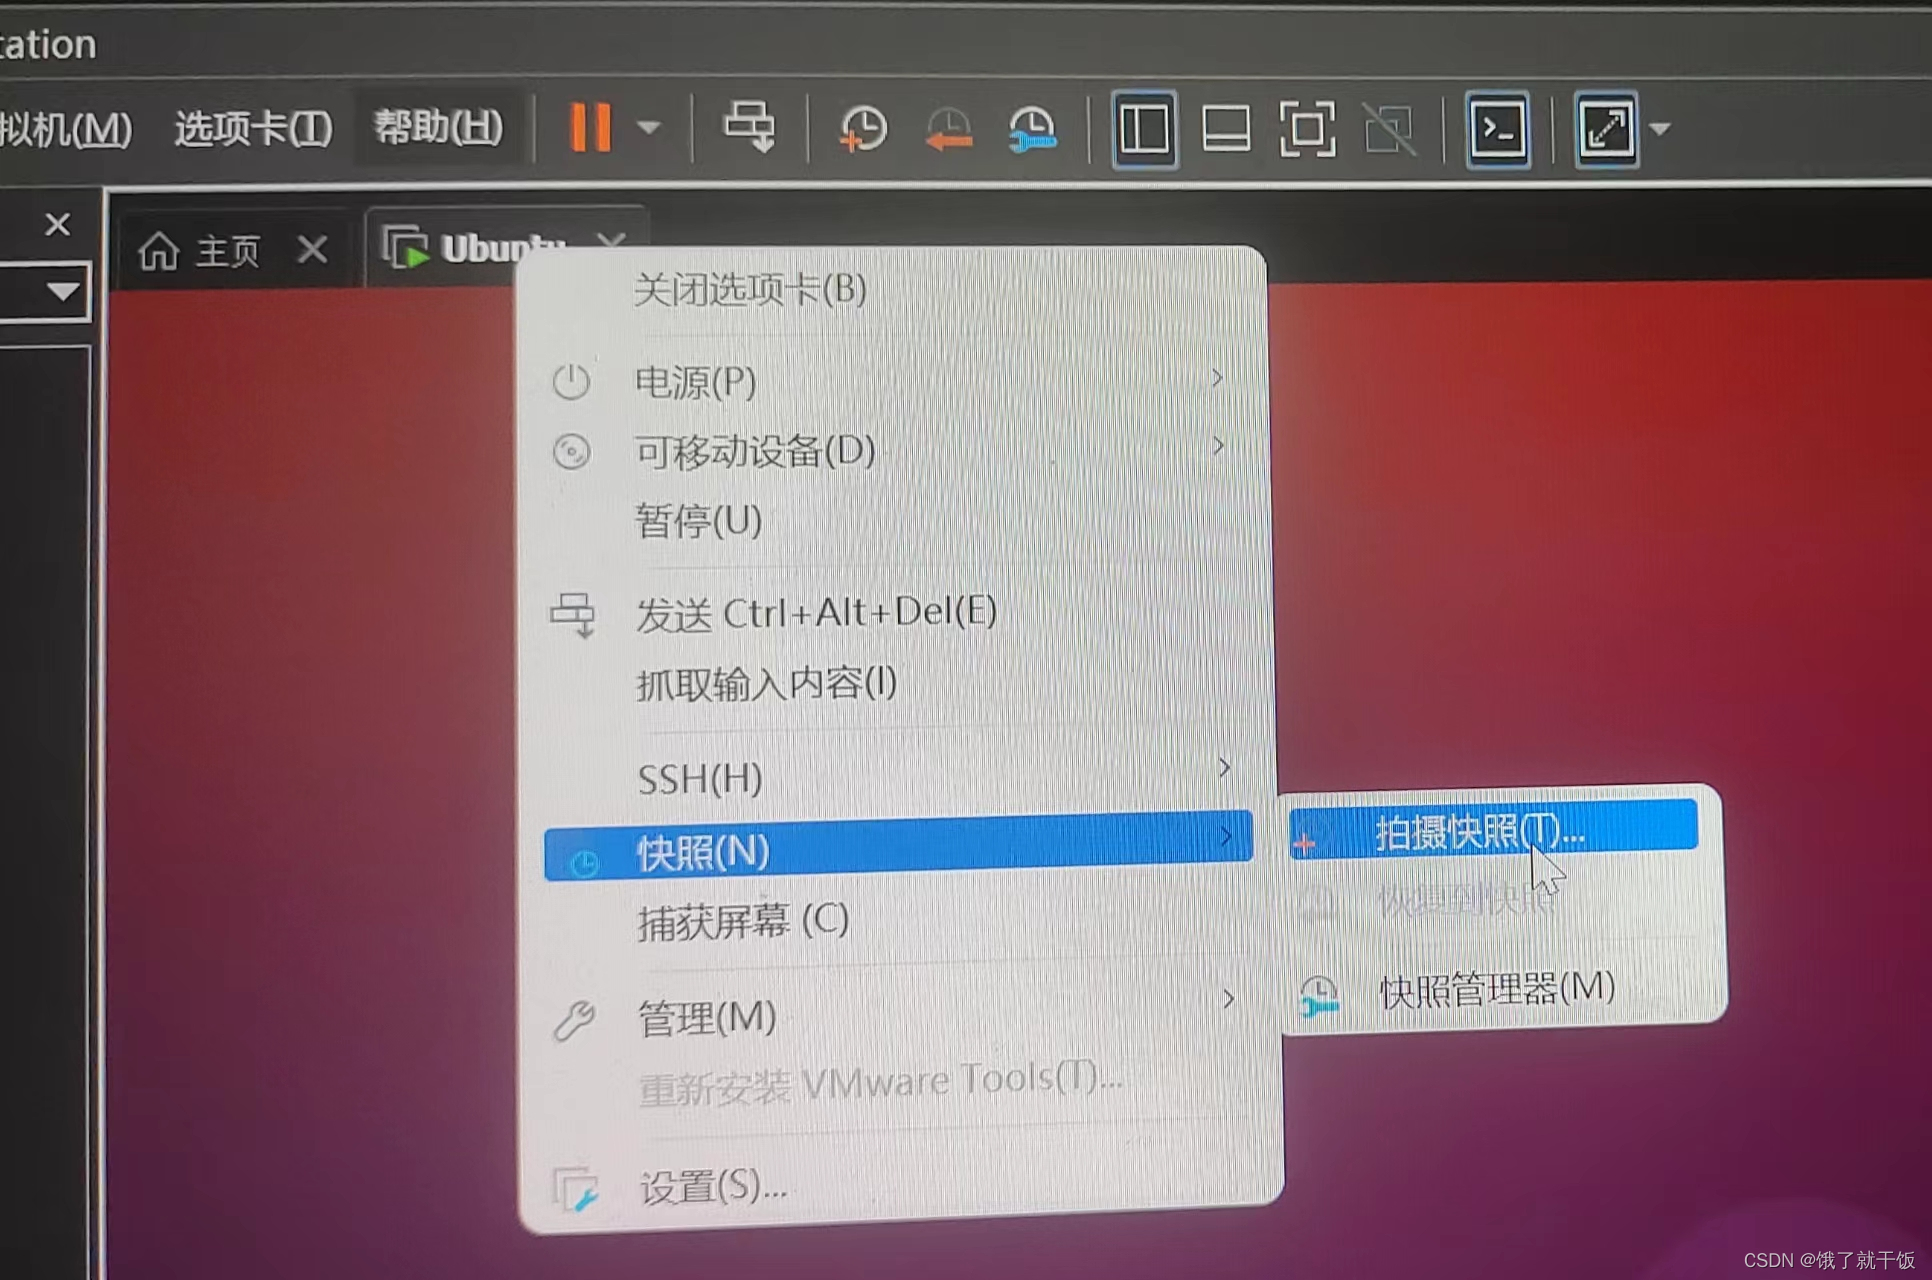
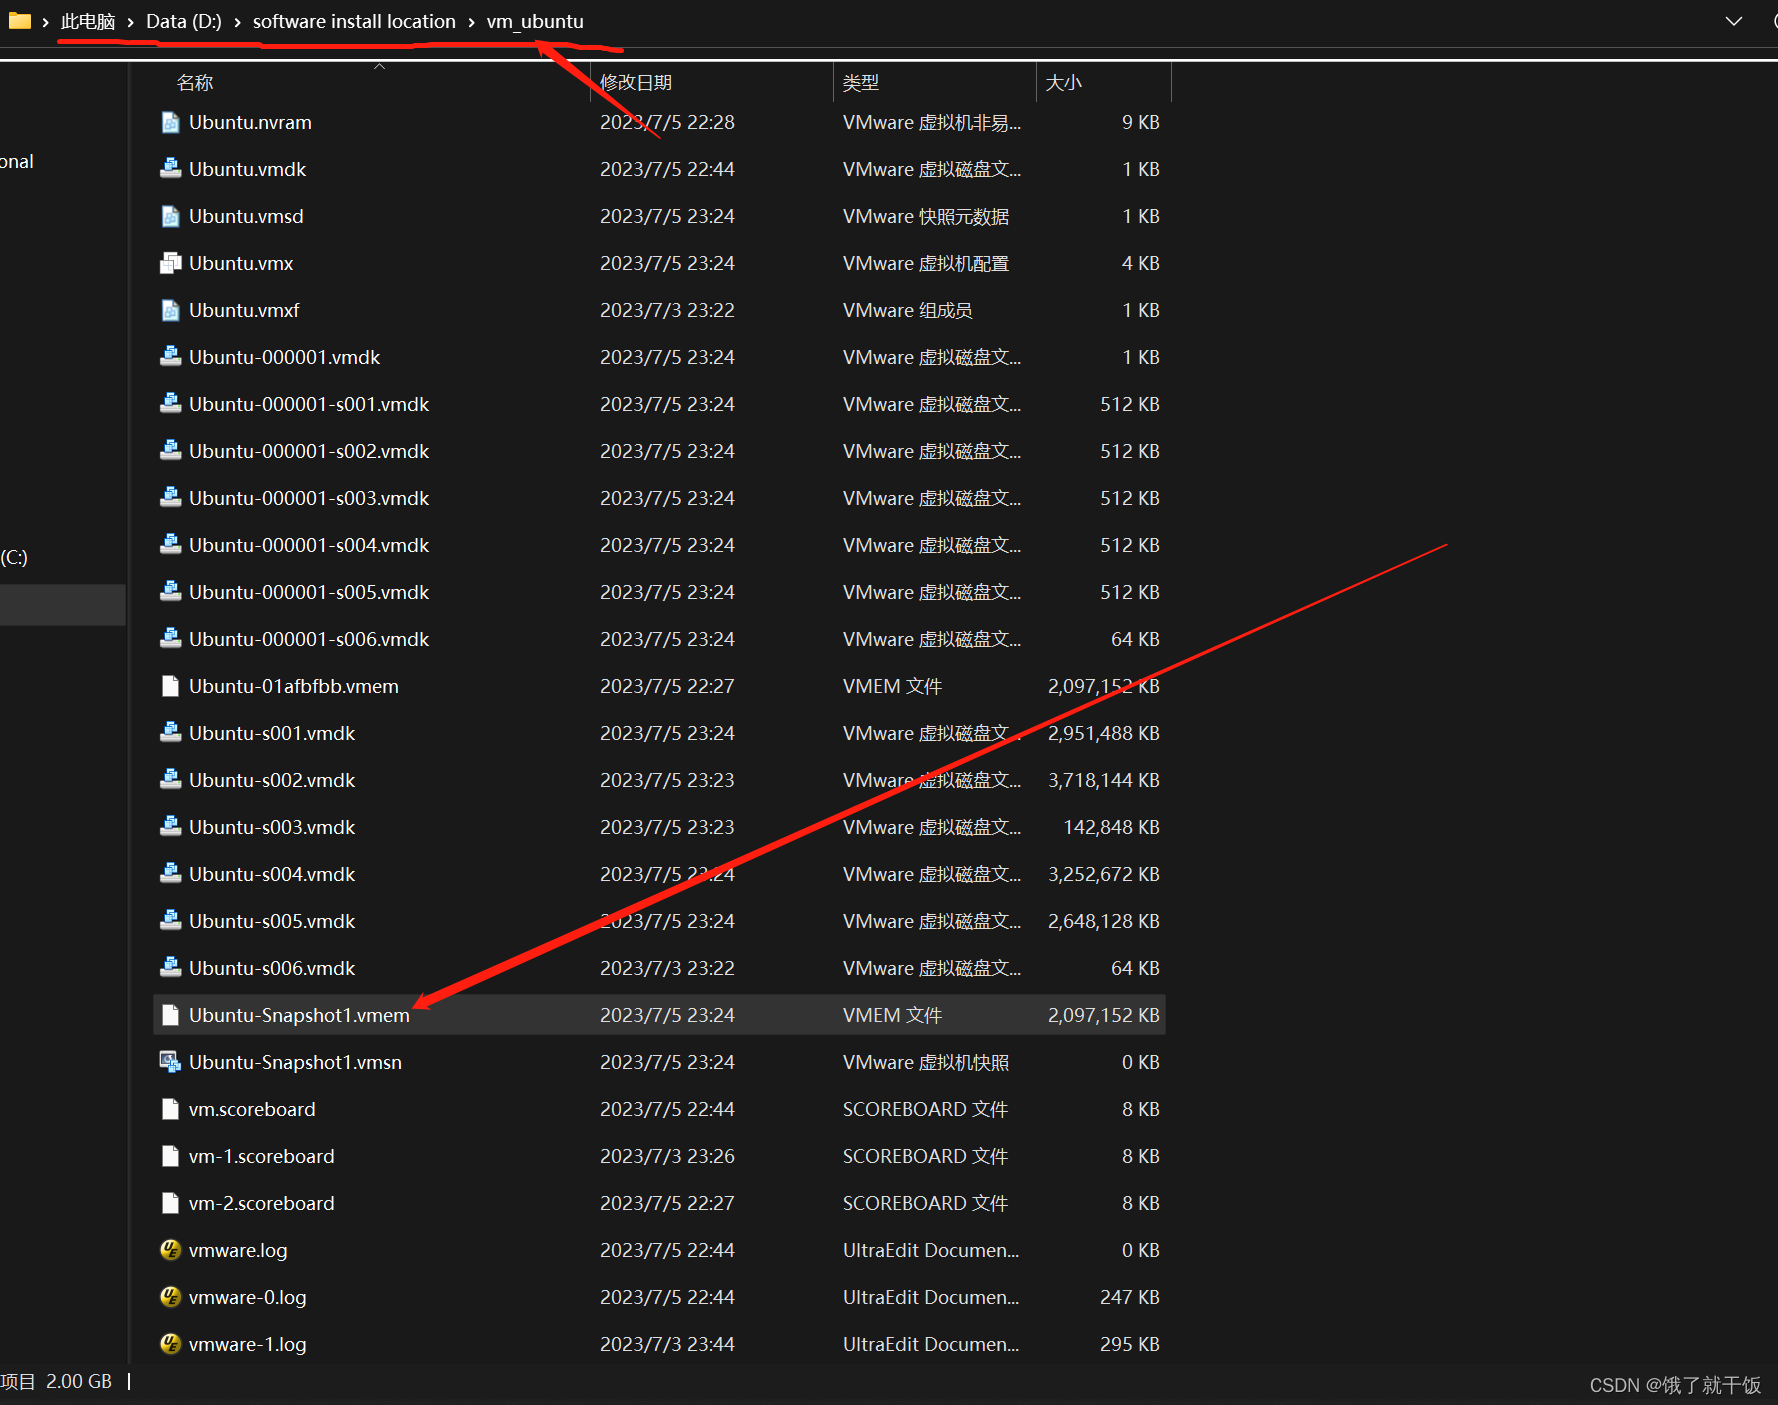
在该虚拟机下可以找到保存的快照文件,如下图
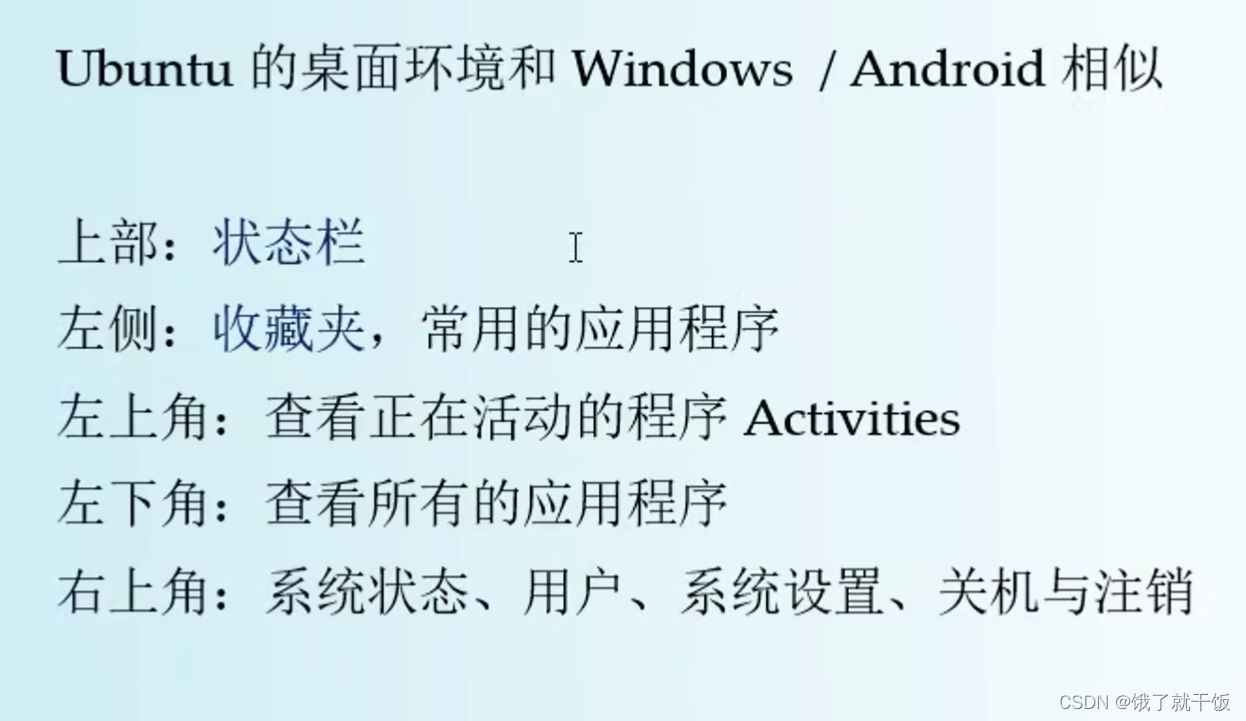
4、桌面环境
是windows与Android的综合体,第三个是收藏夹
LInux可以作为个人桌面,但是主要用于服务器环境
重点关注的软件为:文件管理器、命令行终端、文本编辑器,其他不用怎么关注
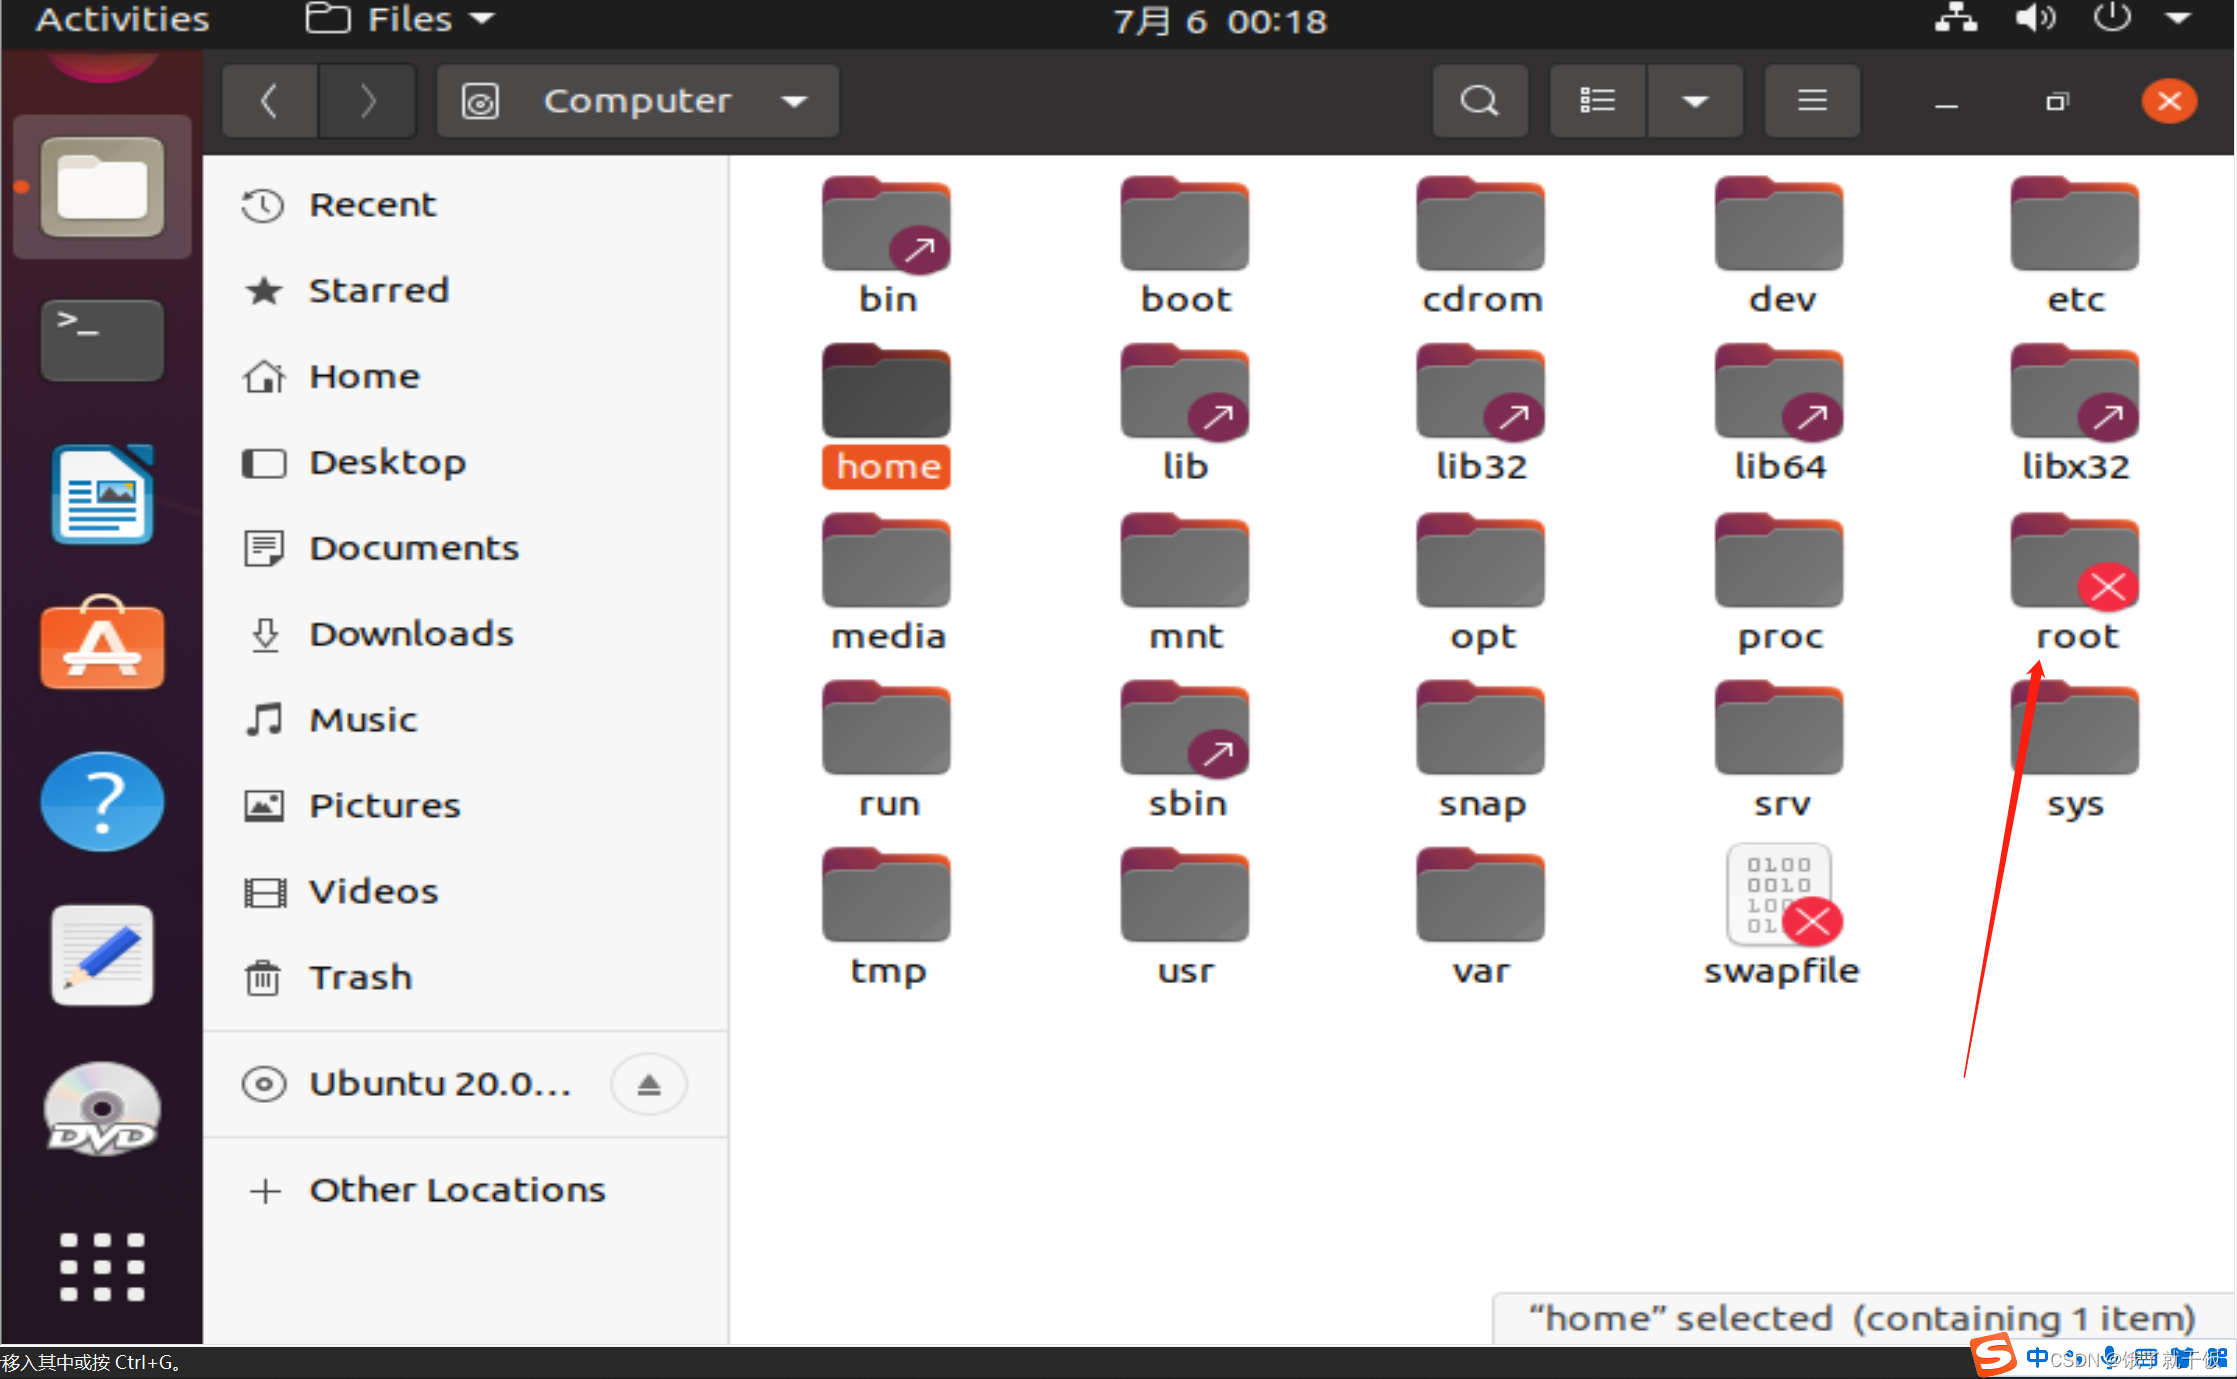
5、文件系统
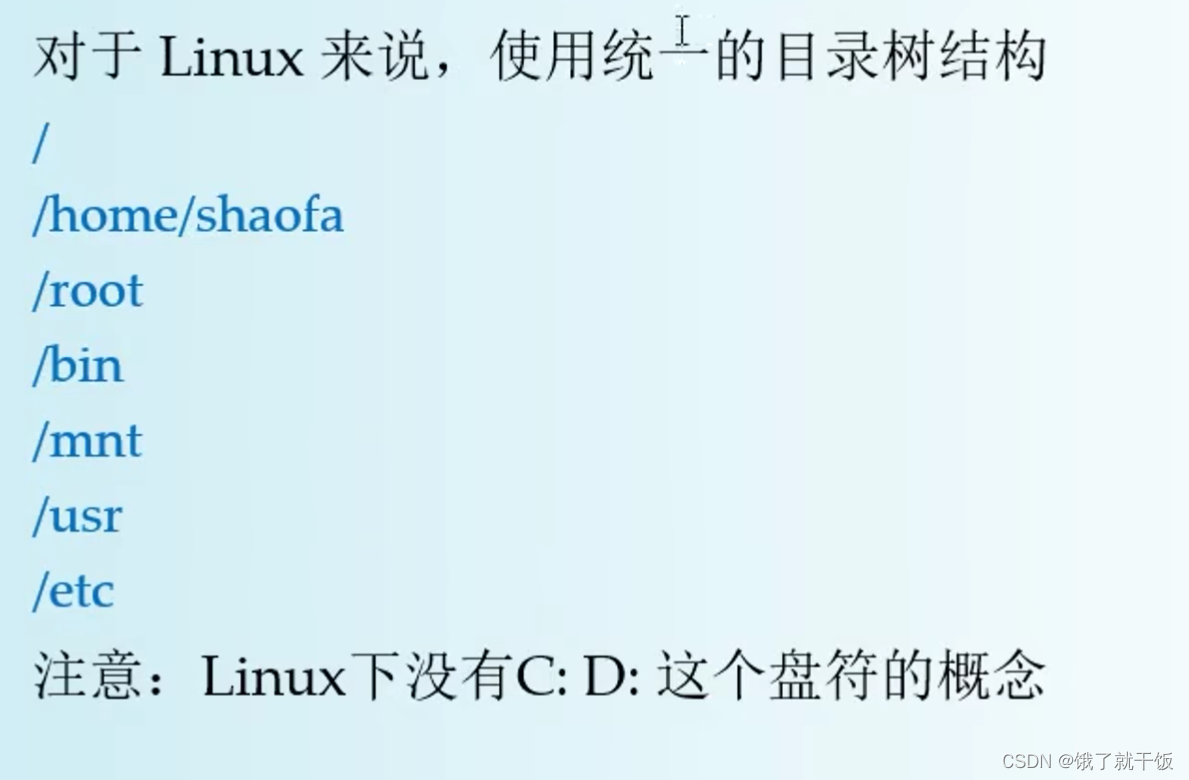
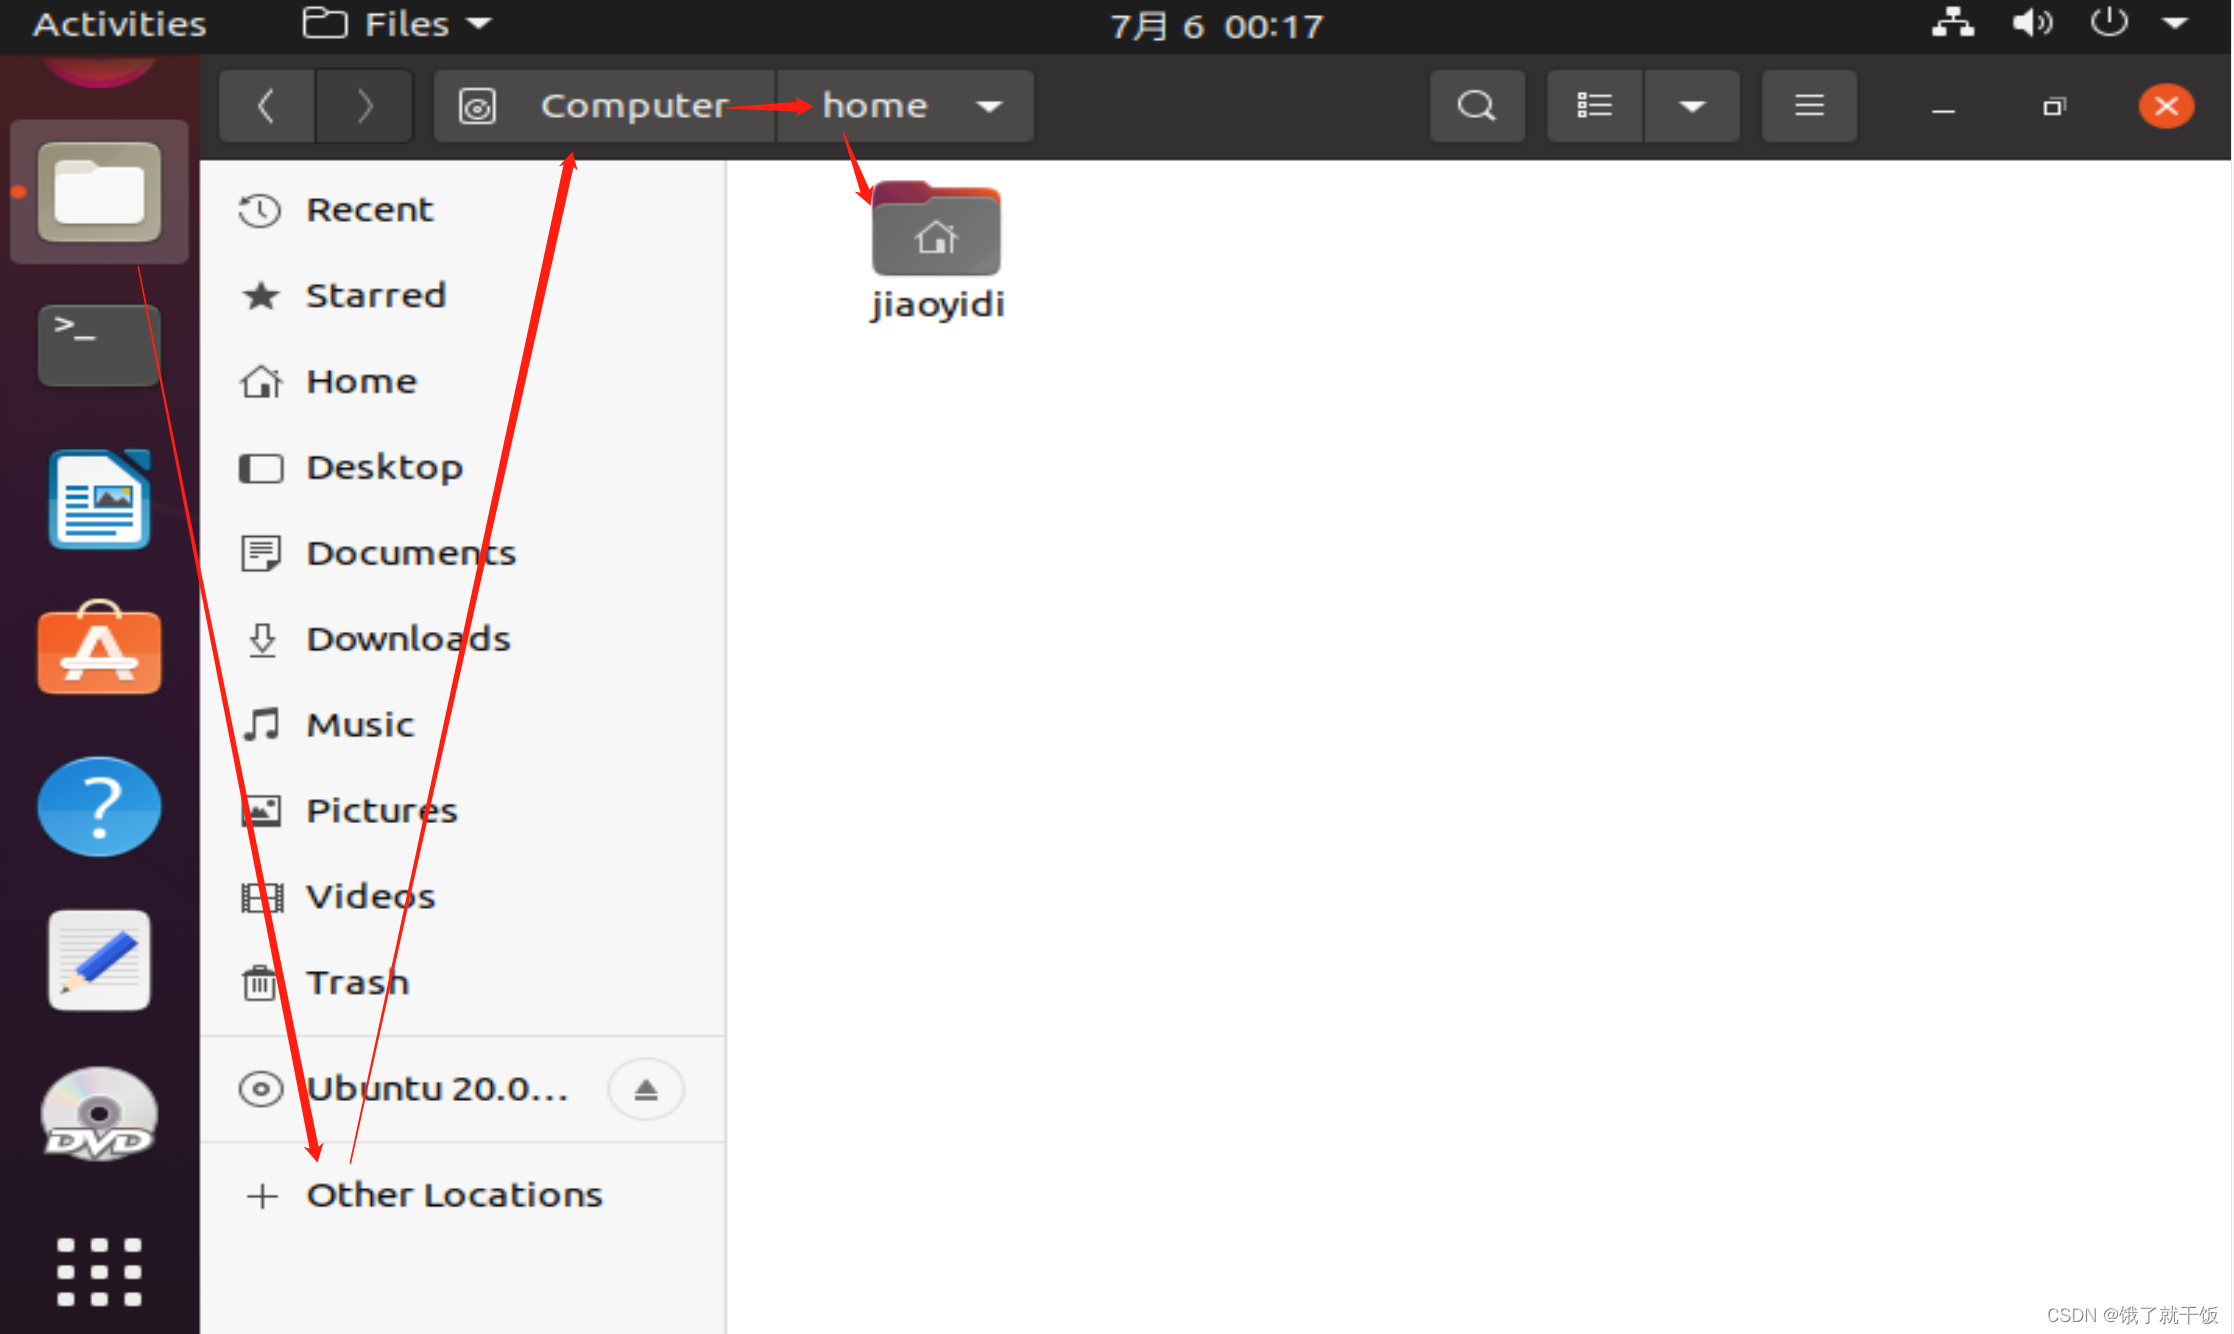
6、用户目录
用户目录就是用户自己对的目录
home后面会存放每个用户的目录,用户jiaoyidi的目录就是/home/jiaoyidi
Liux系统上支持多个用户,每个用户一个目录
特例:超级用户root,其用户目录为/root,红色的叉号表示该文件不可访问,Linux系统中的每个文件都是有一定的权限的,root文件只能由root用户自己能够访问
权限机制:对于普通用户来说,只能操作的目录只有用户目录
root用户没有权限,可以操作任意文件和目录
7、创建目录和文件
目录操作:创建、删除、重名
文件操作:编辑文本文件
以上所有操作,都在用户目录下执行
/home/jiaoyidi
哈哈哈 这一节讲的东西基本和windows一样,没有使用终端界面进行操作
8、命令行:文件列表
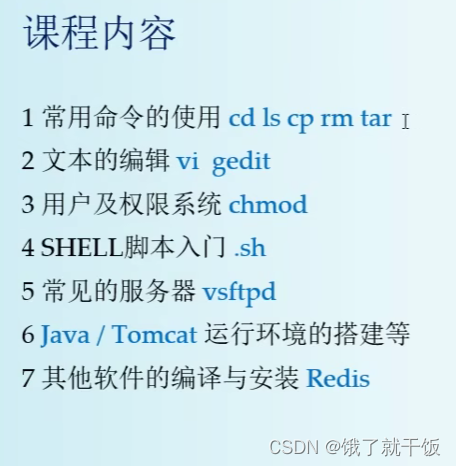
常用命令:
ls/cd/pwd         目录的切换和查看
mkdir/rmdir       创建和删除目录
cp/rm/mv          复制、删除、移动、重命名
tar/zip/unzip     打包和解压缩
ln....
参考《Linux常用命令》文档,该文档在第5章 常用命令可以找到
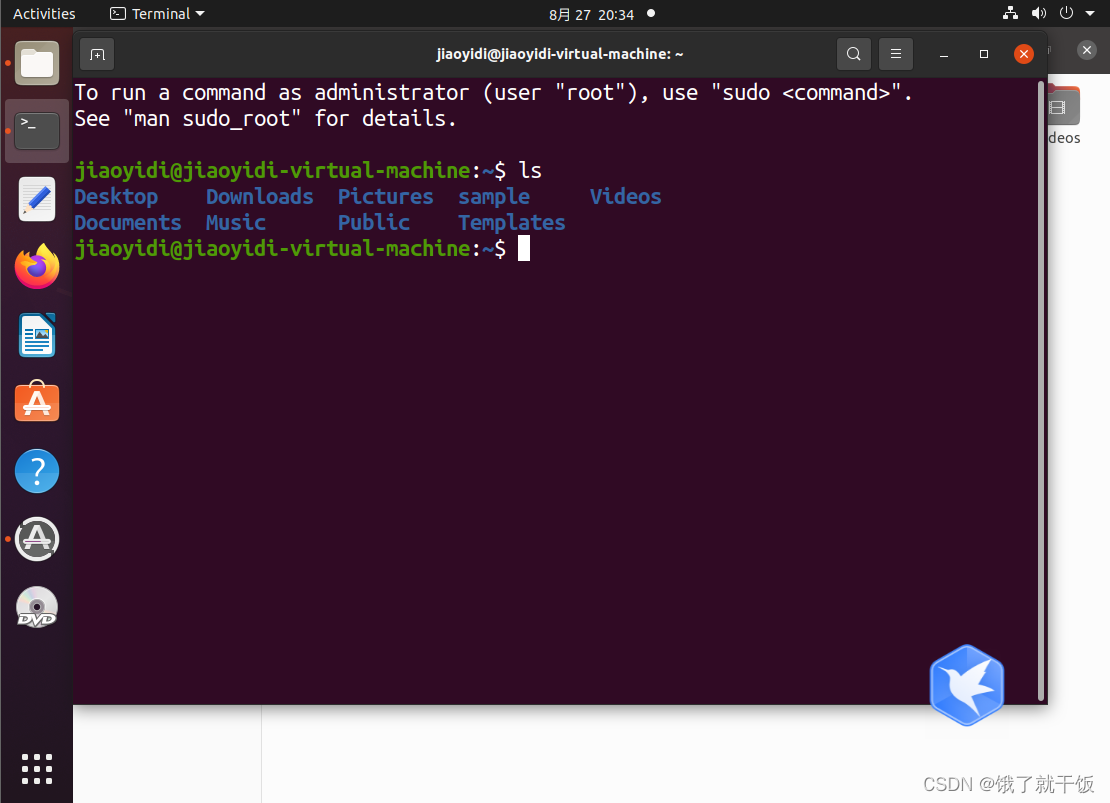
一般刚打开终端,目录是在/home/jiaoyidi下
在终端使用Ctrl+Shift++将字体放大
Ctrl+-将字体缩小
ls
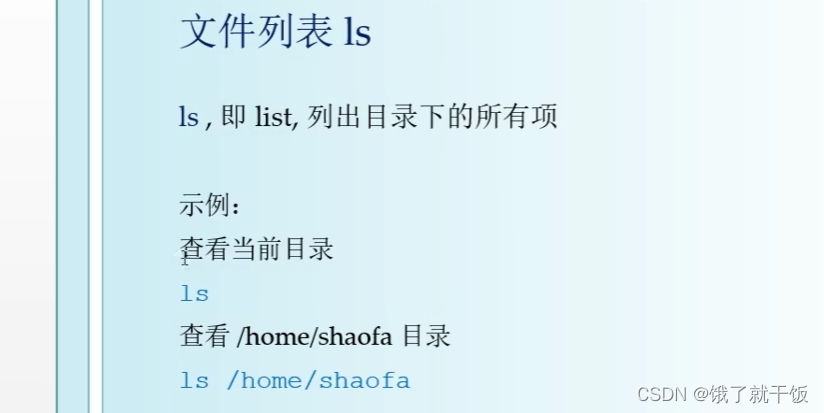
ls:即list,列出目录下的所有项,包括文件和文件夹
eg:
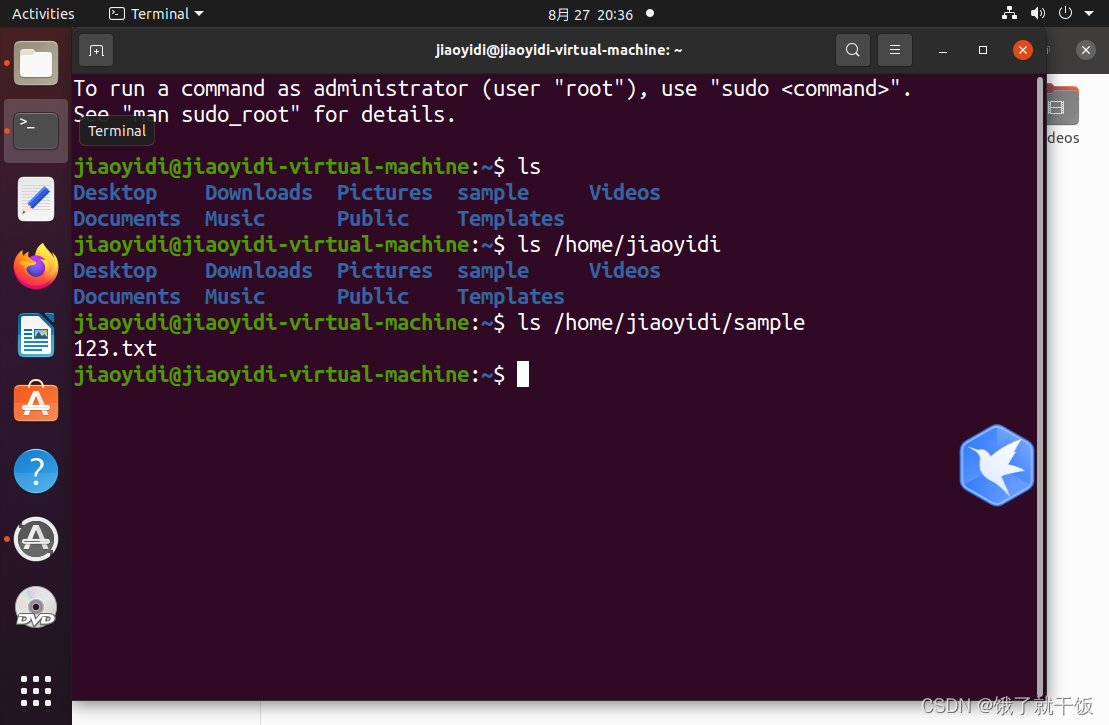
ls
ls /home/jiaoyidi/example 往深了看
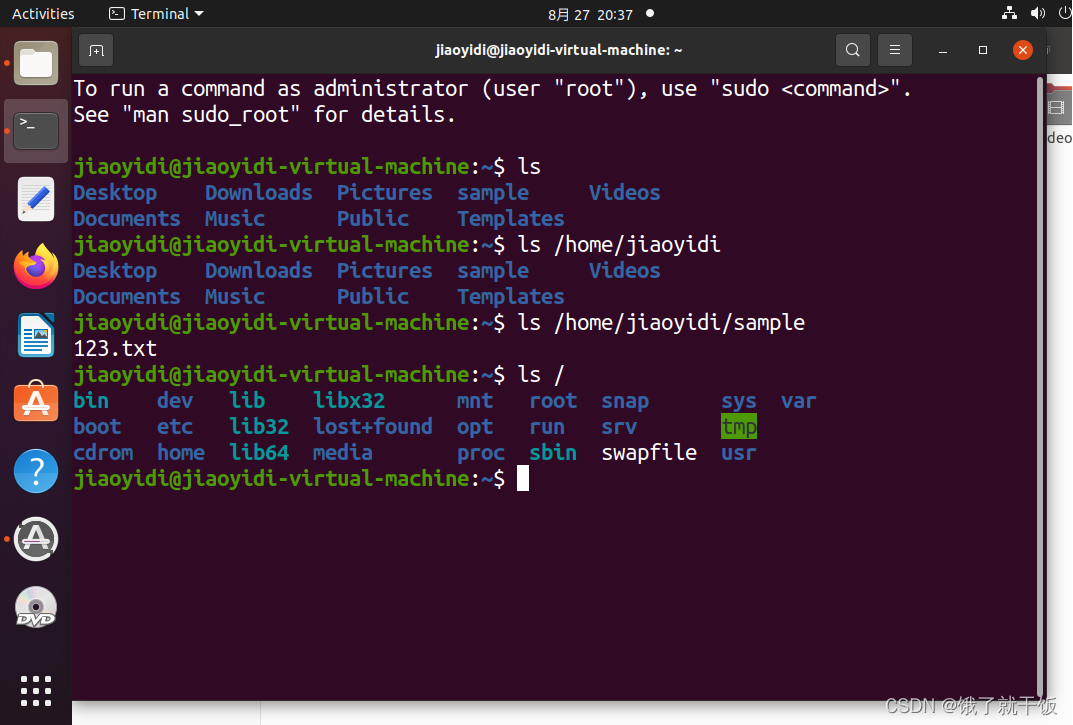
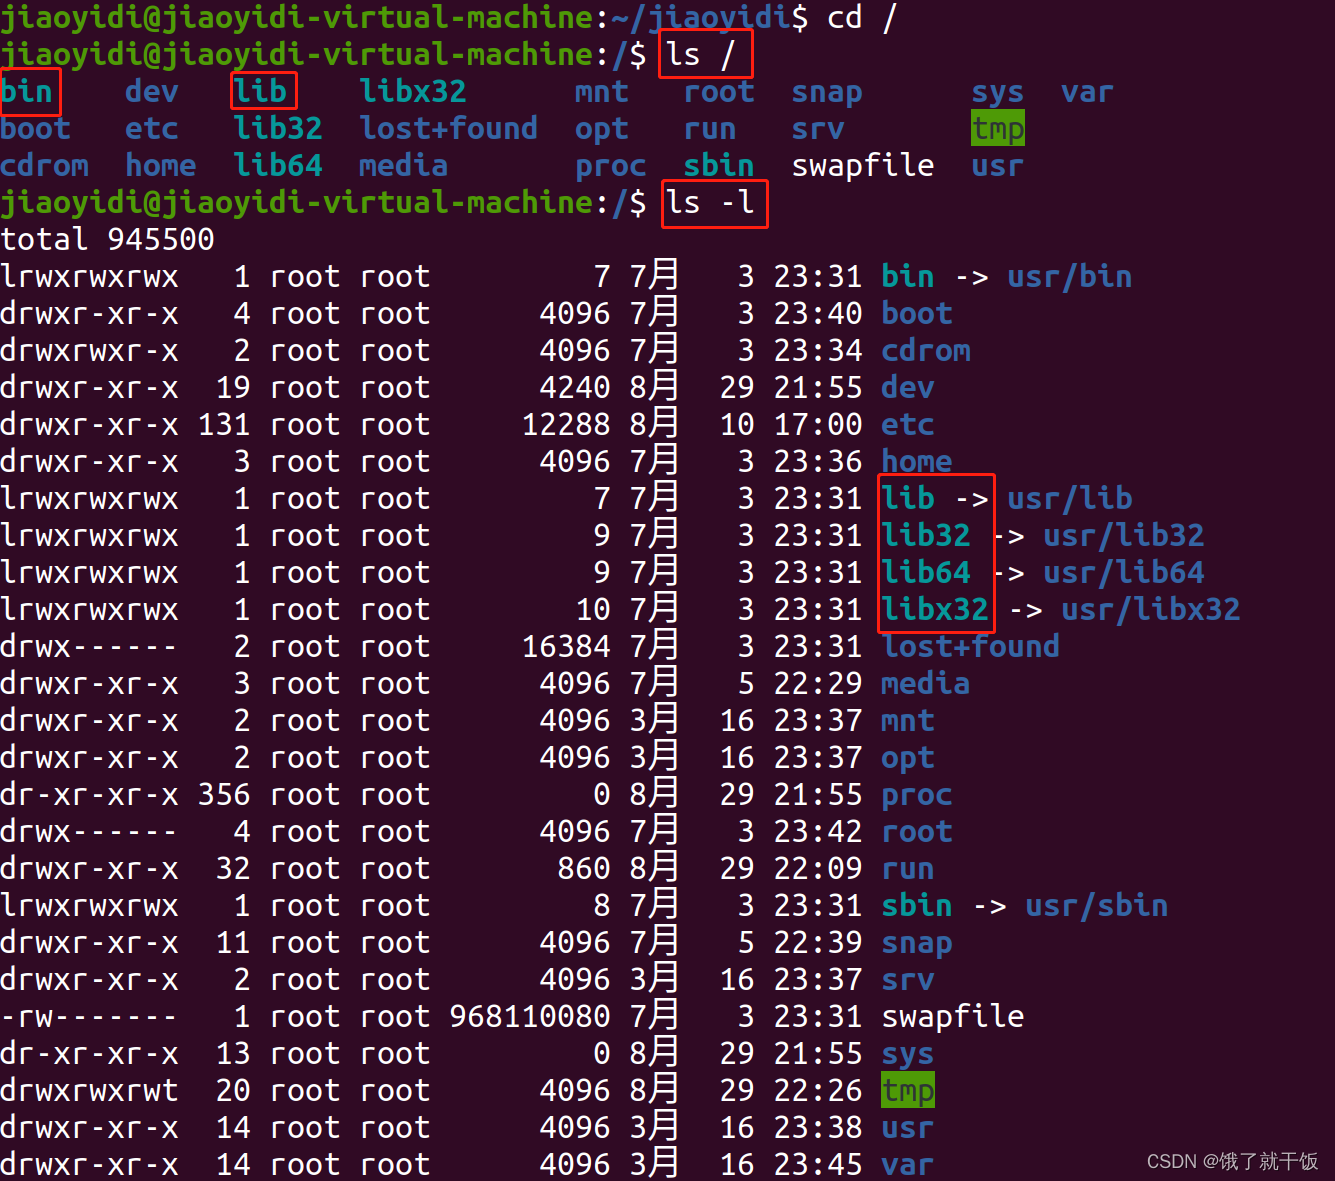
ls / 看根目录
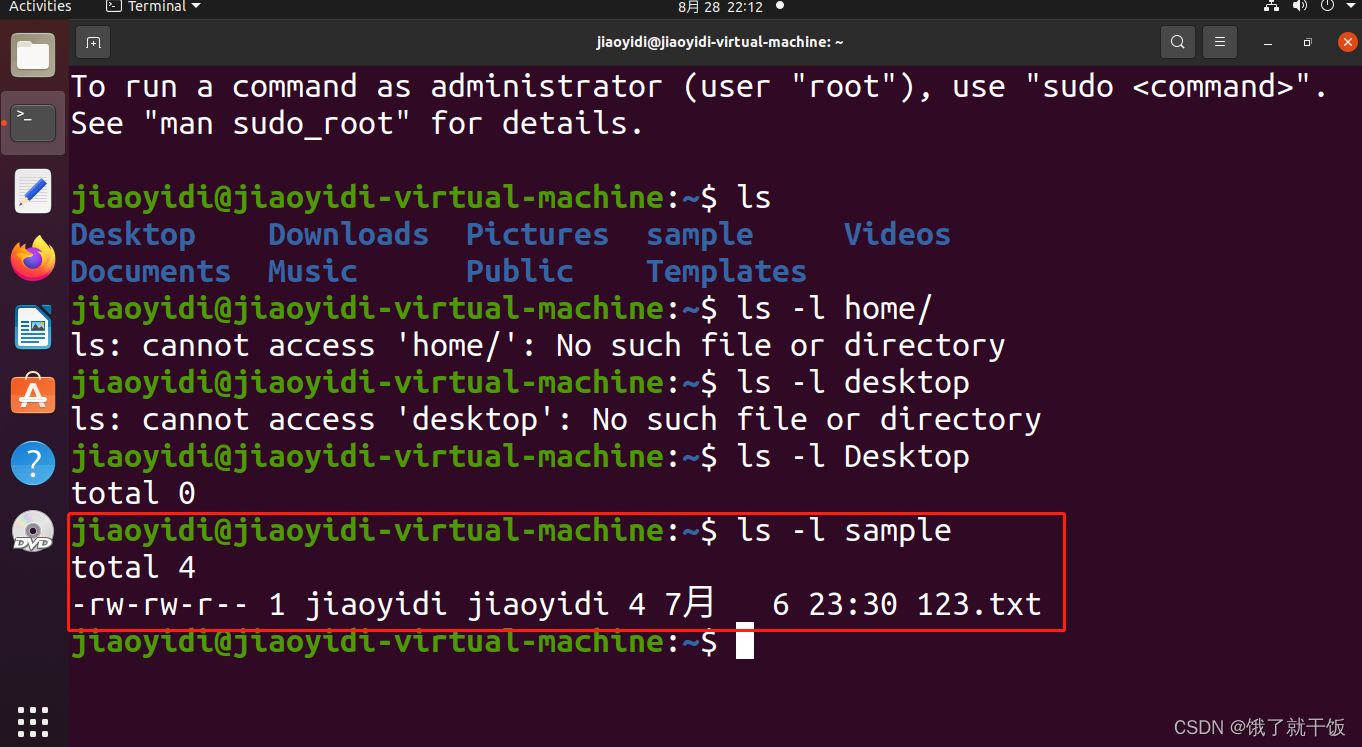
ls -l /home/jiaoyidi -l表示以详细模式来查看 -l是参数,参数一般使用-开头
/表示根目录
ls / :查看根目录下面的文件
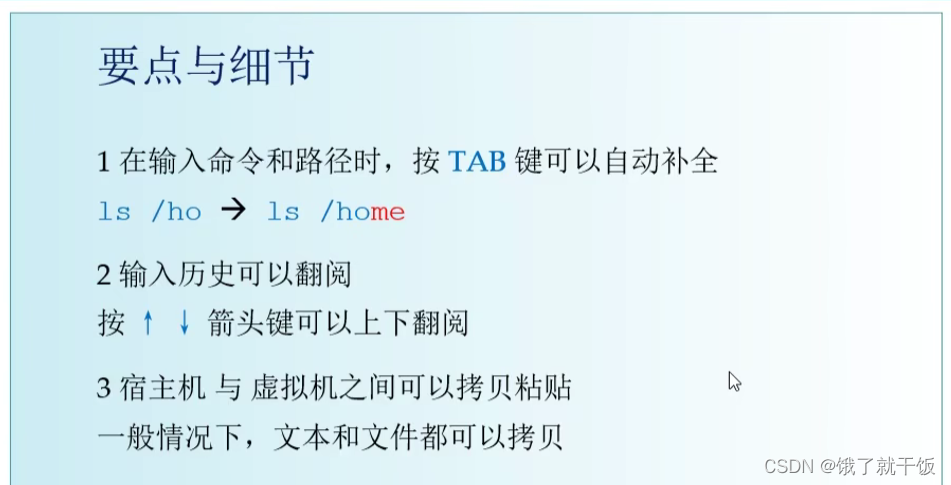
即windows系统的里面的文件可以直接拷贝到虚拟机的文件夹之中。
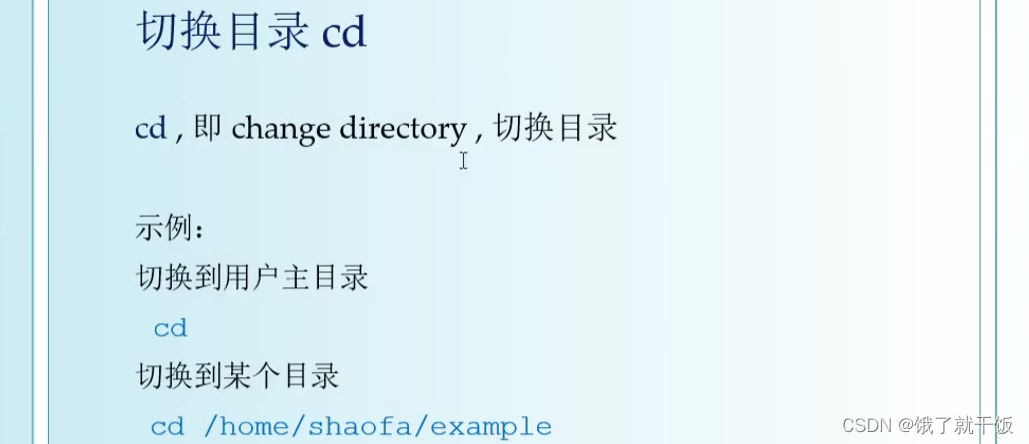
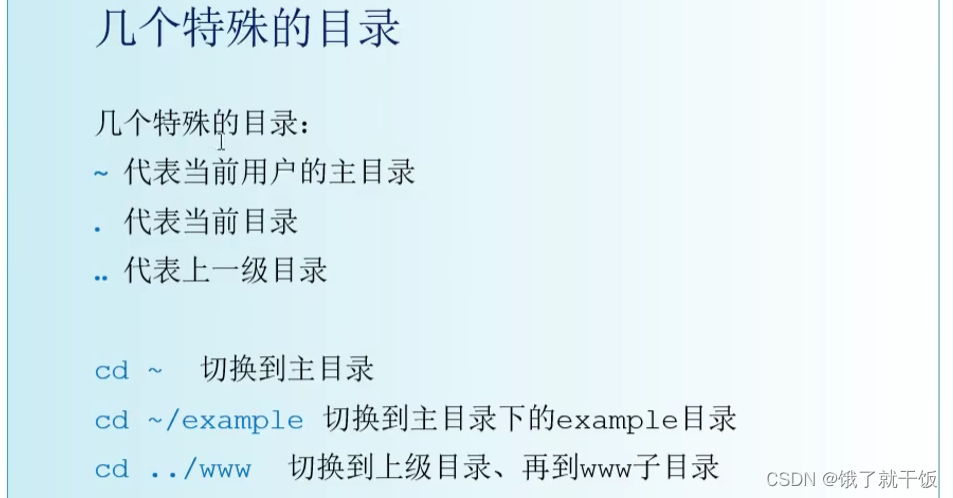
9、命令行:切换目录

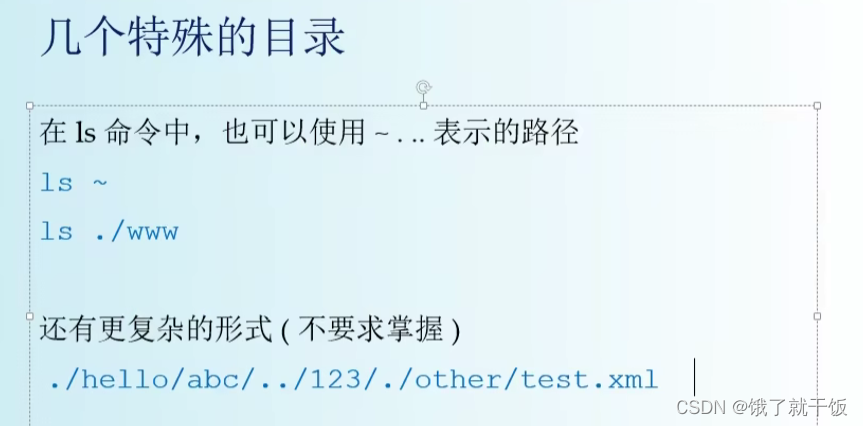
要点与细节
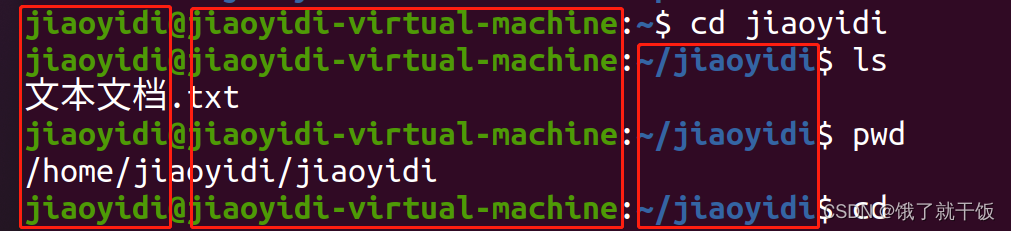
1、在命令行提示符里,会提示当前目录
如:
jiaoyidi@jiaoyidi-virtual-machine:~/jiaoyidi$ cd
jiaoyidi是当前用户
jiaoyidi-virtual-machine是主机名
~/jiaoyidi是当前所在目录
$是提示符
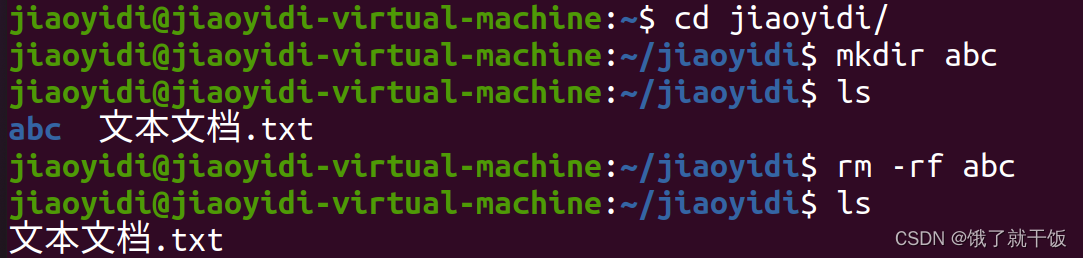
10、命令行:目录操作
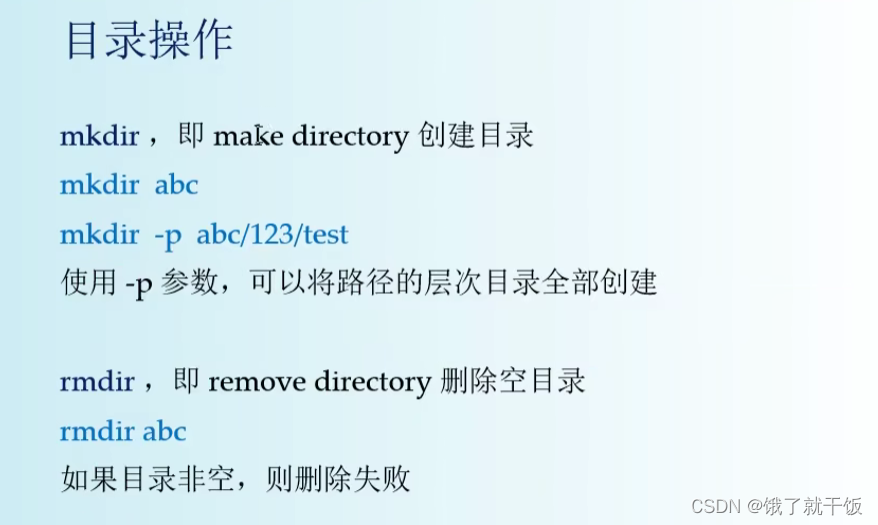

rmdir只能删除一个空目录
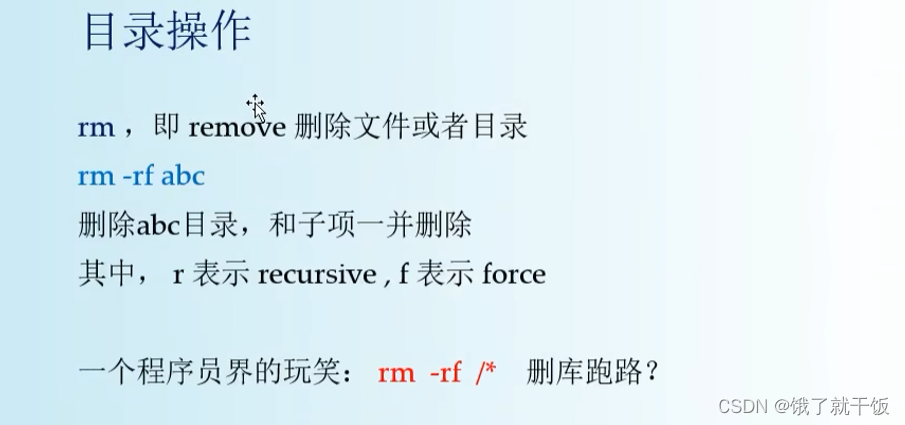
recursive表示递归删除
f表示暴力删除
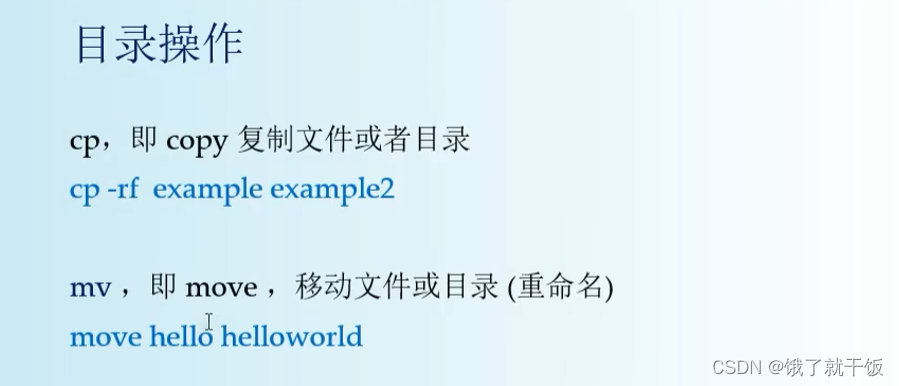

假如bbb这个文件不存在则会将aaa文件复制一份并命名为bbb
假如bbb这个文件存在则会将aaa文件内的内容复制一份放进bbb中

要点与细节:对于文件和目录,rm/cp/mv这三个命令同样适用
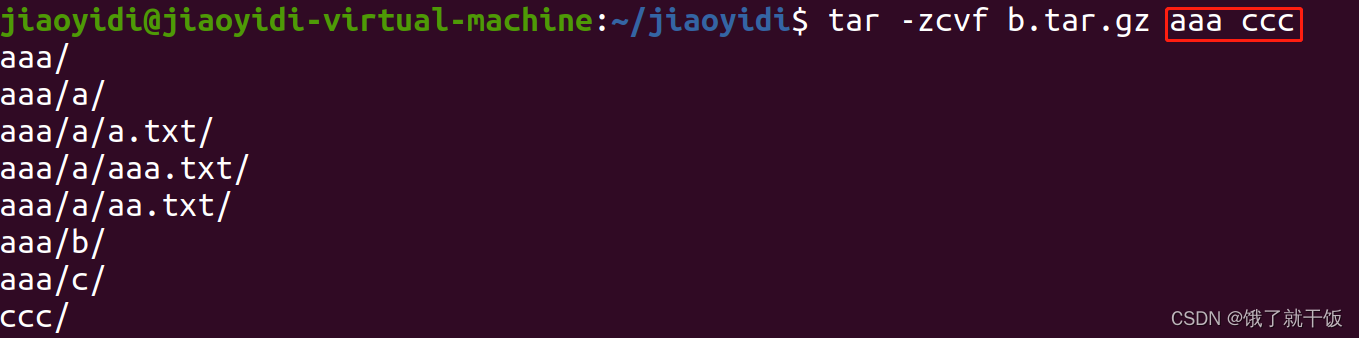
11、命令行:归档压缩
归档就是备份一下
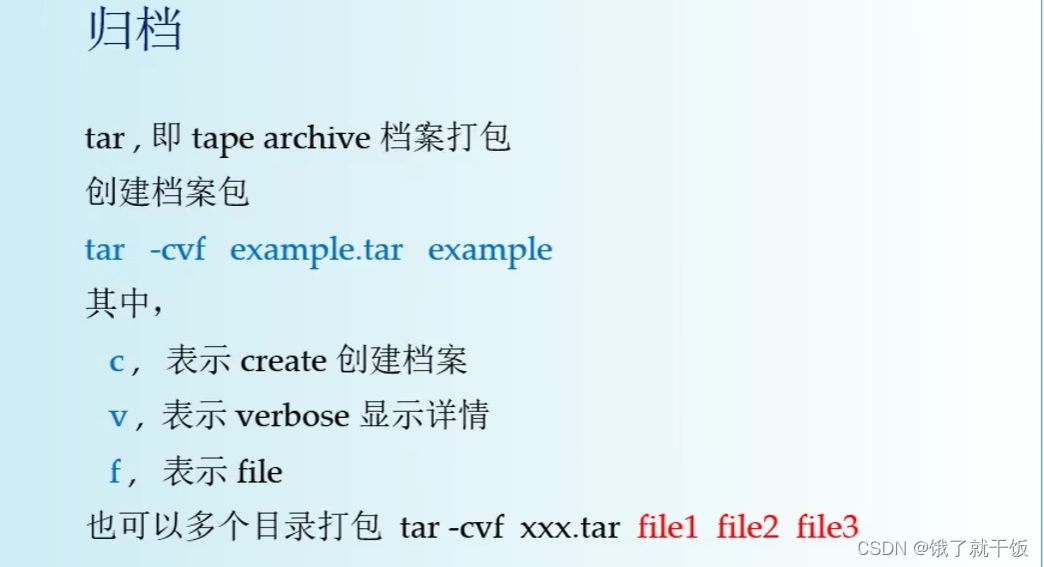
tape:磁带(v 打包)
archive:档案
example.tar:打成的包的名字
example:被打包的文件
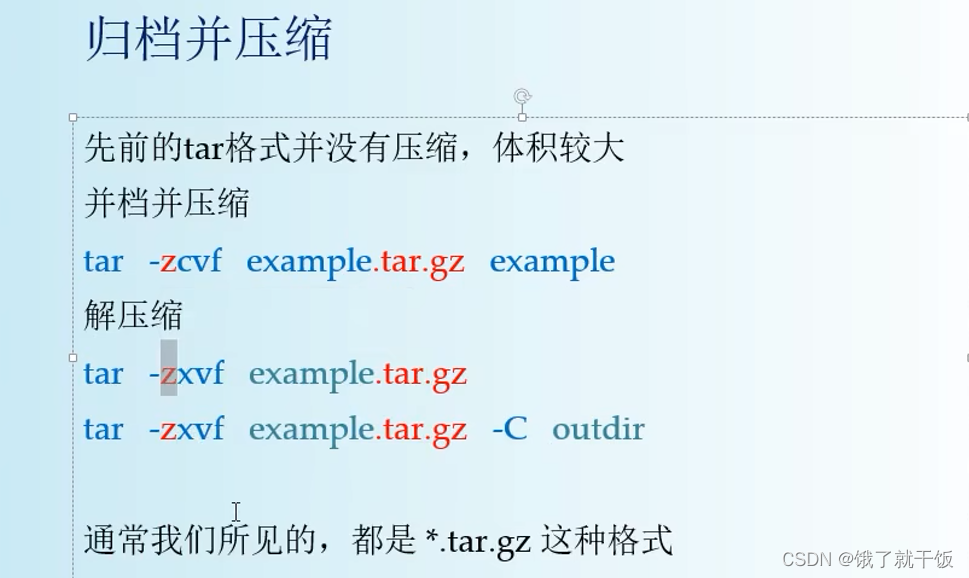
打包一个文件成一个压缩包:
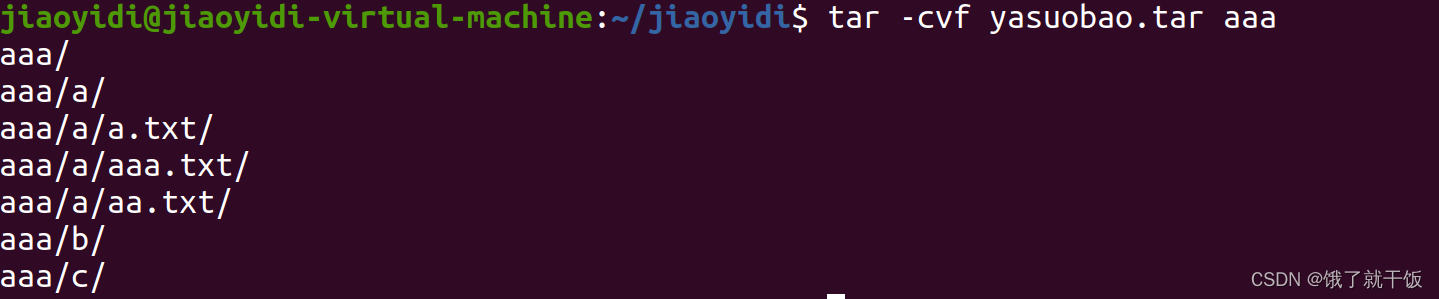
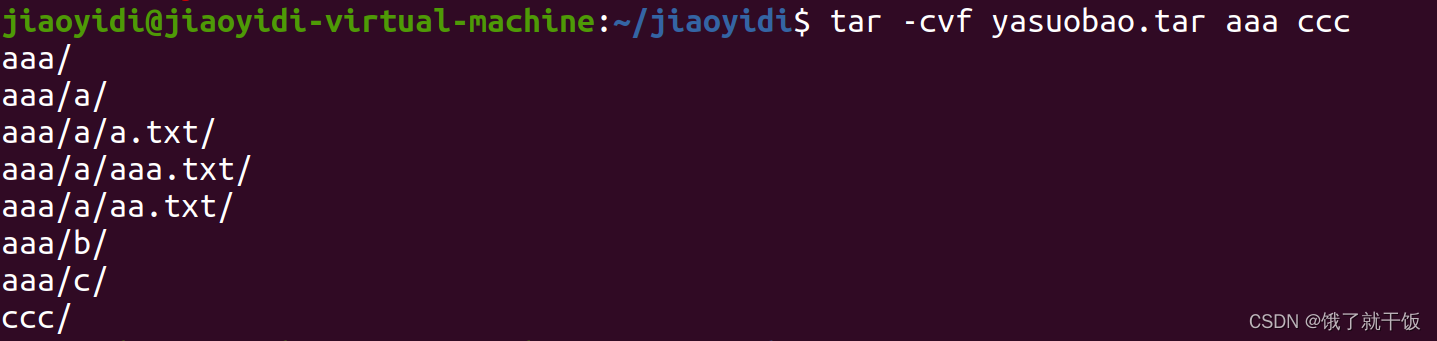
打包多个文件成一个压缩包:
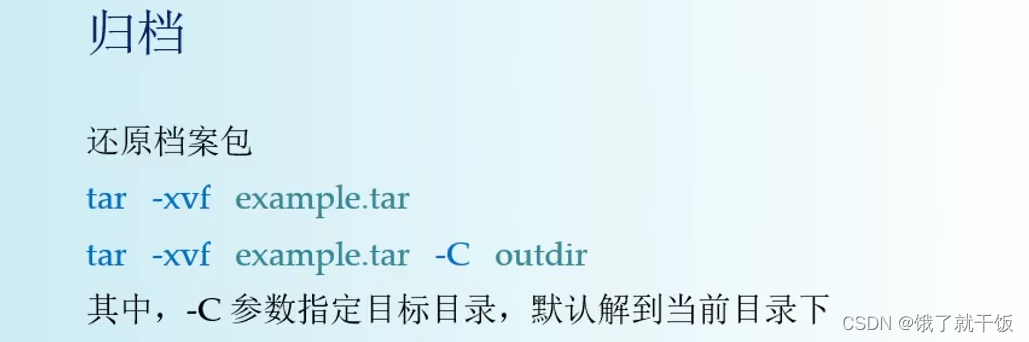
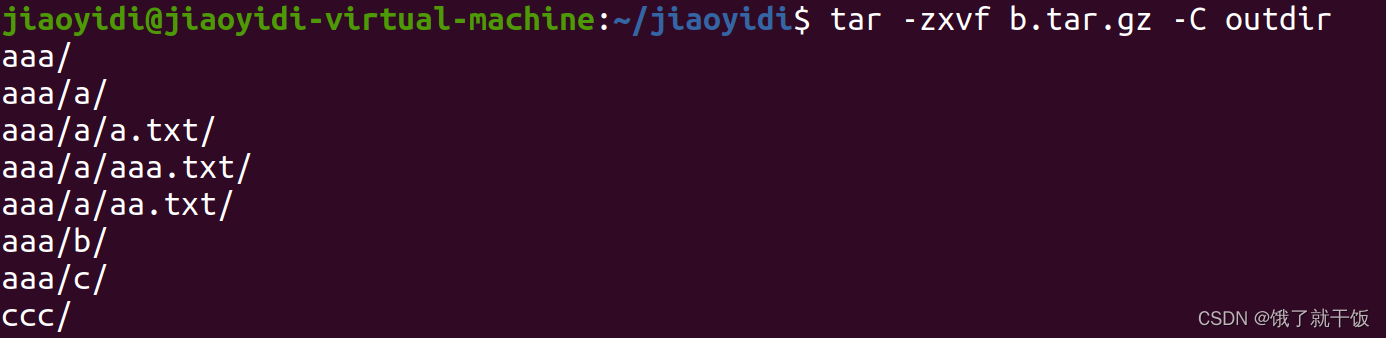
x:extract
默认直接解压到当前目录下面

在linux时区分大小写的
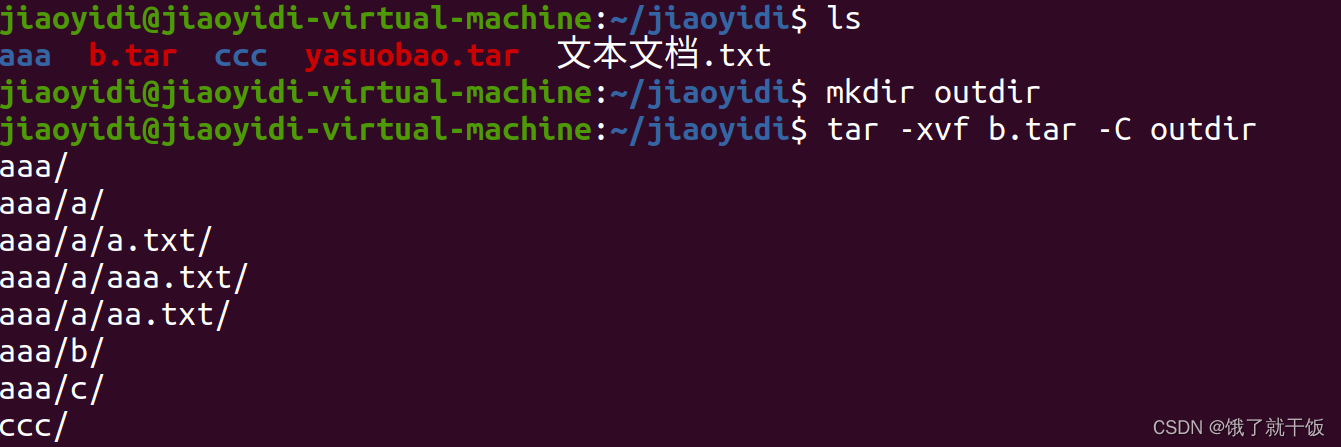
解压到指定目录outdir
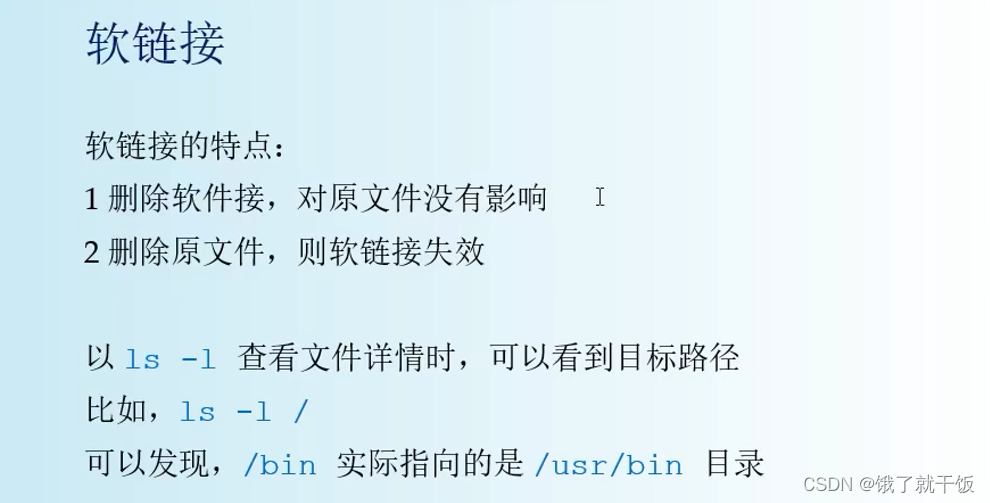
12、命令行:软连接
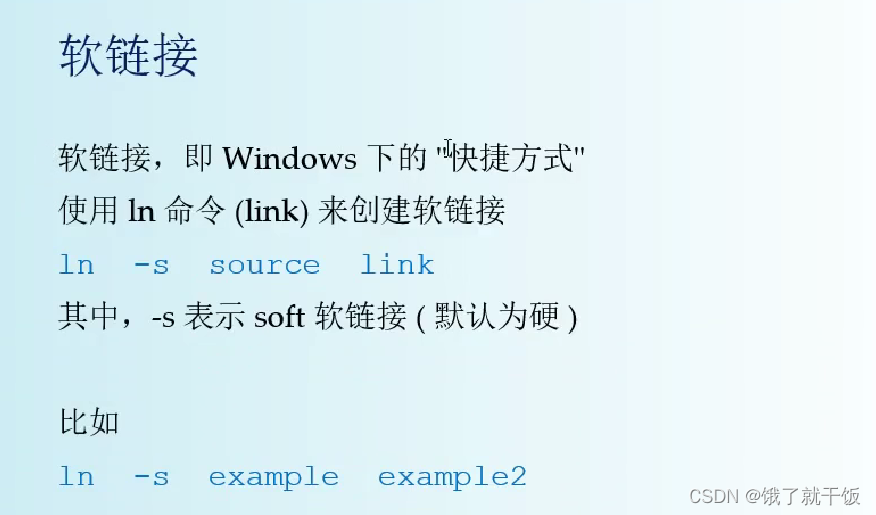
s:软,soft
source:表示的软连接指向的文件或目录
link:表示的是快捷方式的名字

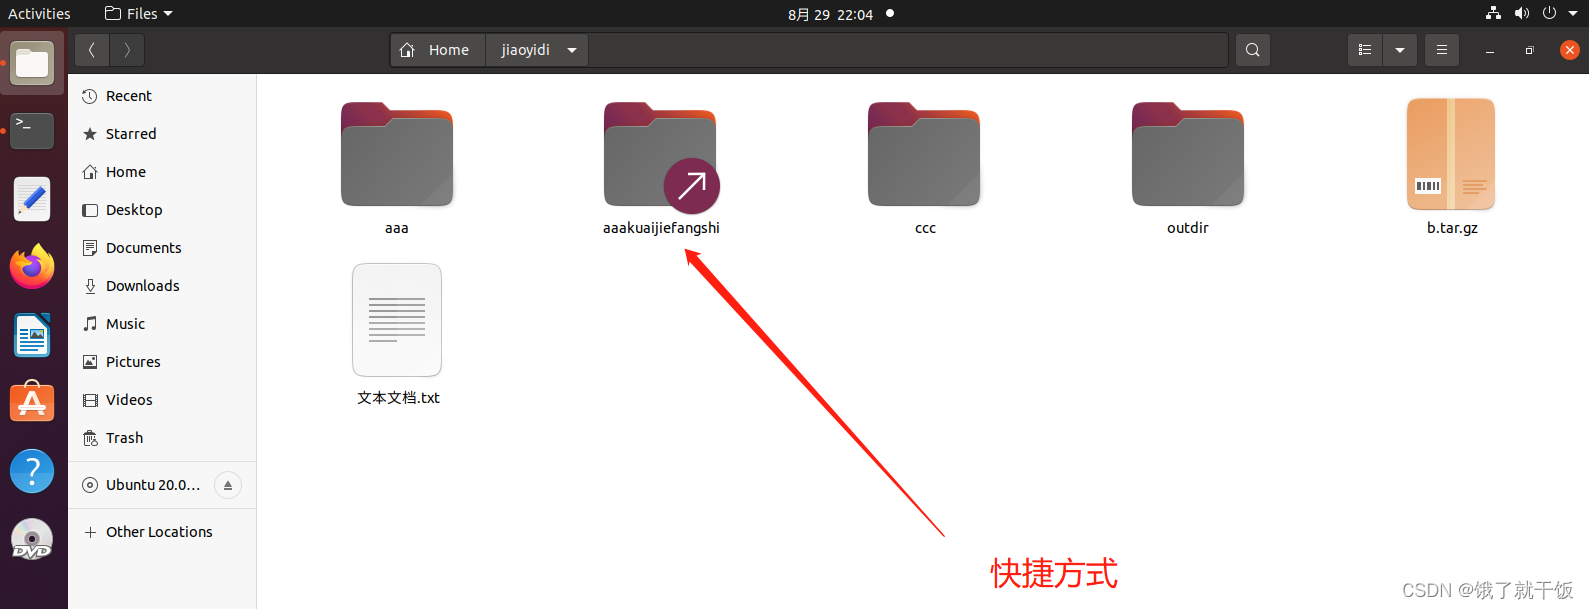
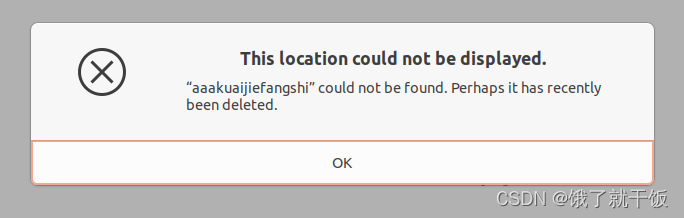
如果把源文件删除了,再试图打开创建的快捷方式,会报以下错误:
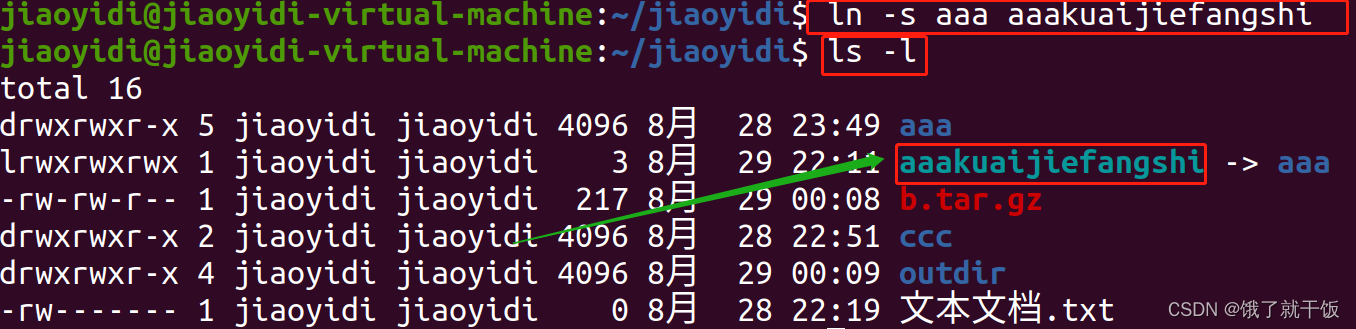
在命令行下查看哪些是快捷方式
ls -l
快捷方式都是以下面的颜色来表示的
另外通过前面的lrwxrwxrwx也可以辨别,其他的dr…,d表示的是diretory
l表示的是一个link
文件夹是的-
硬链接不常用
6 用户管理
6.1 添加用户
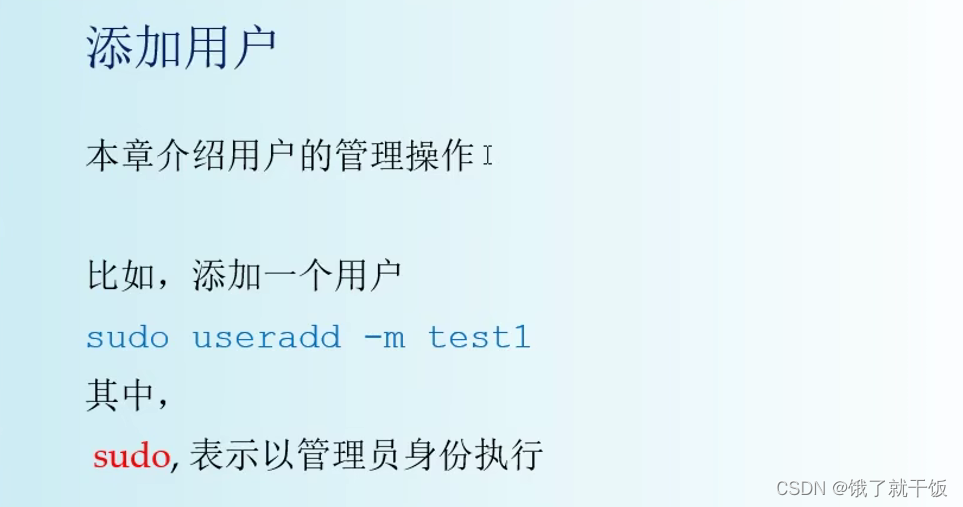
su:superuser
以管理员身份执行的话就得加sudo

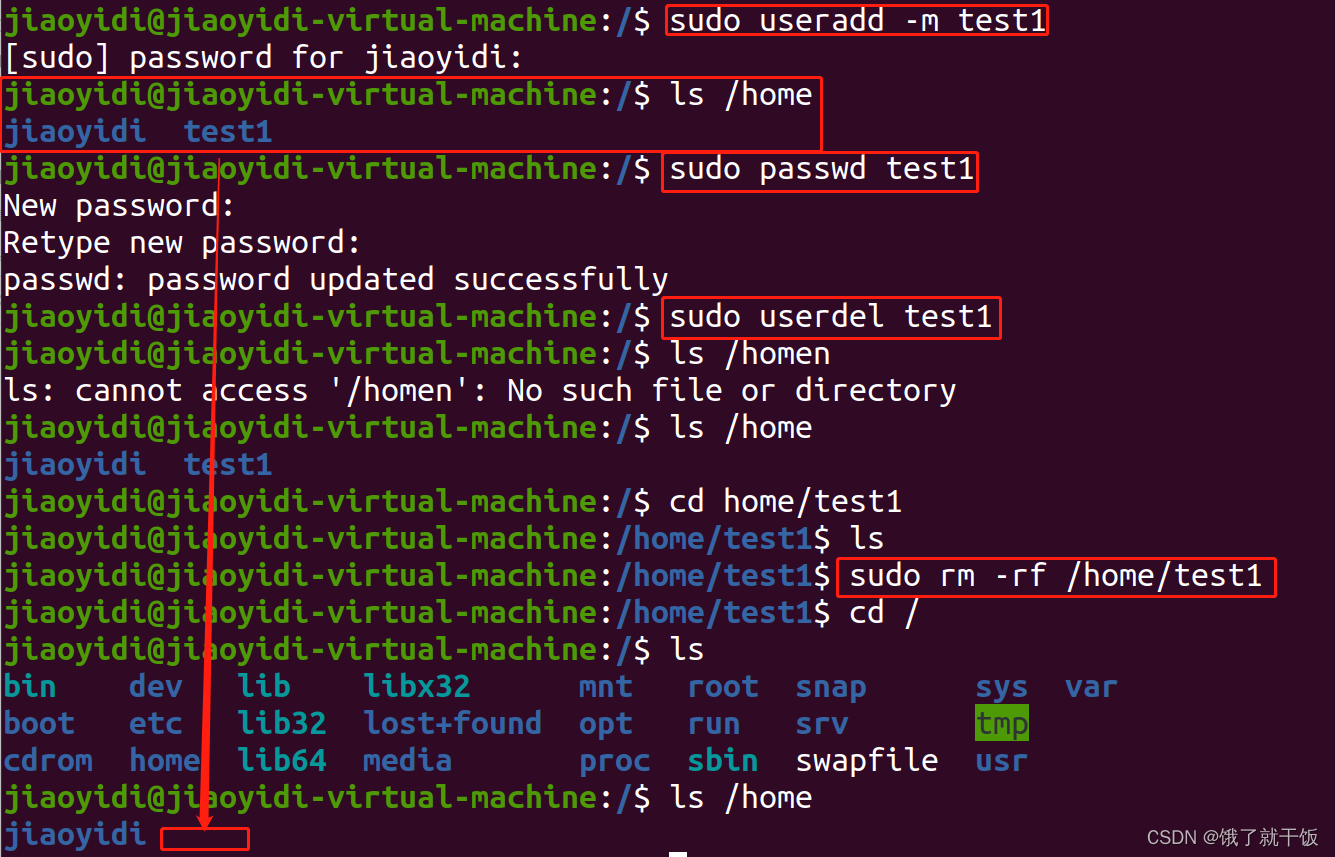
删除用户之后,还需要将该用户下的文件进行删除,这样才能删除干净
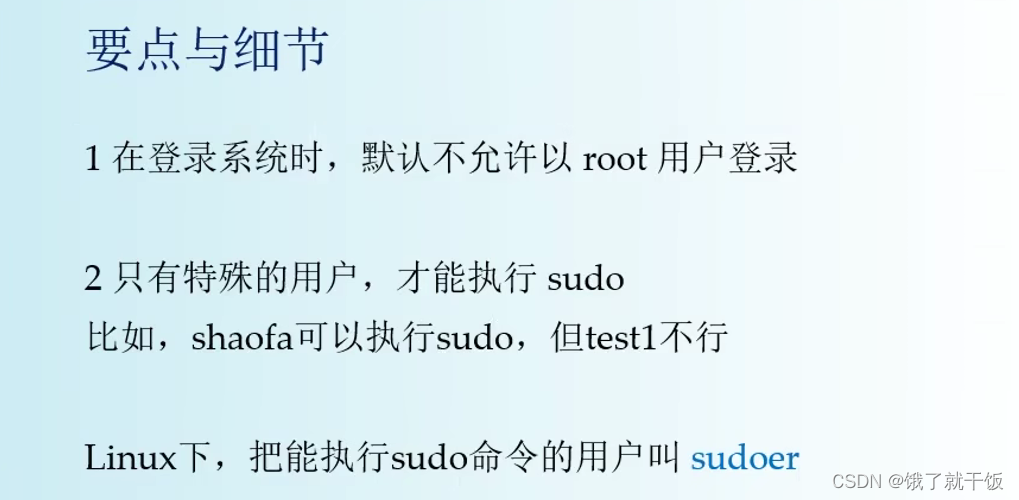
shaofa是一个特殊用户,到底怎么特殊,我暂时也不知道。
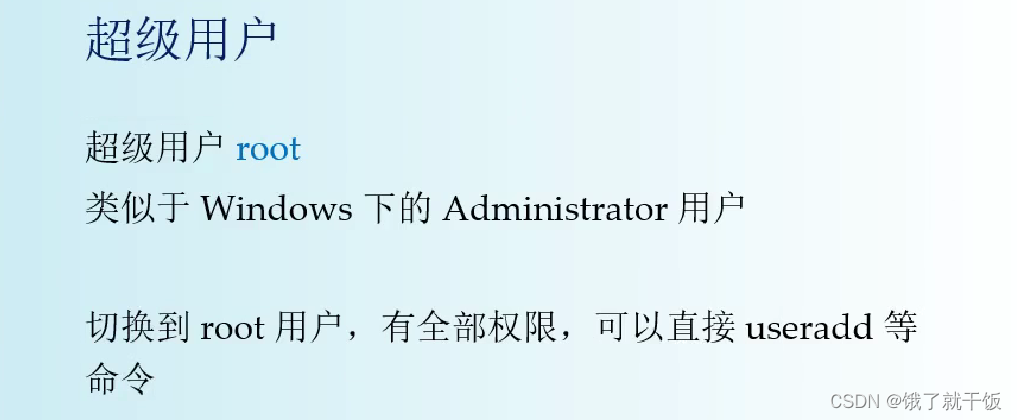
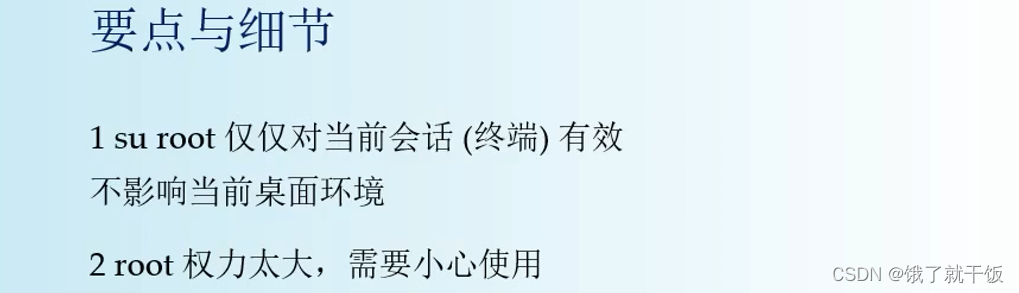
6.1 超级用户
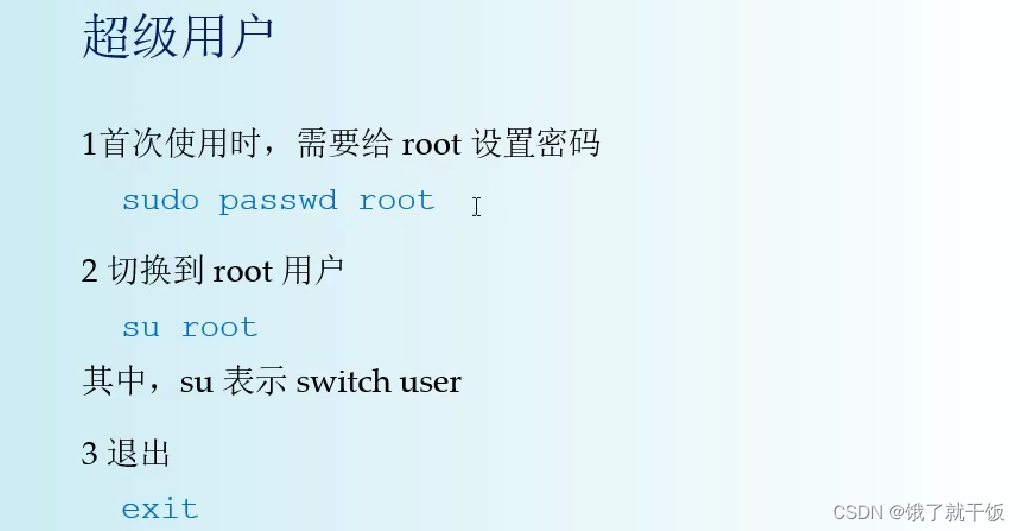
设置的root的密码为123456
su:switch user

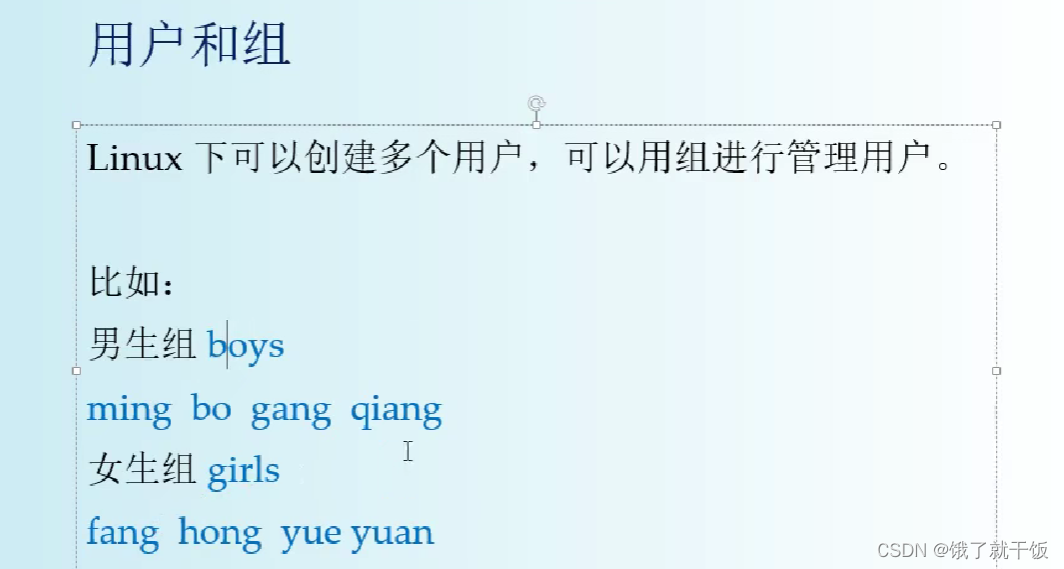
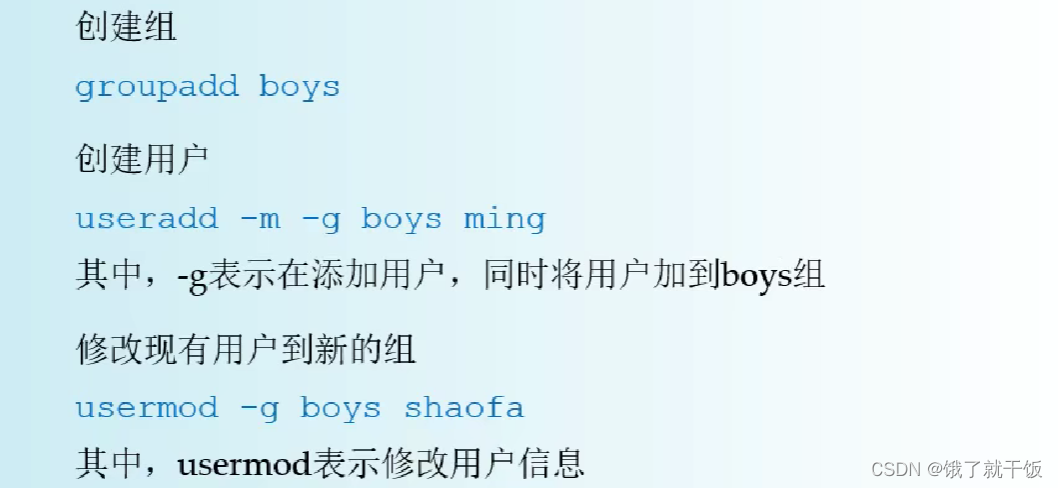
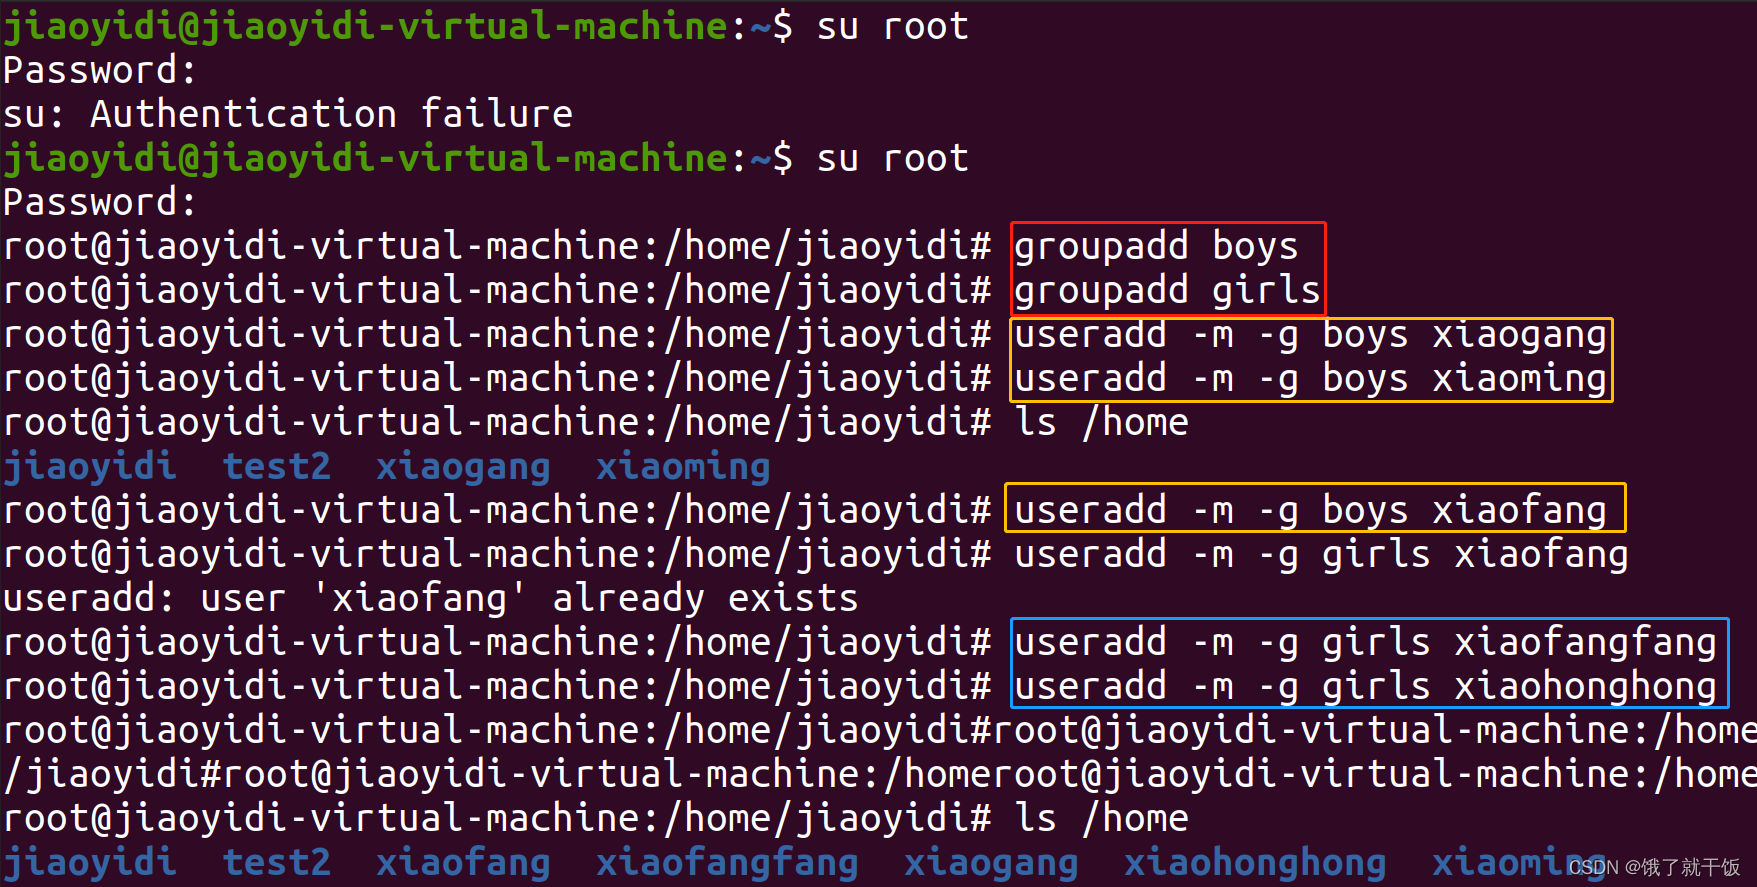
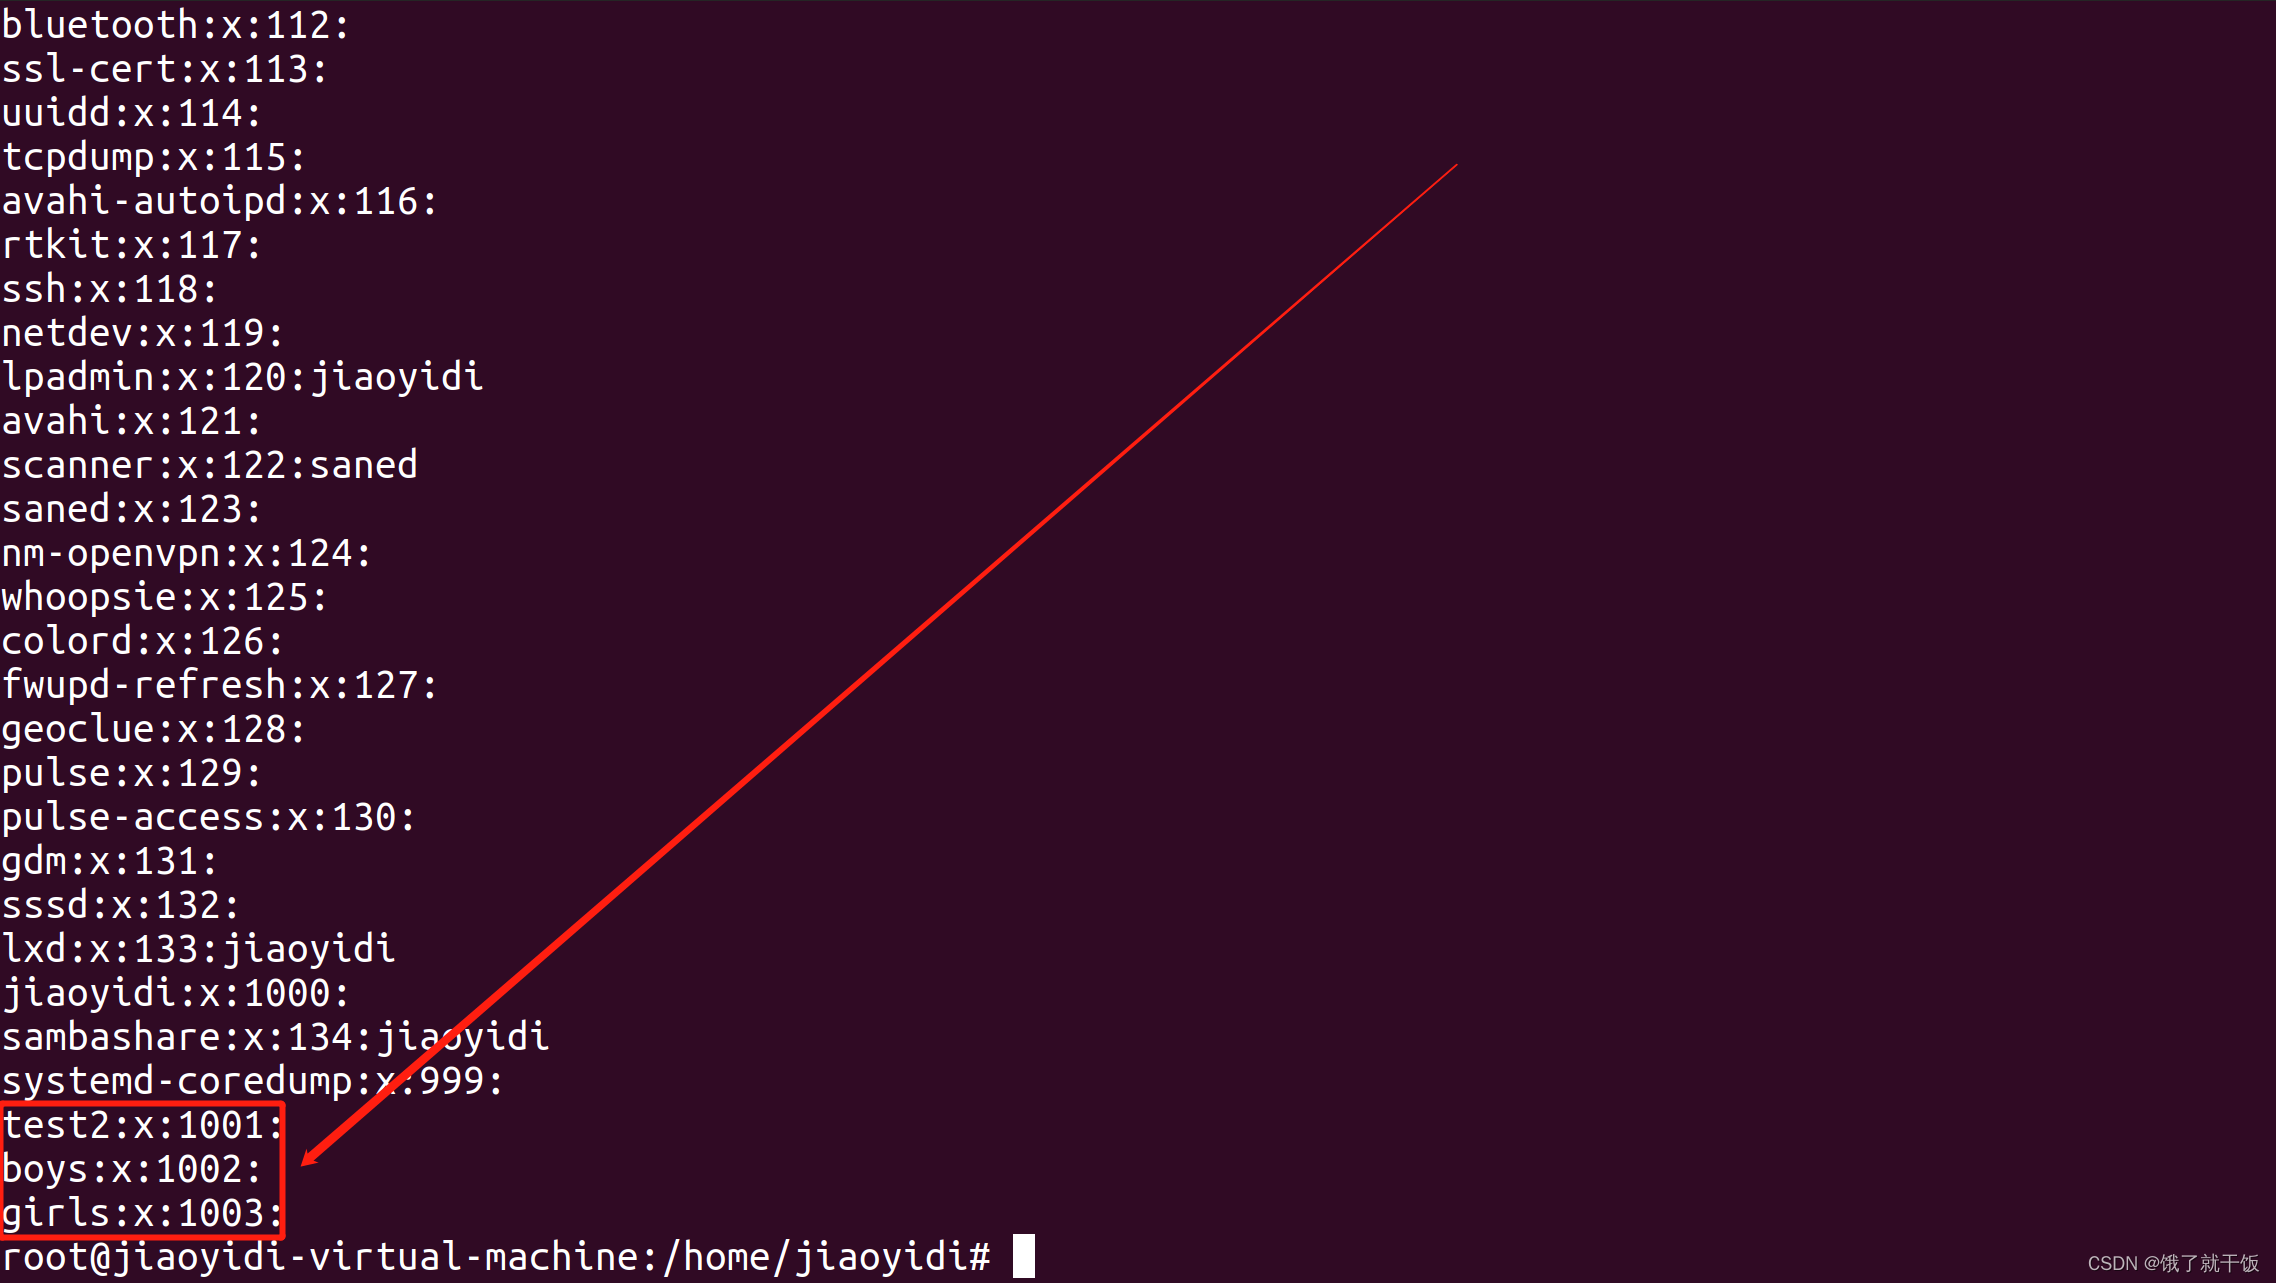
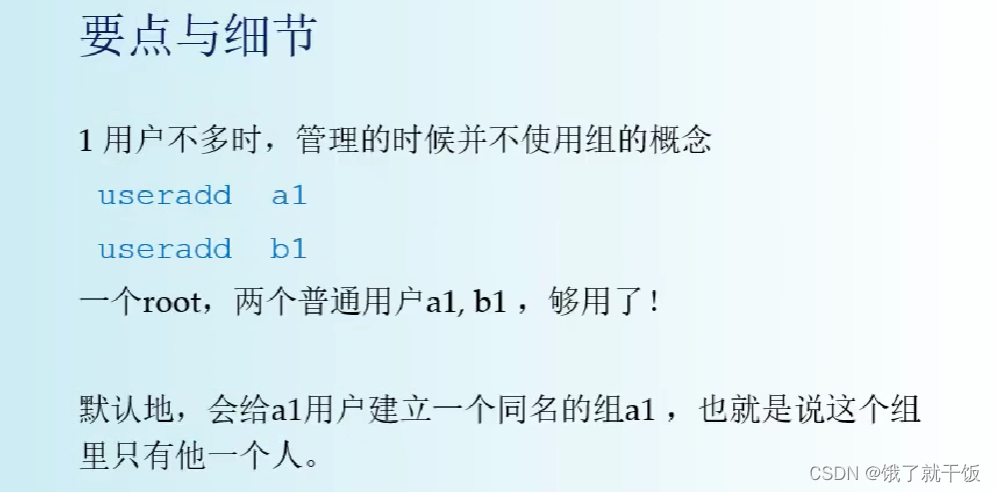
用户组(了解即可,用的不多)
Linux下面的用户特别多,此时就可以使用用户组来管理用户
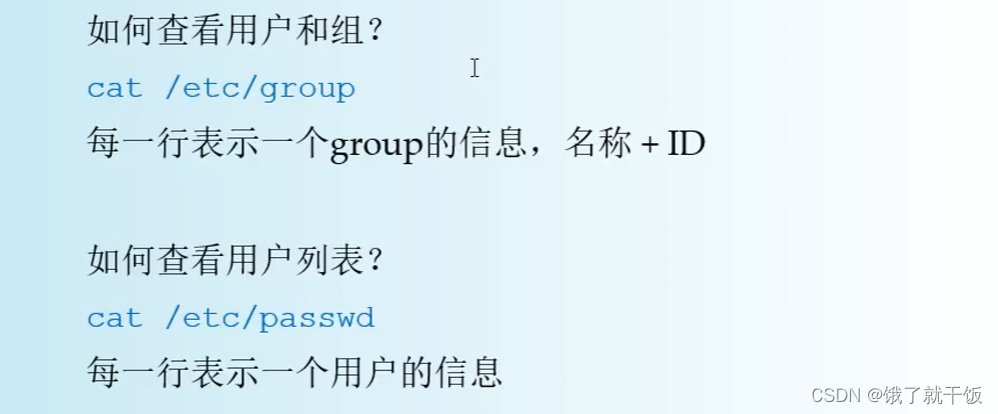
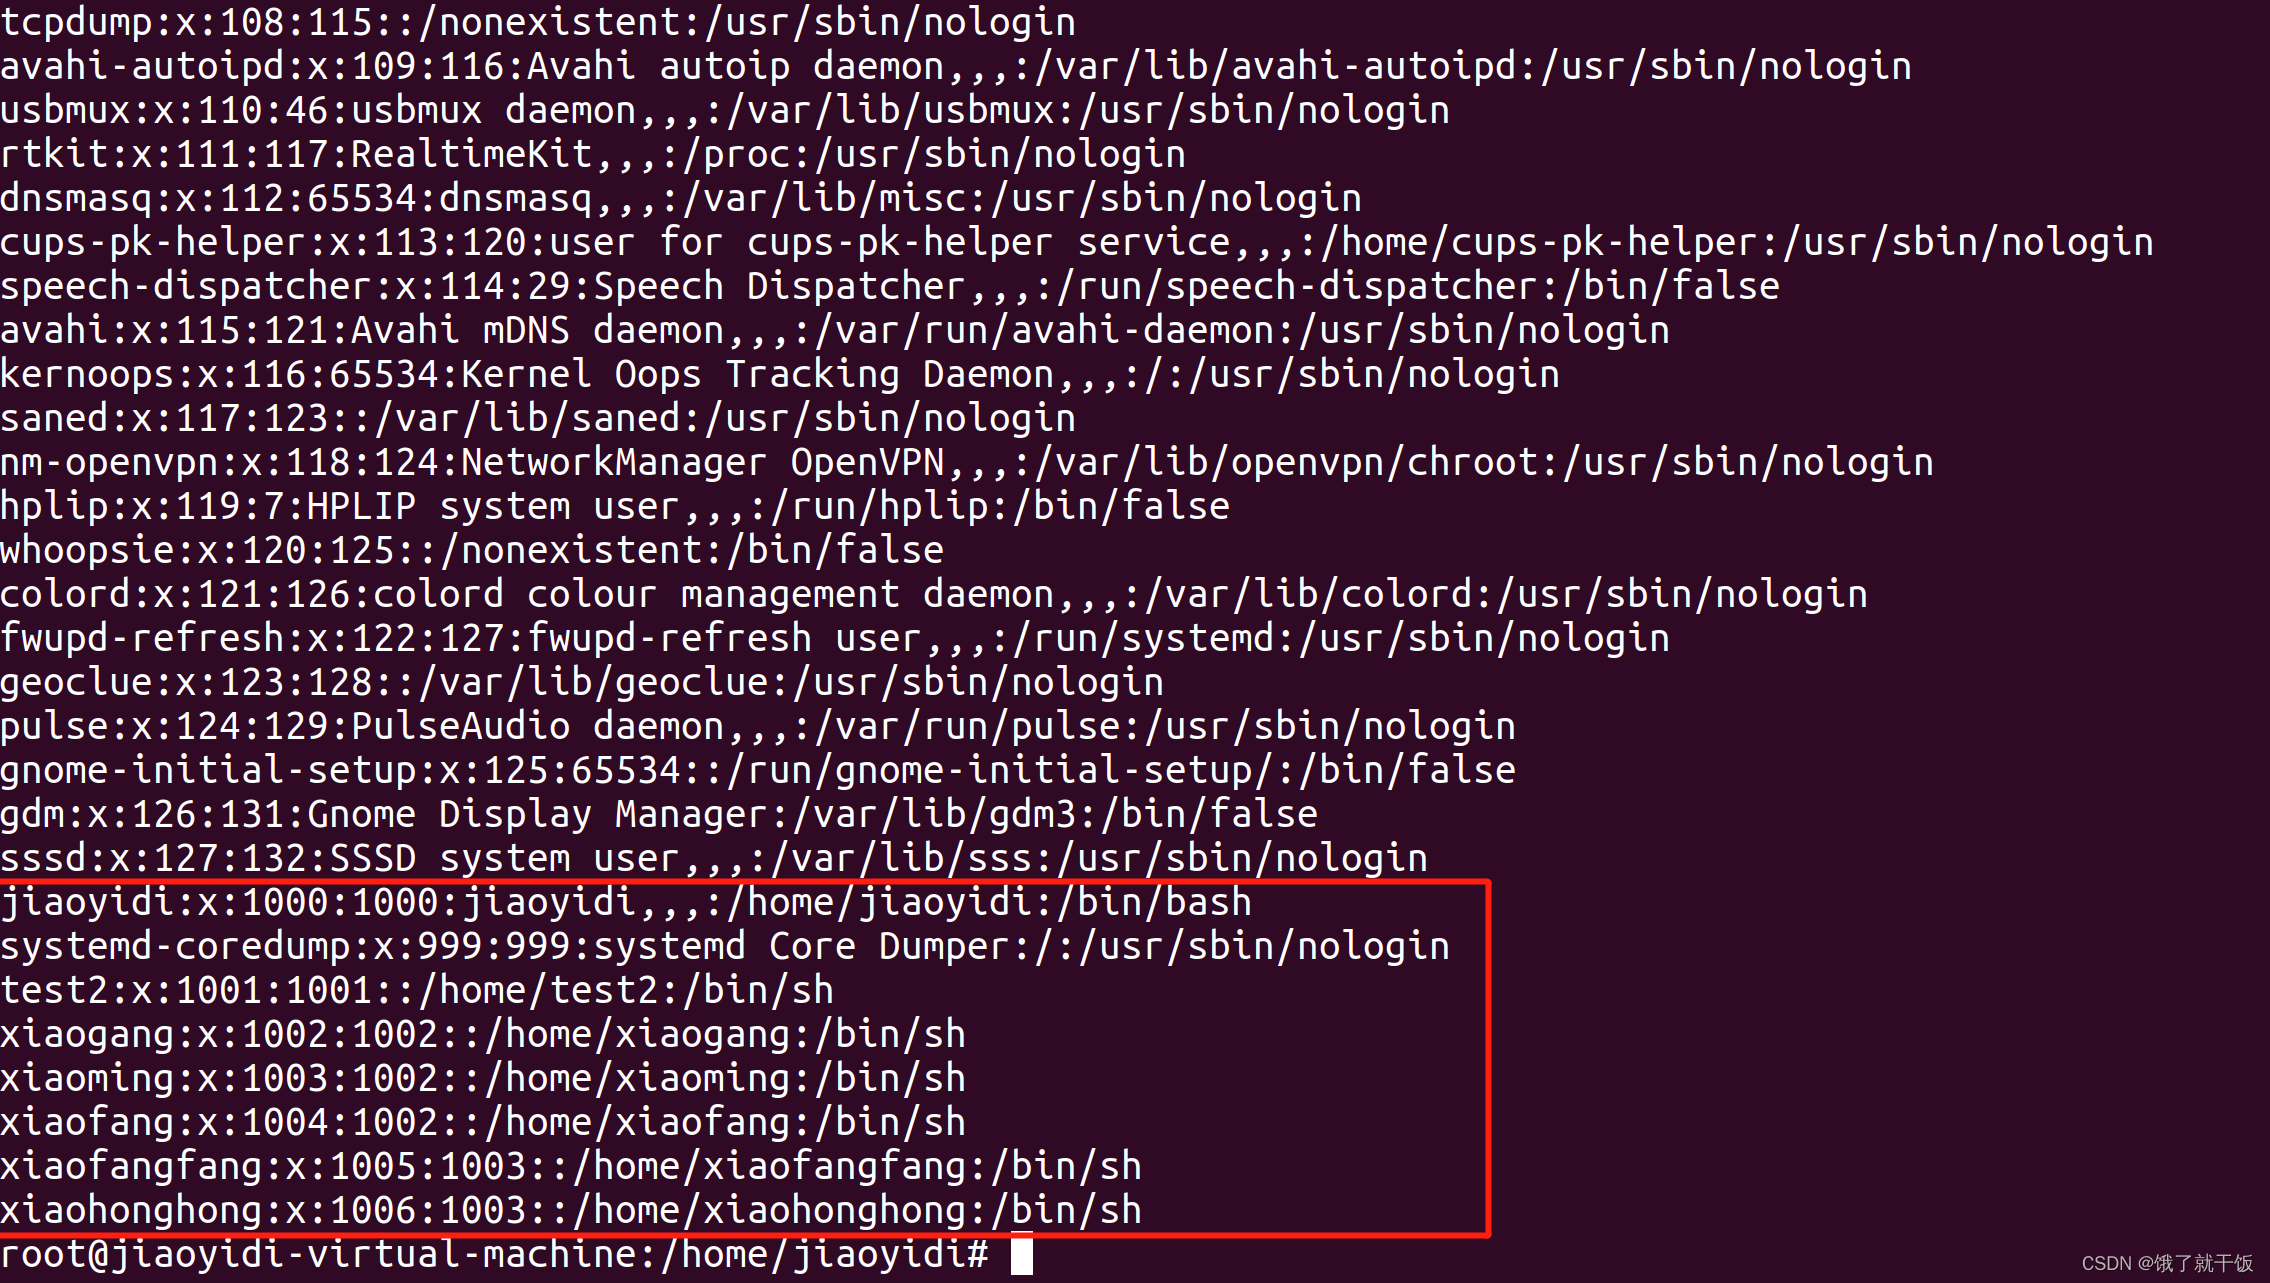
不是root用户不能查看以上这些文件
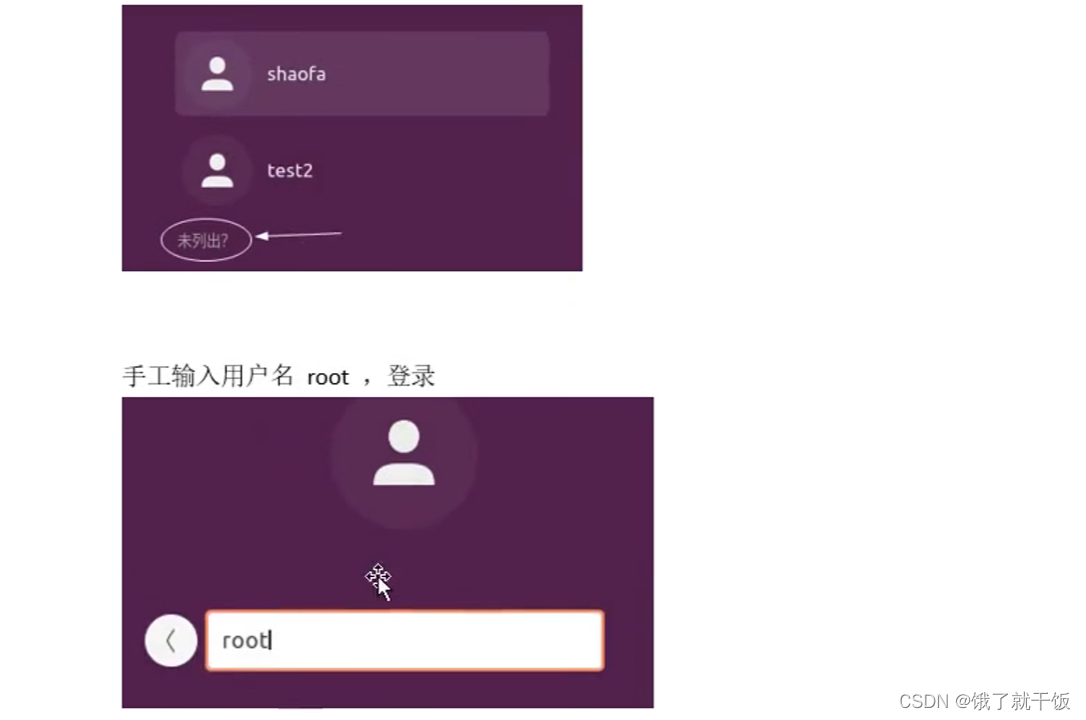
6.4 以root登录桌面
点击未列出
输入root和密码也登陆不了
若确实想使用root也是可以的

linux系统的配置文件一般都放在etc文件下面
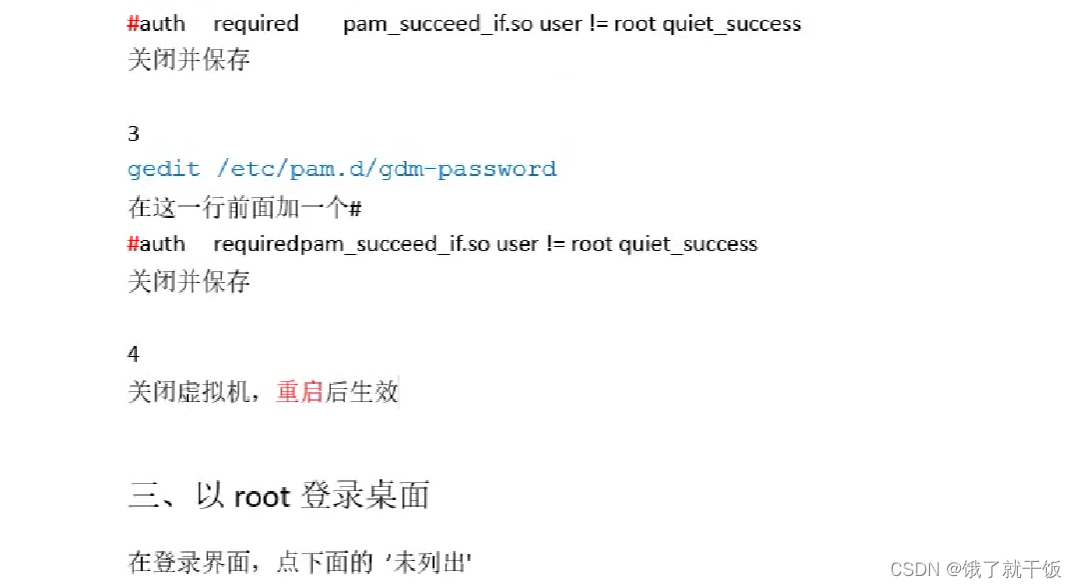
一般情况也不建议以root用户登录(除非必要)
7 文件权限
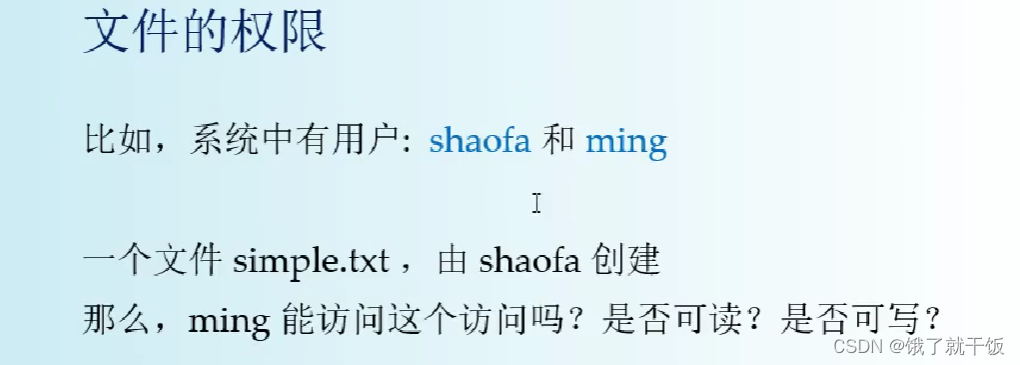
7.1 文件的权限
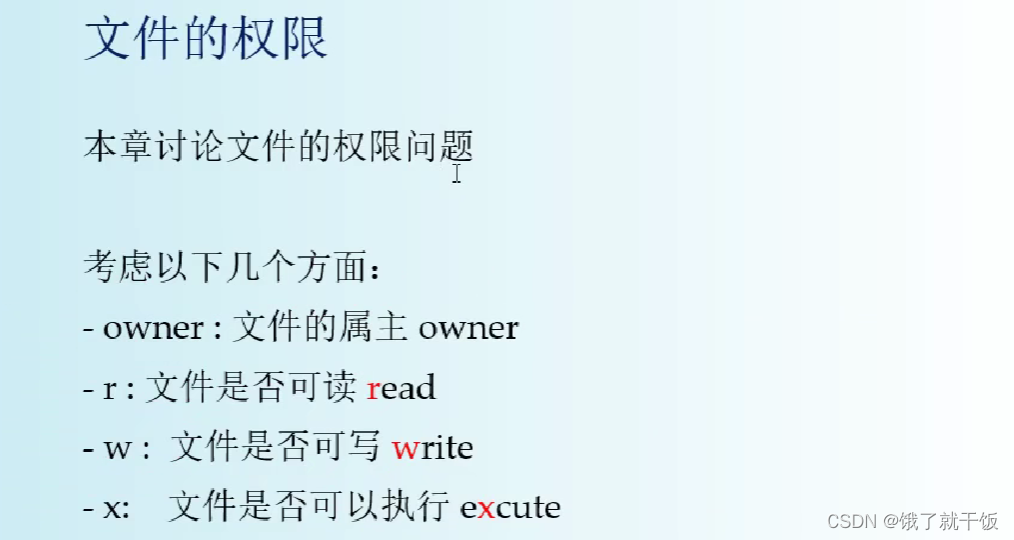
文件权限是linux中一个重要的而且必须要理解的问题
如何查看一个文件的权限?
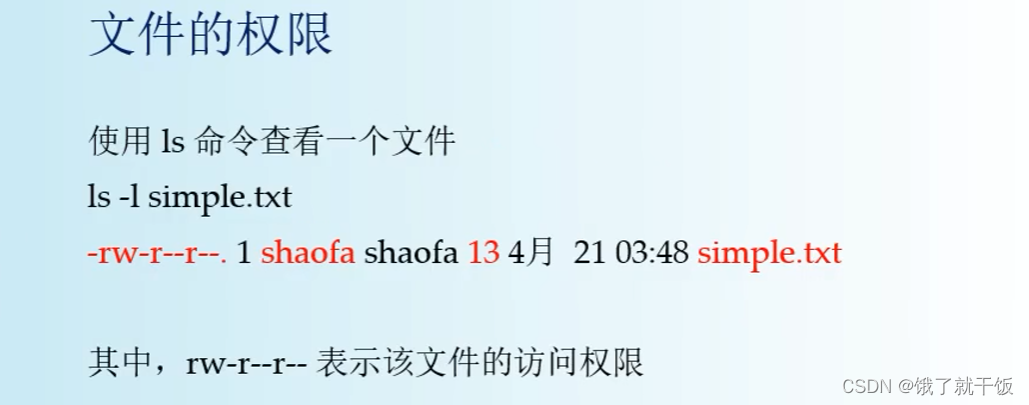
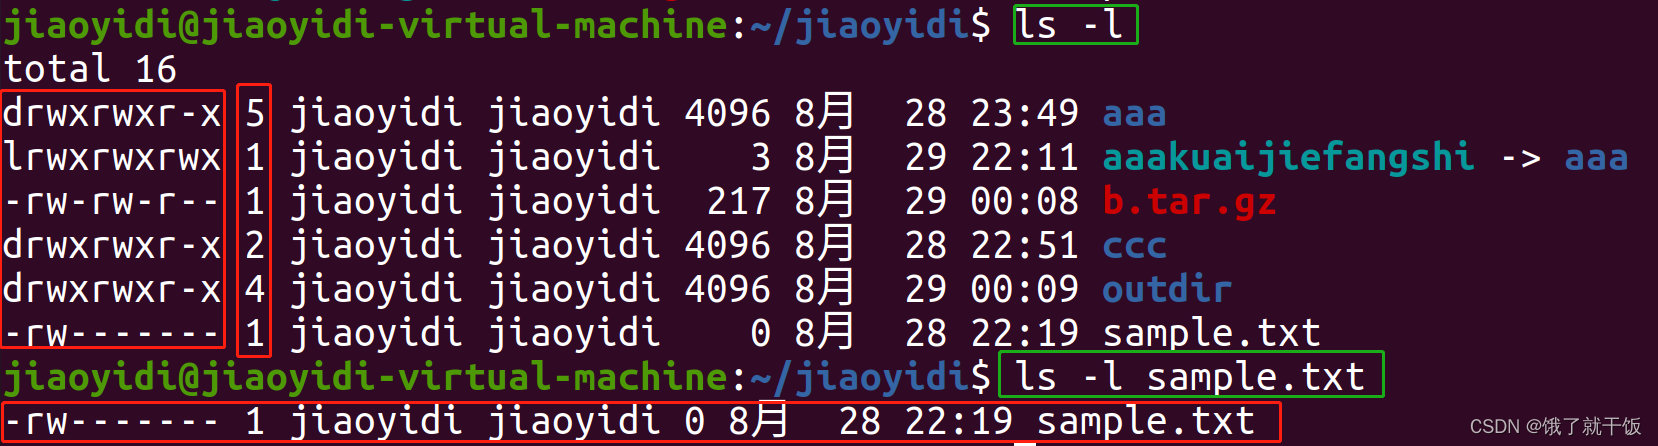
后面:是文件名称
第一列:文件的权限
第二列的数字:表示文件中包含多少个文件
第三列:属主(作者)
第四列:用户所在的组
第五列:表示文件的大小217