天猫网站建设基本情况优化提升
为什么不要使用unidefined 而使用void 0?
在JavaScript中,undefined 和 void 0 都可以用来表示未定义的值,但它们在使用和上下文中有一些微妙的差异,这也是为什么有时可能会推荐使用 void 0 而不是直接使用 undefined。
全局污染:
在早期的JavaScript环境中,undefined 实际上是一个可以被重新赋值的变量。这意味着,如果某个地方的代码不小心(或故意)重新定义了 undefined,那么它就不再表示未定义的值了。这可能会导致意外的行为。而 void 0 则是一个表达式,它总是返回 undefined,并且不会被任何代码所改变。
示例如下
我们可以发现 在js中undefined是可以被定义成变量的
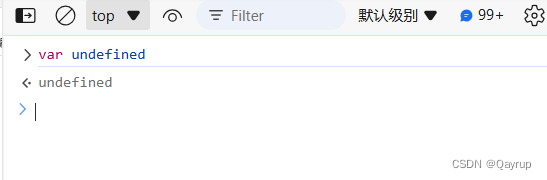
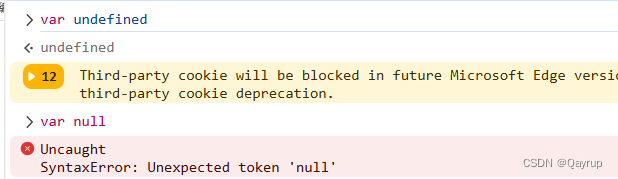
而向我们熟知的关键字 null 之类的是不可以被定义为变量的,这也与我们本来的理解一至,关键字是不能被用作标识符
但undefined可以 多有意思的js
之所以undefined能被用作标识符,是因为undefined是window的属性
在window中有一个属性叫undefined其值为undefined
证明如下
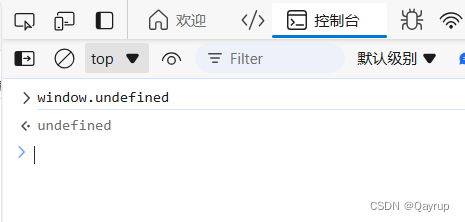
当然这样看不明显
我们可以用 操作符 in
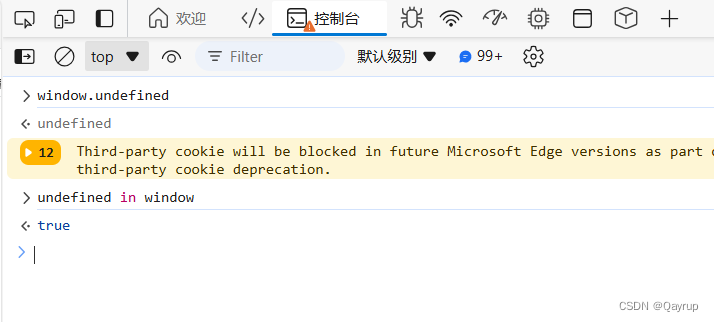
这样可以很清楚的看出 undefined 是 window的一个属性
那既然undefined是window的一个属性,那我们是不是可以直接通过window.undefined来修改undefined的值呢?
答案是不能的,因为undefined属性是只读的
如下图,我尝试修改window.undefined的值,但是没有成功依然是undefined

window.undefined 是不可更改的,但是 自己定义一个叫undefined 变量确是可更改的
如下

输出如下
可以看到,现在undefined的值是1了

应该永远使用void 0 来替代undefined
而 void 0 是一个表达式,它总是返回 undefined,无论全局变量 undefined 的值如何被改变。因此,void 0 可以作为一个安全的、始终如一的 undefined 的替代。