迅速百度网站自然排名手机优化专家下载
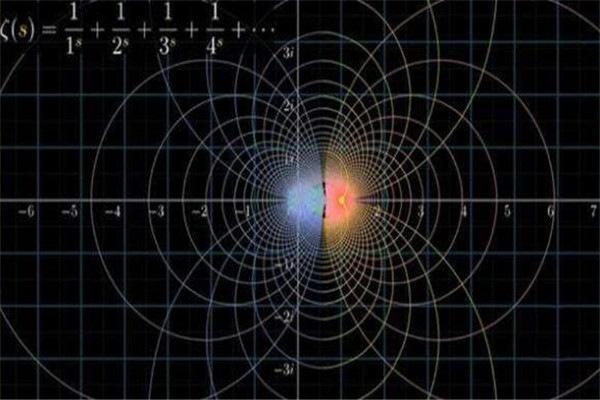
1、黎曼猜想:黎曼猜想是关于黎曼ζ函数ζ(s)的零点分布的猜想,由数学家波恩哈德-黎曼于1859年提出。虽然在知名度上,黎曼猜想不及费尔马猜想和哥德巴赫猜想,但它在数学上的重要性要远远超过后两者,是当今数学界最重要的数学难题。
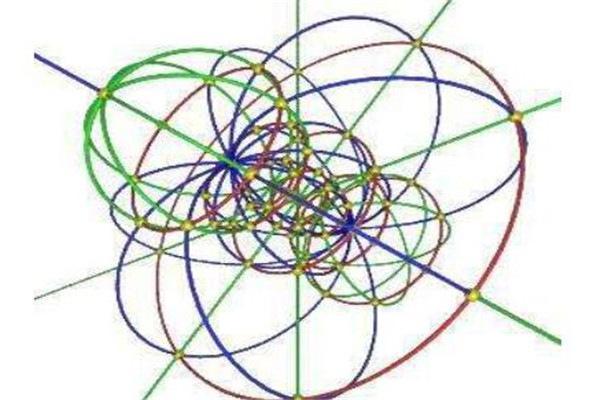
2、霍奇猜想:霍奇猜想可以说难道几乎所有的数学家,猜想表达能够将特定的对象形状,在不断增加维数的时候粘合形成一起,看似非常的巧妙,但在实际的操作过程中必须要加上没有几何解释的部件。
3、BSD猜想:BSD猜想,全称贝赫和斯维纳通-戴尔猜想,它描述了阿贝尔簇的算术性质与解析性质之间的联系。

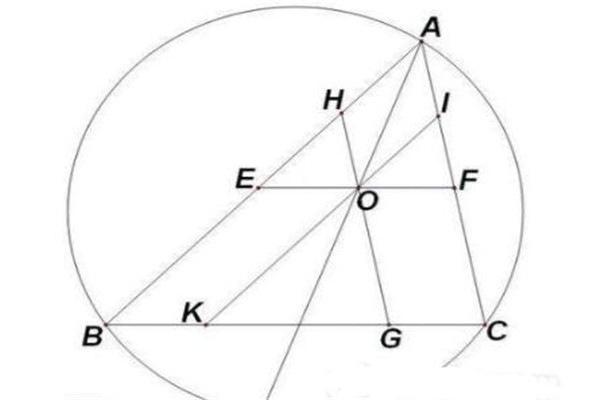
4、欧几里得第五公设:欧几里得第五公设:同一平面内的两条直线与第三条直线相交,若其中一侧的两个内角之和小于二直角,则该两直线必在这一侧相交。因它与平行公理是等价的,所以又称为欧几里得平行公设,简称平行公设。

5、NP完全问题:NP完全问题可以说是一个听着就很复杂的数学问题,简单的讲所有的完全多项式在非确定性的问题,都可以被转化为名为满足性的逻辑运算问题,数学家们猜想的是到底有没有一个确定性的算大。
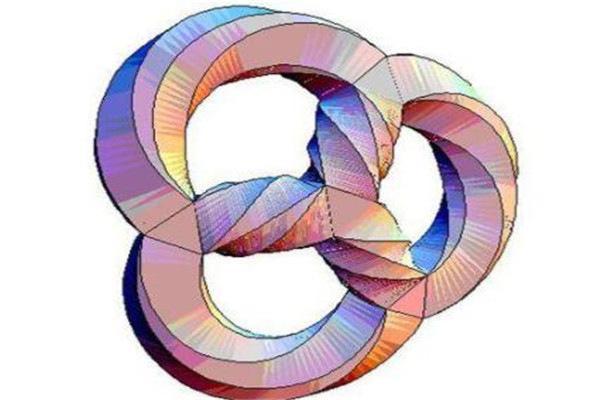
6、庞加莱猜想:庞加莱猜想提出来很长时间了,猜想中提到如果不断的去扯一个橡皮筋,然后让它慢慢于移动伸缩为一个点,最终能否证明三维球面或者是四维空间中的和原点有距离的全部问题,简直就是很困难了。

7、纳维-斯托克斯方程:这个数学问题本是数学家们用来研究无论是在微风还是在湍流等情况下,都能用纳卫尔-斯托可的方程式做出相应的数据解答,但是到目前能完全理解纳卫尔-斯托可方程式的人少之又少,而且有些理论的实质进展很微妙。