网站域名注册商标重庆seo快速优化
背景
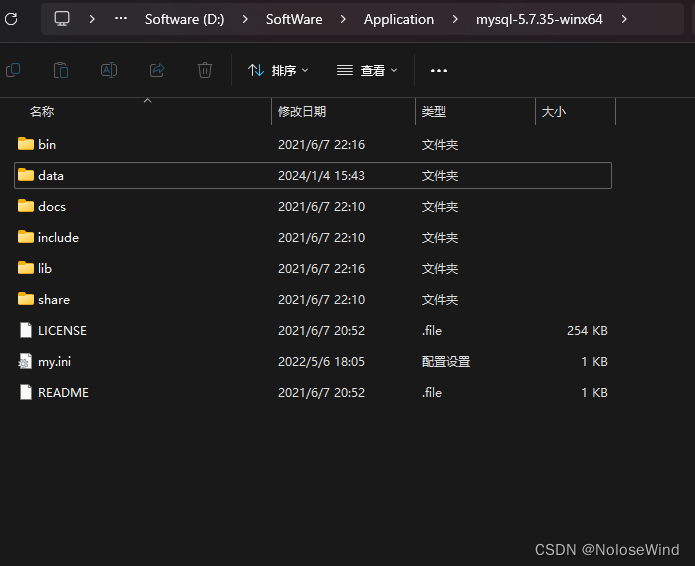
因为之前电脑硬盘出现问题,换了盘重装了系统,项目的数据库全部没了,还好之前的Mysql是安装在的D盘里,还有留存文件
解决办法
1.设置环境变量
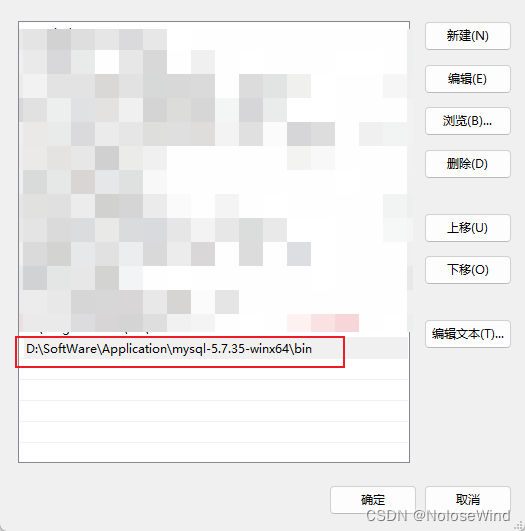
我的路径是 D:\SoftWare\Application\mysql-5.7.35-winx64
此电脑右键属性
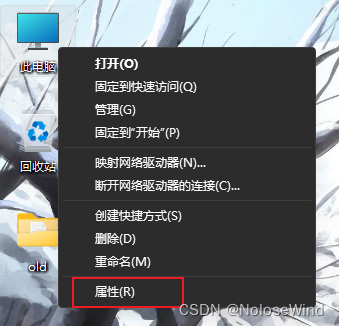
高级系统设置

环境变量

双击系统变量中的path
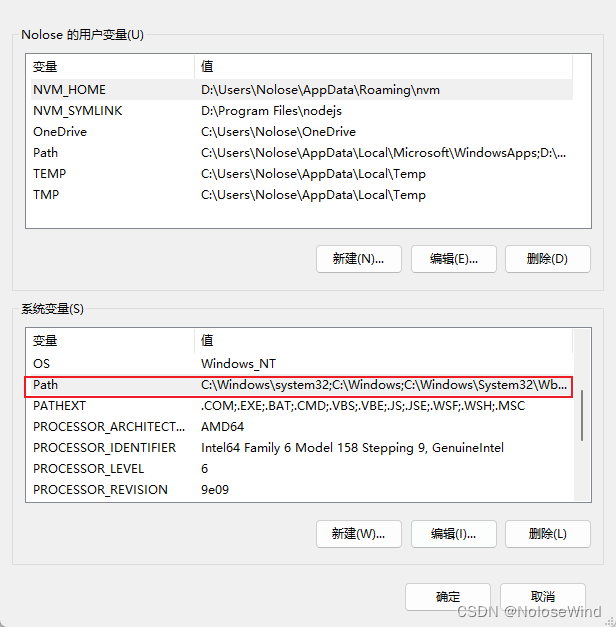
直接把一起mysql的bin目录路径写上
2.重置Mysql
ps:如果使用mysql命令报错 找不到MSVCR120.dll,可以参考下这篇文章:
mysql命令报错:找不到MSVCR120.dll,无法继续执行代码.重新安装程序可能会解决此问题。
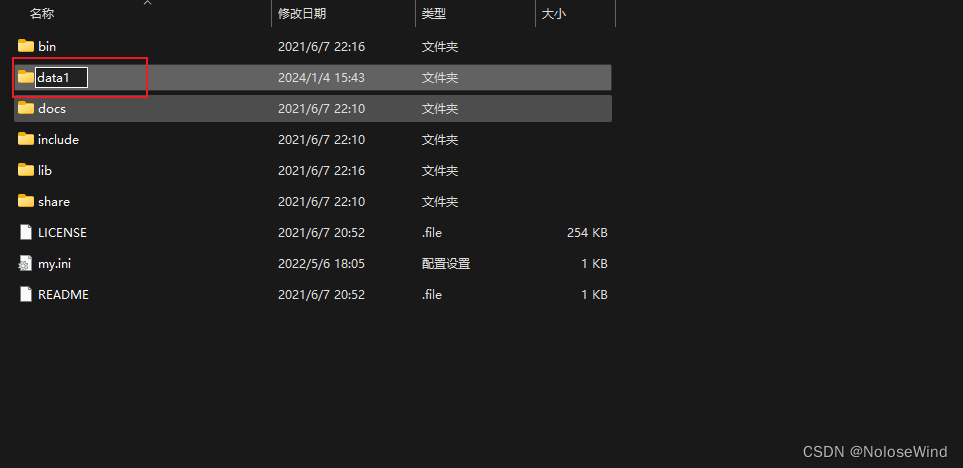
打开Mysql的根目录,暂时把 data 改为 data1
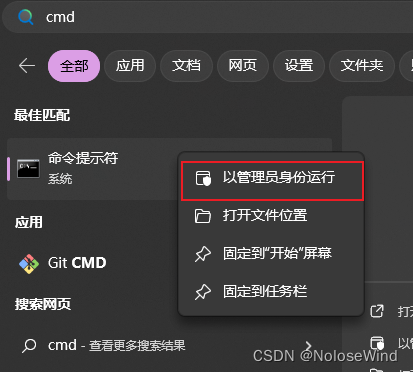
win键输出cmd,右键用管理员打开,注意,这很重要!!!
运行 mysqld --initialize
mysqld --initialize
稍等一会,如果没有反应,直接 ctrl + c
运行 mysqld -install
mysqld -install
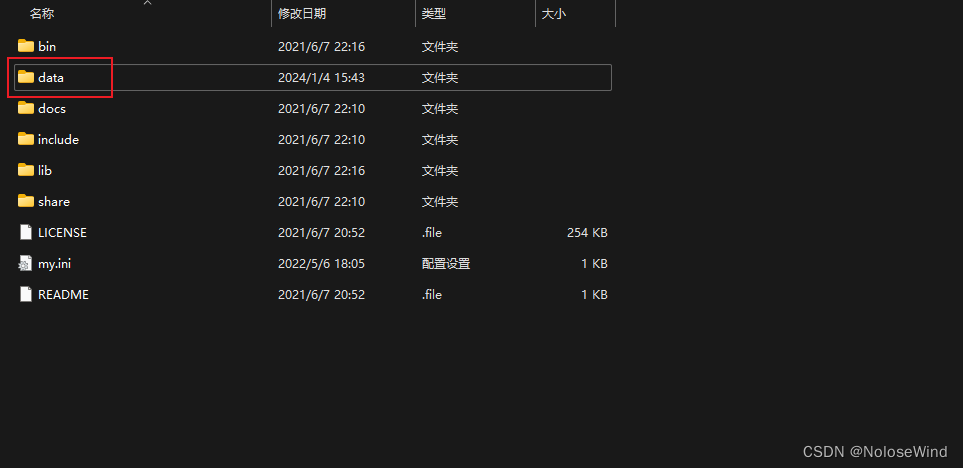
再次打开Mysql根目录,会发现有了一个data文件夹,把这个data删除,讲之前的 data1改回data
返回cmd命令窗口,输入net start mysql

输入我们刷系统前的用户名密码测试
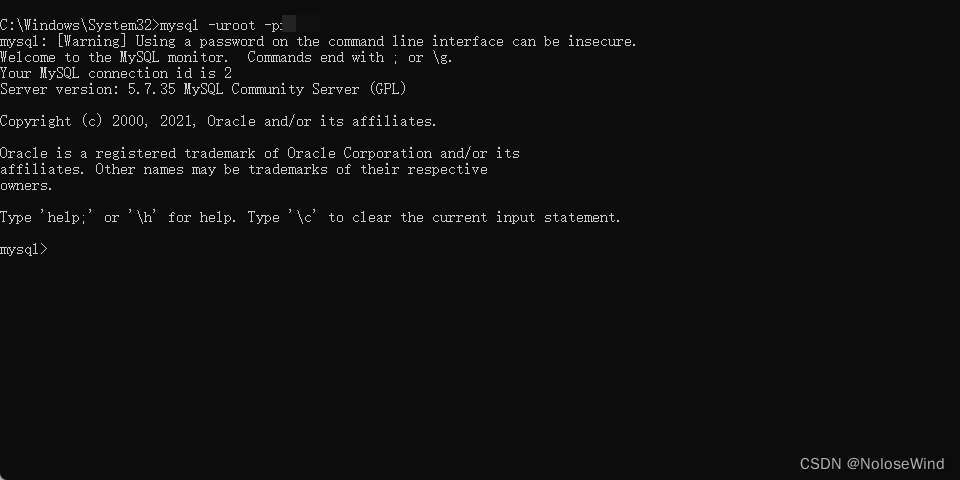
再使用 show databases;查看之前的库是否还在
show databases;
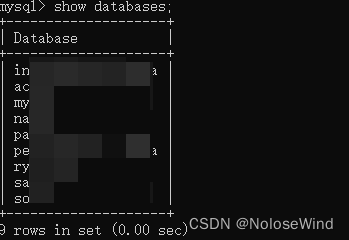
成功!