深圳维特网站建设百度seo怎么操作
Hqst盈盛电子导读:2023年,Hqst盈盛电子于下属五金部开发生产SFP光纤连接器笼子等系列产品,所有产品生产及性标准都将参照连接器产品常用测试标准EIA-364-C等标准,以下为我司常规SFP光纤连接器基本性能要求
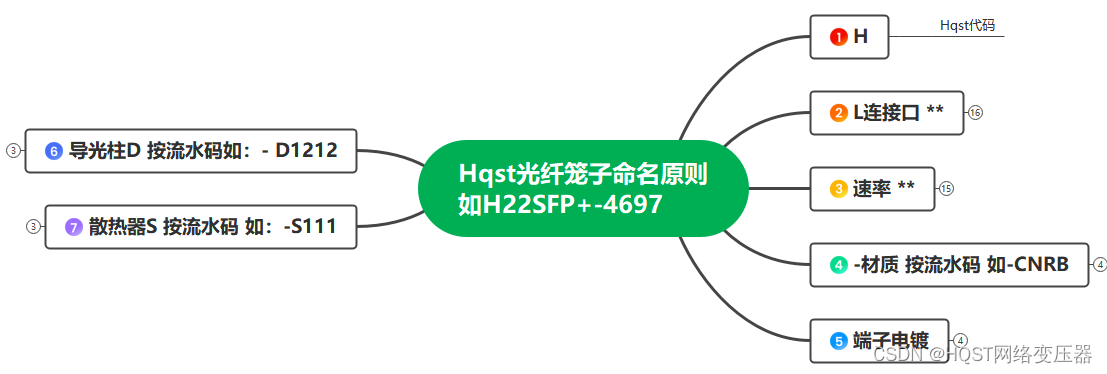
SFP光纤笼子别称:SFP光纤连接器 SFP光纤屏蔽罩
SFP光纤笼子性能参照引用标准:EIA-364-C和INF-8044I
SFP光纤笼子的作用:
本类产品用于数据通信网络接口,实现SFP模块和主板信号连接以及SFP模块锁定
SFP光纤笼子的性能要求 分四个方面:
1.1 材料特性
1,屏蔽壳材质:一般为0.25正负MM铜合金
2,屏蔽壳镀层:镀镍≥100U"
3,塑料壳体材质:Glass-reinforcde Thermoplastic or LCP:
4,塑料壳体颜色:黑
5,塑料壳体防火等级:UL94V-0
6,信号接触端子材料及表面处理:磷青铜,镀镍 ≥50U" 镍上镀金≥15U"
7,压接端子区域:镀镍≥50U" ,镍上镀锡≥100U"
8,符合ROHS标准
1.2 机械性能
1,SFP模块插入/拔出力:40N MAX./11.5N MAXΩ
2,SFP模块保持力:90N~170N
3,外壳闭锁机构强度:180N MIN
4,插拔次数≥200次插拔
1.3 电气性能
1,额定电流:≥0.5AMP
2, 额定电压:>120VAC RMS
3,绝缘电压:≥500MΩ @vdC500
4,接触电阻:≤30mΩ@ 100MA
5,差分阻抗:100Ω+/-10Ω
1.4 环境特性
1,工作温度:-40~85度
2,工作湿度:5%to 95% RH
3,存储温度:-40~85度
4,回流焊接温度(单口SFP插座):260+-5度 ≥10S
